Download
1 / 21
210 likes | 235 Vues
Discover various advanced microscopy tools like light and electron microscopes for examining biological samples. Learn about optical sections and enhancing resolution in three-dimensional specimens.

E N D
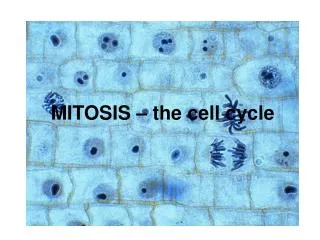
Bio 101Laboratory 2 Microscope Intro to Cell Cycle Mitosis
“Seeing” in Biology • There are many different tools that biologists/anatomists can use to ‘see’ biological samples at high resolution. Some include: • Light microscope (2-D)* • Electron microscope* • Transmission electron microscopy (2-D) • Scanning electron microscopy (3-D) • Confocal laser scanning microscope (optical sections through a 3-D specimen; good for 3-D) • Atomic force microscope (one of the most powerful tools for determining the surface topography of native biomolecules at subnanometer resolution)
Resolving Power of Optical Devices From: http://www.nobelprize.org/educational/physics/microscopes/powerline/index.html
Resolving Power Need a refresher on the metric system? See our course Web site in the “Study Guides and Helpers” Section From: http://www.mih.unibas.ch/Booklet/Lecture/Chapter1/Chapter1.html
Light Microscope White blood cell (Leukocyte) (Erythrocytes) Nucleus 7.5 m (Use as a guide to size)
Transmission Electron Micrograph RBC Two-dimensional representation of a 3-D object From: http://www.upei.ca/~morph/webct/Modules/EM/EM.html
The Scanning Electron Microscope No, although the hairdo is similar, this is NOT your instructor!! From: http://www.mih.unibas.ch/Booklet/Lecture/Chapter1/Chapter1.html
The Compound Light Microscope It would be a ‘bonus’ for you to be able to name these parts of the microscope on the lab exam, given a photograph of a microscope like this or the one in your lab manual.
Parts of the Microscope From: http://faculty.stcc.edu/BIOL102/labs/microscope/scopeparts.htm
University of Delaware – Microscope Tutorial The link to this site is on our Main Web page (under “Links to Other Web sites”) From: http://www.udel.edu/biology/ketcham/microscope/scope.html
University of Delaware – Microscope Tutorial 12 Microscope field 9 3 6 From: http://www.udel.edu/biology/ketcham/microscope/scope.html
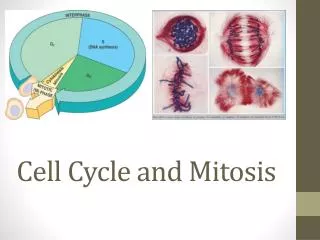
The Cell Cycle • series of changes a cell undergoes from the time it forms until the time it divides • stages • interphase • mitosis • cytoplasmic division • differentiation G0 Differentiatedcells may spend all their time in G0 (neurons, skeletal muscle, red blood cells) Stem cells may never enter G0 I PASSED MY ANATOMY TEST!
The Cell Cycle and Mitosis • I (INTERPHASE) • PASSED (PROPHASE) • MY (METAPHASE) • ANATOMY (ANAPHASE) • TEST (TELOPHASE/CYTOKINESIS)
Prophase What structure joins the sister chromatids together?
What you should do today… 1. Get a double-arm microscope from the microscope cabinets • Carry it with TWO HANDS! • Plug it in using only the MINIMUM amount of cord you need to reach the plug. Leave the rest wound. 2. Follow the Instructions for Laboratory 2 (in your Laboratory Guide) and complete Activities 2 through 5 (in your Laboratory Manual) and attempt to answer the questions in your Laboratory Manual 3. Get a Whitefish Blastula slide and locate cells in all the stages of the cell cycle: Interphase, Prophase, Metaphase, Anaphase, and Telophasae/Cytokinesis
Reminders about using the microscope… • Reminders for using microscope • Hold the microscope slide up to the room light to be sure there’s something on the slide (sometimes faint) and determine where you want to look first. • Start at low power and locate a promising area to view at higher power, center the object of interest, use the COARSE FOCUS, THEN go to higher power. • When you focus on an area under higher power, be sure to move ONLY the FINE focus up and down slightly to be sure you see everything you need to see. • Use both eyes (it’s less fatiguing, but takes practice)
For next lab… • Epithelial Tissue and Integument (This is a microscope-intensive lab, which is why you should thoroughly understand how to use the microscope after today’s lab!!) • Read Exercises 6 (Epithelial Tissue) and 7 (Integument) in Marieb & Mitchell Lab Manual • Look at the histological photos in your Lab Manual and in your textbook