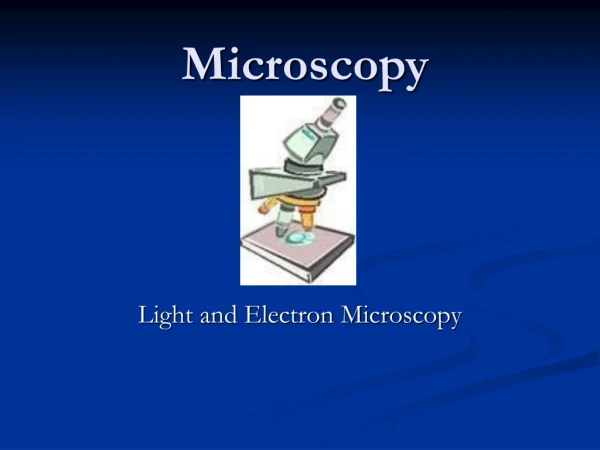
Microscopy
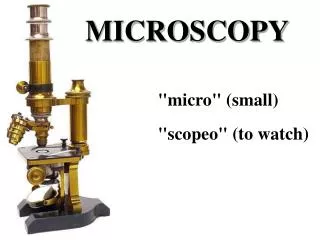
Microscopy. History of the Microscope. Hans and Zacharias Janssen- (1595) Eyeglass crafters- Magnify object 3-10x . Robert Hooke- (1655) Observed pores on corks and called them "cells". History of the Microscope.

Microscopy
E N D
Presentation Transcript
History of the Microscope Hans and Zacharias Janssen- (1595) Eyeglass crafters- Magnify object 3-10x Robert Hooke- (1655) Observed pores on corks and called them "cells"
History of the Microscope Anton van Leeuwenhoek- (1673) First to see microscopic organisms in pond water. His microscope lead the way to the microscopes we use today. Carl Zeiss- (1850s) Refined the microscope by adjusting the lenses to improve optical quality. His company is still manufacturing microscopes today.
Microscope Vocabulary Magnification: increase of an object's apparent size Resolution: power to show details clearly *Both are needed to see a clear image
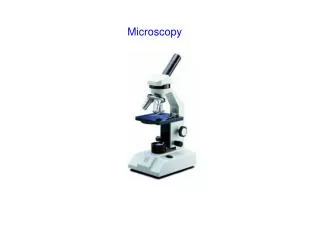
Types of Microscopes Optical Microscopes Compound microscope: First type of microscope and most widely used Light passes through 2 lenses Magnify up to 2000x
Types of Microscopes Dissecting Microscope (stereo microscope): Provide 3 dimensional view of object Magnify up to 100x Useful for observing opaque objects
Types of Microscopes Confocal Laser Scanning Microscope: Able to also scan an object in depth Computer is able to assemble the object as a 3D image
Types of Microscopes Electron Microscope: Used to view very small objects: viruses, DNA, parts of a cell Uses beams of electrons rather than light Much more powerful
Types of Microscopes Transmission Electron Microscope (TEM): Beam of electrons is transmitted through an ultra-thin specimen and interacts with the specimen as it passes through Can magnify up to 250,000x
Types of Microscopes Scanning Electron Microscope (SEM): Produces images of a sample by scanning it with a focused beam of electrons. The elctrons interact with the atoms in the sample. Can magnify up to 500,000x
Types of Microscopes X-Ray Microscope: Uses a beam of x-rays to create an image Due to small wavelength, image resolution is higher than with compound microscopes Used to view living cells
Magnification Your microscope has 3 magnifications: Scanning, Low and High. Each objective has magnification on it In addition to this, the ocular lens (eyepiece) has a magnification. The total magnification is the ocular x objective
Microscope should be stored with scanning objective clicked into place Carry the base with one hand and the arm with the other Plug in your microscope Always start with the scanning objective Use the coarse knob to focus and the fine adjustment until object is clear Once focused, switch to low power and use the coarse knob to refocus and the fine adjustment to make image clear Now you can switch to high power (not if thick slide or no cover slip) and only use fine adjustment to focus image
Recap 1. Scanning --> use coarse and fine knob 2. Low power --> use coarse and fine knob 3. High power --> use fine knob only
Troubleshooting Occasionally you may have trouble with working your microscope. Here are some common problems and solutions. 1. Image is too dark! Adjust the diaphragm, make sure your light is on. 2. There's a spot in my viewing field, even when I move the slide the spot stays in the same place! Your lens is dirty. Use lens paper, and only lens paper to carefully clean the objective and ocular lens. The ocular lens can be removed to clean the inside. The spot is probably a spec of dust. 3. I can't see anything under high power! Remember the steps, if you can't focus under scanning and then low power, you won't be able to focus anything under high power. Start at scanning and walk through the steps again. 4. Only half of my viewing field is lit, it looks like there's a half-moon in there! You probably don't have your objective fully clicked into place..
Troubleshooting 5. Eyestrain and Headaches Adjust interpupillary distance Adjust eyepiece diopter setting Use matched eyepieces
Storage of Microscopes Clean using lens paper only Store with scanning objective in place Power off microscope Wrap cord around base Using both hands, store in microscope cabinet with dust cover on