VHS Conversion
VHS Conversion. Make sure MovieBOX DV is connected between Firewire input and DVD player If it isn’t, pull output cables out of the back of the VCR and plug them into the back of the DVD player Match the colors; if there are two red receptacles, choose the “video out” option

VHS Conversion
E N D
Presentation Transcript
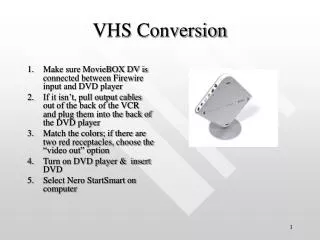
VHS Conversion • Make sure MovieBOX DV is connected between Firewire input and DVD player • If it isn’t, pull output cables out of the back of the VCR and plug them into the back of the DVD player • Match the colors; if there are two red receptacles, choose the “video out” option • Turn on DVD player & insert DVD • Select Nero StartSmart on computer
This screen will pop up automatically:1. Select play on DVD player2. Select play on Nero screen (green button)3. Use navigation buttons on DVD remote to skip to different tracks on DVD or to move forward or review
Locate & Capture Video Clip • Using the navigation tools on for the DVD player, locate the clip you want to capture • As the clip is playing, click on Nero’s “record” button to begin capture • Click on Nero’s “stop” button to end capture
Select File to be Saved • Highlight file to be saved • Select Next button
Edit File if Desired • Select Cut • Select range to keep • Select Cut to finalize edit
Other editing features:Tabs allow video effects, text effects & transition effects
Sample of text effectsThis one is set to scroll across screen, but many other options are available!
Export File • Select File to Export • Select EXPORT
Export File • Check for following: • File type: MPEG-2 • Video mode: NTSC • Click on box after “output file”
Export File • Save in Desktop • Name file • USE NO SPACES OR SPECIAL CHARACTERS • Select “save”
When pop-up says export process completed successfully, select “OK” • Then locate your file on the desktop
Right Click to Check Properties • Cannot exceed 40MB • Set “opens with” to Windows Media Player (in most cases)
This allows you to view it before adding to your Portfolio Double left click to Play
Choose “Enter” function Select “add” under appropriate category Follow steps to create a new element Log into Portfolio
Remember to scroll down to green “material manager” box on element screen Select “upload” Select “browse” Double click on your file Select “upload” Upload to Portfolio
Save Video in Portfolio Remember to scroll to bottom of screen and select SAVE
Finishing up… • View video in Portfolio to check your work • Delete video from desktop • Empty recycle bin
Double click saved file to play NVEExport.mpg Open MPEG-2 file