Installing the Core FTP Client
This guide provides step-by-step instructions for installing and configuring the Core FTP client for file transfers. Begin by downloading the Core FTP LE client from the official website, agreeing to the terms, and installing it on your desktop. After installation, access the Site Manager to set up your district's FTP connection using specific details provided by your Testing Coordinator. Learn how to transfer files between your computer and the BOCES server using the client’s interface, ensuring a smooth transfer process for your files.

Installing the Core FTP Client
E N D
Presentation Transcript
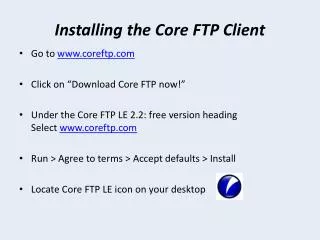
Installing the Core FTP Client • Go to www.coreftp.com • Click on “Download Core FTP now!” • Under the Core FTP LE 2.2: free version heading Select www.coreftp.com • Run > Agree to terms > Accept defaults > Install • Locate Core FTP LE icon on your desktop
Configuring Client • Double click on icon • In Site Manager Window Click on New Site in the window on the left • Using the next slide as a reference, fill in Information in the right window.
Site Manager Enter your District’s Name between the FTP and the TS Your District Testing Coordinator should have this if not contact your BOCES coordinator and they will assist you This port MUST be open Click Here to connect to FTP site
Transferring Files • Once connected the left window will be YOUR computer and the right window will be the BOCES server • Destination/Origination Folder on your computer can be selected in the left window • To transfer files, highlight desired file and click the arrow in the top section of the window containing the file you selected Click here to transfer file Navigate to Destination/Origination folder Select folder/file to transfer