Download
1 / 12
120 likes | 238 Vues
This project framework serves as a comprehensive guide tailored for students to navigate their design and prototype projects effectively. Starting from defining the problem to evaluating the final prototype, it outlines essential stages including research, brainstorming, idea generation, criteria specification, and final design communication. Key dates for mid-term reviews, final presentations, and award ceremonies are highlighted to ensure timely progress. Each section offers clear instructions and essential tasks, encouraging students to think critically and creatively in their project development journey.

E N D
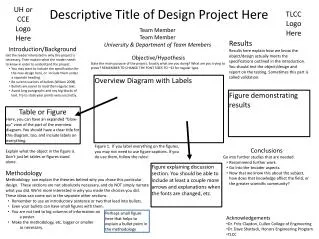
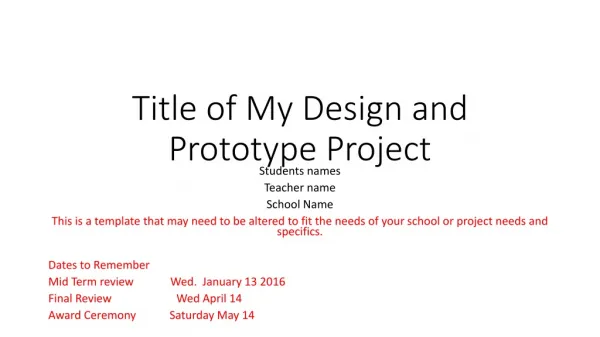
Title of My Design and Prototype Project Students names Teacher name School Name This is a template that may need to be altered to fit the needs of your school or project needs and specifics. Dates to Remember Mid Term review Wed. January 13 2016 Final Review Wed April 14 Award Ceremony Saturday May 14
Define the Problem you are trying to solve • This should be your first step that is completed as soon as you have chosen a project.
Research • This should be started the first week of your project and will be continually updated as you work on your project. • List where you found valuable information related to the problem and how you might solve it. • Describe the main ideas that are important from the research
Brainstorm and Generate Ideas • This should be started the first week of your project and will be completed by the second week. • Attach photos of the sketches and list ideas each of the students suggested for solving the problem. This may take more than one page.
Identify criteria and specify constraints • Criteria---this is what we need • This should be started the first week of your project and may be updated as you work on your project and as you learn more while working. • Constraints---these are problems we have to avoid
Develop and Propose designs and Choose among Alternative solutions • This should be completed by the 3rd week of your project. • Analyze the strongest ideas by listing out their pros and cons on this page. Choose one for your final product.
Implementing the proposed solution • This should be started in the 3rd week. Depending on the complexity of your project you should be finished within the next week or two. • Draw up your design in 3-D CAD and apply all the specifications. • Paste a drawing of your detailed CAD file onto the page with labels of the relevant parts so other people will understand what is important.
Make a model or prototype • This should be started the 4th or 5th week. Your first prototype should be completed by the 6th or 7th week. • Using paper, cardboard, cloth, wood, metal, plastic, 3D printing—make a model or prototype of your detailed drawing. • Attach a picture of your prototype.
Evaluate the solution and its consequences • This should be completed once your prototype is completed and you have spent a day evaluating and trying out your prototype. • Check all the requirements and limitations to see if you have met them all. • List any that you did not meet. • List any other problems you have found that could be fixed. • What attributes did you like best. • Include a picture of your prototype if it helps you describe the improvements you want to make
Refine the design • This should be completed within the week after completing your prototype. • Update your 3-D CAD drawing to reflect the improvements you need. • You may find that you repeat this page several times depending on the complexity of your project.
Build the final Design • Attach photos of your final design from different angles showing and labeling all the important aspects.
Communicate the Process and Results • This page should be started in the 3rd week as you draw up your project in 3D. Your development of the object may be influenced by how you use it. This will be updated as you make improvement on your project. • Summarize the processes and provide complete and accurate drawings of your final design. Label all the parts in your drawing so it is easy for someone else not familiar with the project will understand your discussion on the project. • Provide instructions on its operation or its use. Although it is obvious to you, not everyone will know how to use it.