Download
1 / 12
120 likes | 144 Vues
Join our summer challenge to unleash your creativity and transform old clothing into exciting new products through upcycling. Develop practical skills and eco-friendly habits! Tasks include garment creation, poster designing, and more. Share your creations for a chance to win prizes!

E N D
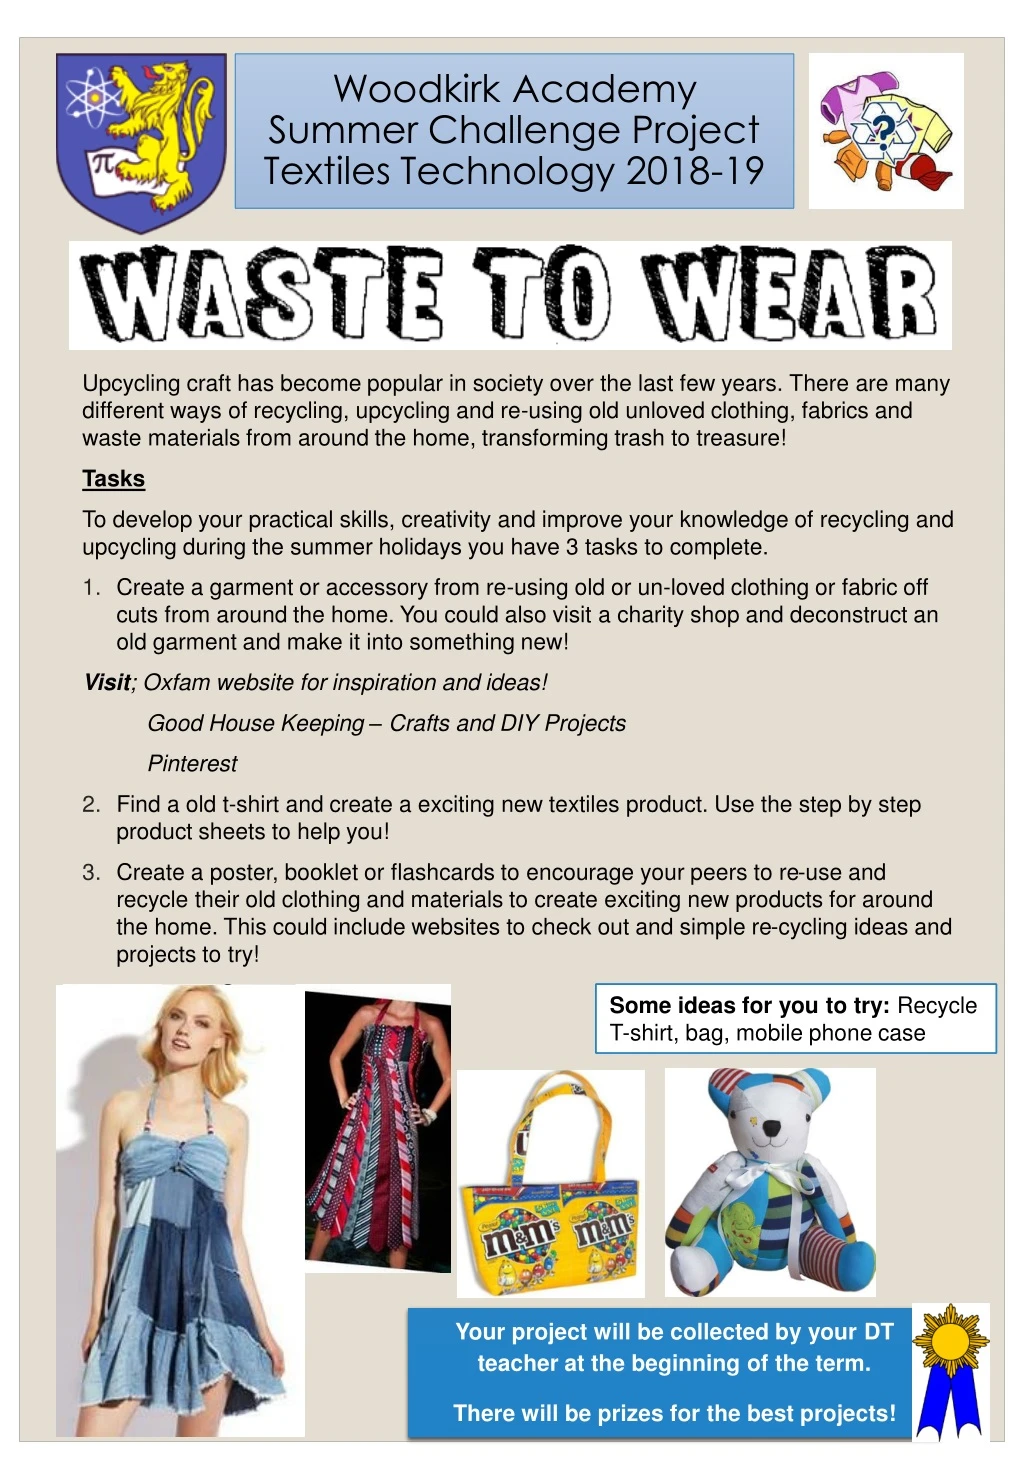
Woodkirk AcademySummer Challenge ProjectTextiles Technology 2018-19 Upcycling craft has become popular in society over the last few years. There are many different ways of recycling, upcycling and re-using old unloved clothing, fabrics and waste materials from around the home, transforming trash to treasure! Tasks To develop your practical skills, creativity and improve your knowledge of recycling and upcycling during the summer holidays you have 3 tasks to complete. • Create a garment or accessory from re-using old or un-loved clothing or fabric off cutsfrom around the home. You could also visit a charity shop and deconstruct an old garment and make it into something new! Visit; Oxfam website for inspiration and ideas! Good House Keeping – Crafts and DIY Projects Pinterest • Find a old t-shirt and create a exciting new textiles product. Use the step by step product sheets to help you! • Create a poster, booklet or flashcards to encourage your peers to re-use and recycle their old clothing and materials to create exciting new products for around the home. This could include websites to check out and simple re-cycling ideas and projects to try! Some ideas for you to try: Recycle T-shirt, bag, mobile phone case Your project will be collected by your DT teacher at the beginning of the term. There will be prizes for the best projects!
Parent Evaluation Please comment on the product your child has made over the summer holidays. Comment on their making skills, health and safety, overall quality, creativity, organisation and independence skills. __________________________________________________________________________________________________________________________________________________________________________________________________________________________________________________________________________________________________________________________________________________________________________________________________________________________________________________________________________________________________________________________ ____________________________________________________________________________________________ Take Photos Take Photography's Of your product and Insert here
Recycle your t- shirt Friendship Bracelets ! • You will need… • An old T-Shirt • Fabric Sheers • Components Step 1 *Using scissors, remove and discard the hem from the bottom of the t-shirt . Step 2 Cutting the Strips*Cut up along the seam several cm, then begin to cut strips about 2cm wide along the bottom of the shirt. *Once cut, grab the ends and pull, this will result in the material curling at the edges.
Continued… Step 3 Combining Strips *You will need two strips about 120cm long. *Cut a small slit near the ends on both strips. String the slit-free end of one strips through the hole of the other strip then it's own slit, forming a loop. Pull the ends to tighten the loop. Step 4 Weaving the Bracelet Take the two strips of fabric and fold each in half. Tie together at the fold giving you four strands. Take the two strands on the right (white) and fold them over the two strands on the left (blue) then loop back under the blue and over the white. Pull the knot tight. Take the blue strands and fold them over the white, then loop back under the white and over the blue. Pull the knot tight. Step 5 Repeat, alternating colours and making sure the knots are tightened evenly. Continue until it is long enough to wrap around your wrist. Step 6 Remove the clip and feed the free ends through the loops and knot a couple of times. Cut off the excess strands. Complete !!
Recycle your t- shirt Corsage !! • You will need… • 1 or more brightly coloured T-shirts • Fabric Sheers • Sewing machine • Components Step 1 Cut a length of t-shirt fabric, if you want a small corsage then cut a short length. If you want a large corsage cut a long length of t-shirt. Stitch down the middle, gather, fold in half lengthwise, and roll it up. Step 2 Blob some fabric glue on the back and stick it to a circle of fabric. Use your Corsage as a pin broach, to decorate your head band, your tote bag, bracelet, socks. Add beads, buttons or sequins. Can you think of any more? Complete !!
Recycle your t- shirt Ring !! • You will need… • Hot glue gun • Toothpicks or pencil • 1 circle piece of felt • A bunch of circles cut from a t-shirt (about the same size as the felt) • A piece of the hem of the shirt a) Fold a t-shirt circle over the toothpick and add a drop of glue. b) Press it down on the felt circle Step 1 c) Keep adding circles over and over again, making them very close together a) b) d) When you can't squeeze any more in, it won't look pretty. So, now you will take the scissors and give it a "haircut" d) c) Step 2 Make a loop to the desired size with the hem section and hot glue it. Step 3 Glue on the flower and you are done! Complete !!
Recycle your t- shirt POM POMS !! • You will need… • 1 or more old adult large T-shirt, 1 per pom pom. • cardboard • Fabric Sheers • Pencils • Paper scissors. Step 1 Use round objects to trace circles onto cardboard to make 2 templates like those shown above. …. the diameter of the outer circle is 16cm and the diameter of the inner circle is 6cm. You can play around with different template sizes to get different sized pom poms. Step 2 First cut the arms off your t shirt then cut your t-shirt into 2cm strips from the main body. You can then cut strips from the arms if there is enough material especially if the shirt is long sleeved. Step 3 a)Take one strip and one template and place strips as shown close to the inner circle. b) Sandwich the strip by putting the other template on top. a) b)
Continued… Step 4 Take a fabric strip and place on cardboard with the end even with the outer edge. wind around the template as shown. Pull the strip tightly so that it stretches the material. c) When you get to the end of the strip…. c) d) …take another strip and place the edge even with the outer circle like you did at the beginning. when you wind it around the first time, be sure to overlap the end of the previous strip so that it is held in place. e) Do 2 more layers of strips {so that you have 3 layers in layers} d) e) f) Now take the sandwiched strip and pull tight into a double knot. This will help hold things in place for the next step. g) With one hand holding the strips in place, use scissors to cut the fabric strips along the template. f) g) Step 5 After all the strips are cut, pull the string tight and tie into a knot. remove templates. Should look something like this.. Use different coloured t shirts for various size Pom Poms. Complete !!
Recycle your t- shirt Super Hero Arm Cuffs !! • You will need… • 1 or more old T-shirts • Fabric marking tool • Ruler • Fabric Sheers • Needle and thread (or sewing machine) • Components • Stencils, Card , Tracing Paper, Pencils, Paper scissors. Step 1 Measure the distance around the middle of your forearm (x). Mark a rectangle x cm wide and 33cm tall that lines up along one of the side folds of the T-shirt and extends up from the bottom hem. Step 2 Use the fabric scissors to cut out the rectangle through both layers. Step 3 Cut open the side, along the fold of the shirt.
Recycling is SUPER !! Continued… Step 4 Fold each rectangle, right sides in, and make two marks along each of the open edges that measure 3.8cm and 8.9cm down from the hem. Step 5 Opening for thumbs Stitch closed the long sides of the arms, leaving an opening (for the thumbs!) between the two marks. Do this by hand or on the sewing machine. Step 7 Step 6 Using scrap fabrics, ribbons, buttons, beads, sequins, fabric pens to decorate and embellish your Superhero Arm Cuffs. Turn the arm warmers right side out and orient the thumb holes about one-third from the edge. Complete !!
Recycle your t- shirt Tote Bag ! • You will need… • An old large – X large T-Shirt • Fabric Sheers • Sewing Machine and thread • Pins and sewing needles. • Something round like a dinner or paper plate. • Components Step 1 Use scissors to cut and remove the sleeves---make sure you leave the seam in place---this keeps your tote strong! Step 2 Position a plate about halfway over the neck opening of the shirt. Trace the plate with your pencil or pen. This will be your cutting line to create the opening for your tote bag. Cut along the traced line with the scissors.
Continued… Step 3 Turn the T-shirt inside out and pin the bottom of the T-shirt-- along the hem--- closed. Step 4 Use the sewing machine to sew the bottom of the T-shirt hem closed. Reinforce your tote bag by sewing over this seam a second time! Could you add pockets, corsages , sequins, embroidery, beads, buttons, ribbons ???? Step 5 Turn the shirt right- side- out. YOU just made your own recycled tote bag! Fill it with P.E Kit or library books.T-shirt Totes are Machine Washable, Reusable and Strong! Just say NO to "paper or plastic"! Complete !!