replace a window in 1950
Homeowners looking to update or remodel their homes usually try to be loyal to the original design of the home

replace a window in 1950
E N D
Presentation Transcript
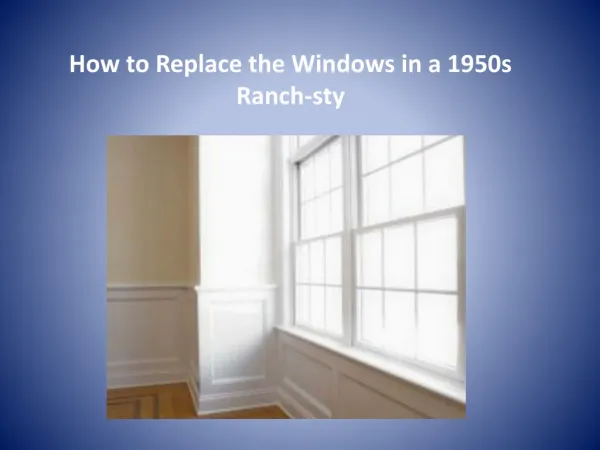
Introduction Homeowners looking to update or remodel their homes usually try to be loyal to the original design of the home. While this is required in many areas for homes on a historic register, for most homeowners it's optional. It's possible to stay true to the original design with modern materials and fixtures. No place is this more true than with windows.
Introduction Modern windows are much more energy efficient than those of half a century ago. They also come in a wide array of sizes and styles, so it is possible to have modern windows without compromising on design. Ranch-style homes generally feature large, plate-glass windows, including picture windows; an assistant's help may come in handy installing the larger windows
What Things will you need? • Caulking gun. • Caulking tools. • Square. • Measuring tape. • Screwdriver. • Hammer. • Replacement windows. • Gloves. • Assistant (optional).
Instructions • Remove the old windows and recycle them.
Instructions 2. Measure for the new windows. Measure inside the jamb from side to side and top to bottom.
Instructions 3. Clean the window jamb and repair any holes with putty. Lightly sand the filled holes after the putty dries.
Instructions 4. Prepare the new window. Check the fit of your new window by placing it into the opening. Move the window sashes to the center. Move the bumper stops to the center and find the mounting holes on the four sides.
Instructions 5. Caulk both sides of the window. Caulk the inside of the jamb's outside stops. Caulk and install the sill angle. Place the header on top of the window, screw into place and caulk.
Instructions 6. Install the new window. If necessary, tap in shims to ensure squareness. all corners must be square. Screw in mounting screws to the top and bottom. Adjust the header to eliminate any space between the window and frame then secure it with screws. While there is no trick to using shims, when necessary start at the nearest available point that is off-square. Light tapping should be all that is necessary to insert the shims.
Instructions 7. Check that the sashes move easily. Adjust as necessary. Caulk the inside of the windows and add the inside stops.