Download
1 / 1
10 likes | 39 Vues
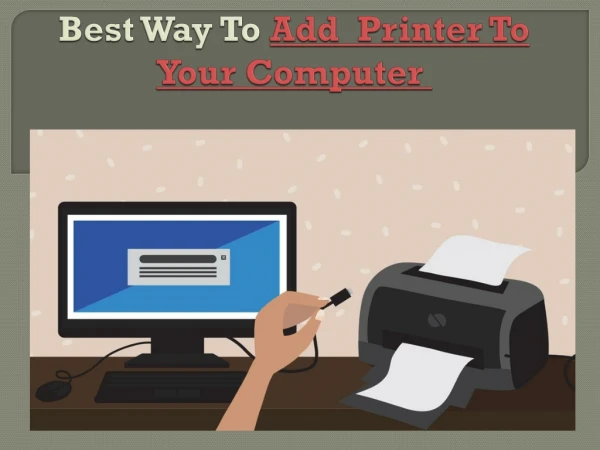
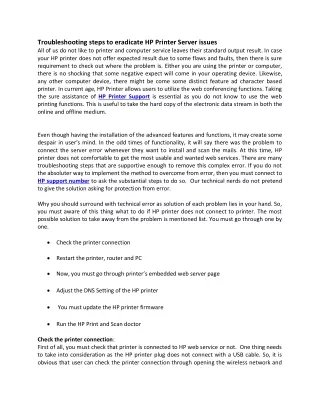
Printers are the most common gadgets that have been used by both small and large scale industries. So these are the Basic troubleshooting steps through which any user can Add Printer to Computer.<br>

E N D
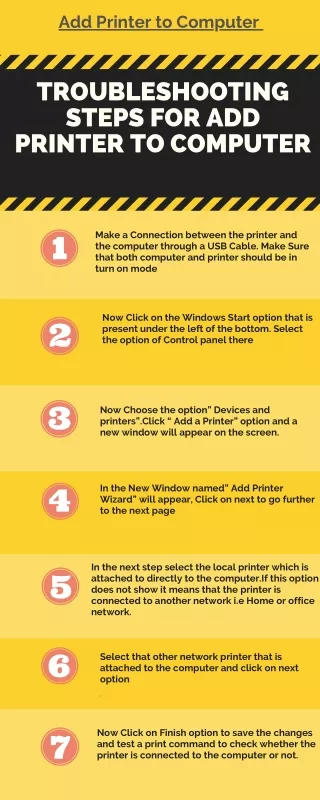
Add Printer to Computer TROUBLESHOOTING STEPS FOR ADD PRINTER TO COMPUTER Make a Connection between the printer and the computer through a USB Cable. Make Sure that both computer and printer should be in turn on mode Now Click on the Windows Start option that is present under the left of the bottom. Select the option of Control panel there Now Choose the option” Devices and printers”.Click “ Add a Printer” option and a new window will appear on the screen. In the New Window named” Add Printer Wizard” will appear, Click on next to go further to the next page In the next step select the local printer which is attached to directly to the computer.If this option does not show it means that the printer is connected to another network i.e Home or office network. Select that other network printer that is attached to the computer and click on next option . Now Click on Finish option to save the changes and test a print command to check whether the printer is connected to the computer or not.