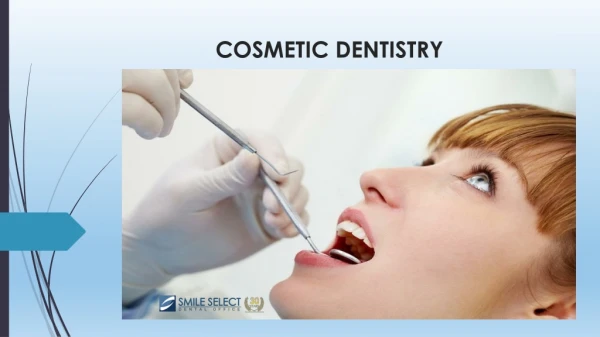
COSMETIC DENTISTRY
COSMETIC DENTISTRY. STEP-BY STEP. Planning for Success. A Guide to Achieving Perfect, Satisfying Results. Introduction. One of our clients once said to us “Strive for perfection and settle for nothing less than excellence”. As technologists we are constantly looking for ways in which we

COSMETIC DENTISTRY
E N D
Presentation Transcript
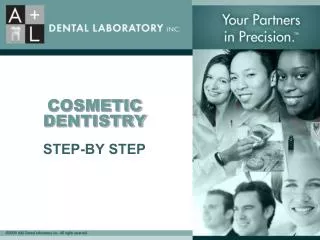
COSMETIC DENTISTRY STEP-BY STEP
Planning for Success A Guide to Achieving Perfect, Satisfying Results.
Introduction One of our clients once said to us “Strive for perfection and settle for nothing less than excellence”. As technologists we are constantly looking for ways in which we can improve what we do. Continuing education, keeping up with technology and communication all play a specific and important role in what we do on a daily basis. Miscommunication over cases costs everyone, the patient, the clinician and the laboratory and is perhaps the easiest shortcoming to rectify.
Communication Patient Laboratory Dentist
Step 1 We believe that the initial meeting is the most important step to good relationships. This meeting will create an atmosphere of trust and understanding between all the parties. An initial sit down meeting with the dentist, the patient and the laboratory technologist is set to determine the patient’s goals and expectations. Select a smile design (we have many resources available for our dentists and patients to choose from.) that is preferable to the patient and suits the patient’s profile. Material choices are discussed. Digital photographic records of the patient are taken. Take upper & lower alginate impressions. Take face bow records if required.
Step 2 Have the Laboratory create a life-like diagnostic wax up of the teeth to be restored (According the patient’s requests but also within the limitations of each case.) Once the patient has approved of the wax-up it is then duplicated and poured in stone. A vacuum formed stent is created from the wax-up. A sectioned silicone labial reduction guide and an incisal arch form reduction guide are created based on the wax-up. A silicone matrix that has been relined with a light body impression material is created from the wax up. This is supplied for the creation of chair side temporaries based on the wax-up.
Diagnostic wax mock up. Before After
Wax up (Facial View) OriginalPre-op model. Wax up (occlusal view)
Incisal arch form and reduction guide. Note position of waxed up teeth vs. original position.
Relined matrix for temporaries, based on wax mock up. Incisal arch form & reduction guide. Labial sectioned reduction guide. Clear plastic reduction stent.
Step 3 Teeth are prepared and the reduction is verified using the various reduction guides and stents. All necessary records are taken.( bites, face bows, shades, etc..) Temporaries are placed and adjusted according to the patient’s wishes and the case limitations. At this stage only minor adjustments should need to be made. A new alginate of the adjusted temporary is taken. On occasion the chair side temporaries are used only as a transitional set and the laboratory will manufacture a final set using the final impression, the face bow and other records.
Step 4 • Frameworks are created by the laboratory and tested, and if necessary, a bisque bake try-in is completed.
Step 5 Any adjustments are made and the case is completed. If a custom finishing or staining is requested the patient is invited to our facility to select etc, before returning for insertion.
Conclusion We all know that time is money. Through open and honest communication, and by following a systematic approach we can achieve successful and predictable results which your patients will thank you for. .
THANK YOU . WE HOPE THAT WE CAN BECOME YOUR LABORATORY OF CHOICE. Your Partners in Precision. Alan David RDT & Larry Rips RDT A & L DENTAL LABORATORY Inc. 1136 Centre St Suite 204 Thornhill, ON L4J 3M8 (905)763-0055 E-mail: thelab@aldentallab.com
Biography A & L Dental Laboratory Inc. is a small boutique style laboratory located in Thornhill, ON. We specialize in cosmetic all ceramic crown and bridge work as well as implant restoration. Co-owners Alan David, RDT and Larry Rips, RDT are a hands on team and have had the privilege of learning from and working with some of Toronto’s finest clinicians and technologists. A & L Dental Laboratory Inc. 1136 Centre St, Suite 204 Thornhill, ON L4J 3M8 905) 763-0055