Download
1 / 9
90 likes | 197 Vues
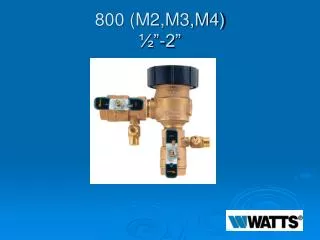
Learn how to modify Model 800 Series valves from the original 1982 model to the current 800M4FR. This guide covers hood and bonnet removal, float and check valve service, and replacement of discs and seats. Includes important reassembly notes.

E N D
Modification Overview • The original model 800 was produced from 1982-1993. • The 800M2 was produced from 1991-1994. • The 800M3 (1/2”,3/4” sizes only) was produced from 1991-1994. • The 800M4 production began in 1994 and is the current model. • The 800M4FR was introduced in 1995 and is produced with a float assembly that contains a relief valve that protects the unit against freeze damage. • A lead free (LF) version was introduced in 2010.
Hood Removal • The ½”- ¾” hood is secured by two screws. • The 1”-2” hood is secured by two screws.
Bonnet Removal • The bonnet is threaded into the body and sealed by an o-ring. • There is no spring load.
Float Removal and Service • The float is free once the bonnet has been removed. • Replace the rubber seal by pulling it from the groove on the float.
Check Valve Removal • Check valve is spring loaded. • Remove spring retainer by pressing down and rotating to clear tabs on the body. • Remove spring and poppet.
Check Disc Replacement • Replace the rubber disc by pulling it from the groove on the poppet.
Check Seat Replacement • The check seat is threaded into the body and sealed by an o-ring. ** Note: A special tool is needed to remove the seat.
Reassembly Notes • Reassemble in reverse order. • Place large end of spring down in body. • The guides on the retainer face up. • The guides on the float face up. • Make sure the float spring is centered on the float.