Download
1 / 3

E N D
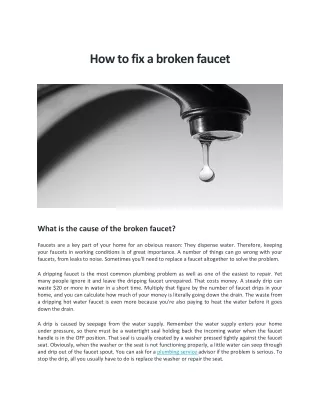
How to fix a broken faucet What is the cause of the broken faucet? Faucets are a key part of your home for an obvious reason: They dispense water. Therefore, keeping your faucets in working conditions is of great importance. A number of things can go wrong with your faucets, from leaks to noise. Sometimes you'll need to replace a faucet altogether to solve the problem. A dripping faucet is the most common plumbing problem as well as one of the easiest to repair. Yet many people ignore it and leave the dripping faucet unrepaired. That costs money. A steady drip can waste $20 or more in water in a short time. Multiply that figure by the number of faucet drips in your home, and you can calculate how much of your money is literally going down the drain. The waste from a dripping hot water faucet is even more because you're also paying to heat the water before it goes down the drain. A drip is caused by seepage from the water supply. Remember the water supply enters your home under pressure, so there must be a watertight seal holding back the incoming water when the faucet handle is in the OFF position. That seal is usually created by a washer pressed tightly against the faucet seat. Obviously, when the washer or the seat is not functioning properly, a little water can seep through and drip out of the faucet spout. You can ask for a plumbing service advisor if the problem is serious. To stop the drip, all you usually have to do is replace the washer or repair the seat.
STEPS ON FIXING A FAUCET 1. Turn Off the Water and Remove the Handle Turn off the water at the valves under the sink, and turn on the faucet to allow the water to drain. Make sure the drains are plugged to prevent small parts from falling in. Use an Allen wrench to loosen the setscrew on the faucet handle, then remove the handle. Be sure to line up the faucet parts in the order in which you remove them. This will help you remember the correct order for reassembly. 2. Remove the Bonnet, and Ball and Cam Assembly Use slip-joint pliers to remove the chrome bonnet. Wrap masking tape around the teeth of the pliers to avoid damaging the chrome. Remove the ball and cam assembly. 3. Remove the Springs Fish out the springs and packing pieces with needlenose pliers. Clean out any sediment or buildup from inside the faucet. 4. Remove the O-Rings and Diverter Grab the spout with both hands, and work it back and forth to loosen it. Then remove it from the faucet face. (This may require a little muscle.) Use the spanner to remove the O-rings, and use needlenose pliers to remove the diverter. Clean any sediment or buildup from the faucet face. 5. Reassemble the Components Press the new diverter into place, and install the new O-rings. Install the top O-ring first. Coat the O- rings with packing grease. (Packing grease withstands high water temperatures and protects the faucet components.)
6. Press the spout back into place Use both hands, and press firmly. (If you'd like to update the look of your faucet, consider replacing the spout. Check with the manufacturer to learn what styles are available.) Use the spanner and Allen wrench as a guide to slide the springs and packing pieces into place. 7. Finish the Installation Place the faucet ball into its slot. Install the cam and cam packing. Reinstall the chrome bonnet and handle. Turn on the water and check for leaks.