Download
1 / 29
340 likes | 561 Vues
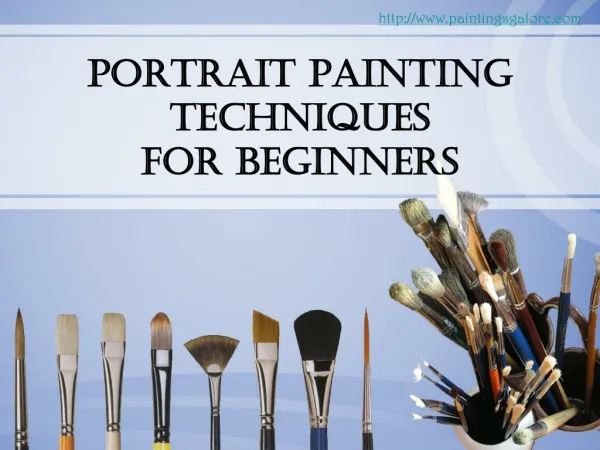
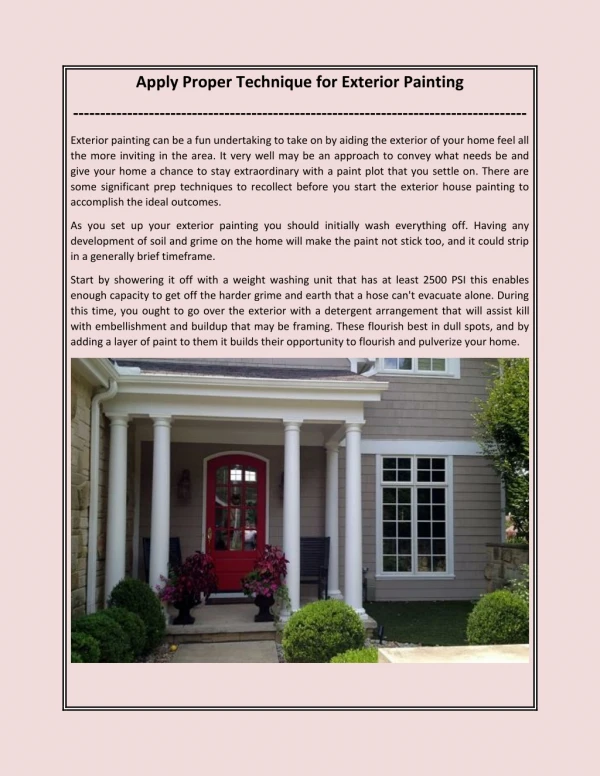
PROPER PAINTING TECHNIQUES. PREPARATION. Prepare your project by sanding it smooth. Paint is repelled by wax, oil, and grease. Clean surfaces if necessary before applying paint. PROTECTION. Select a suitable work area. Painting is NOT allowed at rows 1-6 .

E N D
PREPARATION • Prepare your project by sanding it smooth. • Paint is repelled by wax, oil, and grease. Clean surfaces if necessary before applying paint.
PROTECTION • Select a suitable work area. • Painting is NOT allowed at rows 1-6 . • Good places to paint include: • Cardboard covered workbenches • Area where paint is stored • Outside Courtyard, on workbench or table
PROTECTION • Put down plenty of newspapers completely under your working area to make clean up easier in the event you spill.
Prevention • Always work over the newspapers. Don’t have your cap off to the side.
You will be given a brush and a lid to pour paint into. The lid is numbered so you can tell which one is yours. Be sure you wash all paint out of the lid and brush each time you are finished painting. Otherwise they will be ruined. Paintbrushes cost $1.00.
PROTECTION • Wear a painter’s apron to protect your clothes.
PROTECTION • Wear latex or rubber gloves. Stain and dye won’t wash off your hands.
PROTECTION • Avoid skin contact with finishing materials
PREVENTION • Don’t overfill your paint container (cap). You can always get more later if needed. Avoid waste. • Put the lid back on the paint immediately after pouring.
Prevention • Get paint AFTER you’ve prepared your area. • Carry the paint bottle to your protected area, and do any pouring there. Return the bottle to the paint center when done.
Prevention • Squeeze bottles gently, they can crack or squirt unexpectedly. • Make sure the lid is closed and on tight before shaking.
Don’t take chairs outside, they get paint on them, and rarely get returned. Prevention
Prevention No splatter painting! It’s just too messy.
SELECT THE RIGHT FINISH • Paint • Stain • Clear Polyurethane Protectant • Dye
Methods of Application • Brushing • Wiping • Spraying
PAINT • Hides the wood grain • Protects the wood from the elements • Colors the wood
Application of Paint • Paint is usually brushed on. • Blend brush strokes together to help hide them. • Avoid using a fan for drying. • Brush in the same direction as the grain of the wood, or in the longest direction if there is no grain. • Often requires 2 or more coats or layers. Allow to dry before recoating. • Use thin layers for faster drying.
STAIN • Is opaque (See through) • Shows the wood grain • Comes in limited colors (mostly browns)
Application of Stain • Usually wiped on with a rag or paper towel. • Let it soak in and color the wood. • Wipe off all excess stain after 30 -60 seconds.
Clear Gloss Polyurethane • Seals out moisture • Protects the wood • Comes in Gloss, Semi gloss, and Satin
Application of Clear Gloss Poly • Brush onto wood with a paint brush. • Apply the first coat, let it soak in and seal. • The second and third coats create shine. • Avoid use of a fan which can cause brush marks and dulls the shine.
DYE • Used on leather and fabric • Opaque (see-through) • Comes in many colors
Application of Dye • Put a few drops of dye onto the leather • Wipe the dye around with a rag or paper towel. • Let it soak into the leather for 30-60 seconds. • Wipe off any excess dye with the rag or paper towel.
Clean Up • Many finishing materials don’t wash off with soap and water. • Don’t pour chemicals down the sink. • Use caution when carrying paint to the sink area. Many students spill and don’t even realize it. • Wash brushes and other items covered with water soluble paint in the sink. They will be ruined if the paint dries on them.
CLEAN UP (cont.) • Plan ahead. Have your locker open before carrying your project through the classroom to put it away. Don’t get wet paint on the tables, chairs, lockers or floor. • Throw away used newspapers unless they are dry and can be re-used. • Wipe up any spilled paint before it dries.
CLEAN UP (cont.) • Hang your painters apron back on the hook. • Retrace your steps and double check to be sure you didn’t forget anything.
Vandalism will be reported to the school administration. The punishment is suspension and restitution.