Download
1 / 8
90 likes | 122 Vues
Learn how to create and execute a virtual machine on windows 10 devices using HyperV and how to install windows server 2012 on your new virtual machine.

E N D
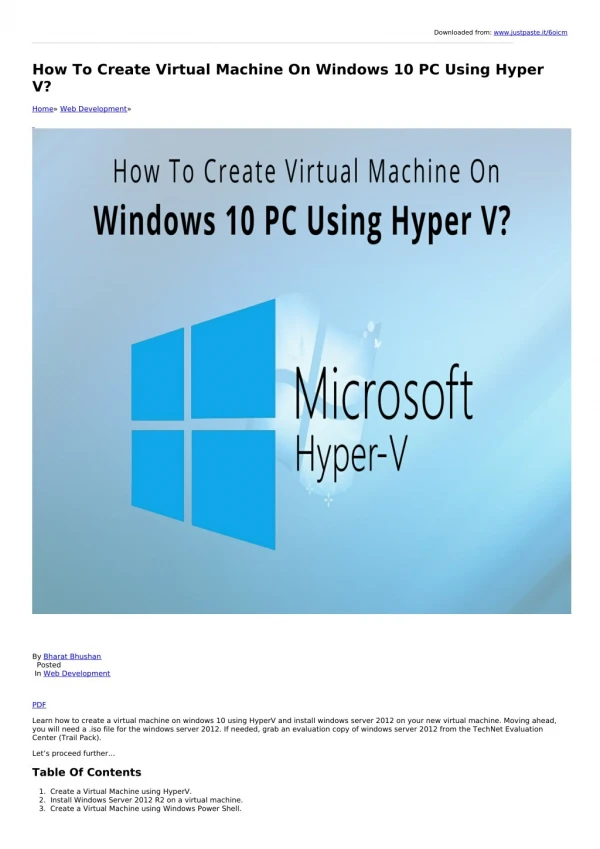
Downloaded from: www.justpaste.it/6oicm How To Create Virtual Machine On Windows 10 PC Using Hyper V? Home» Web Development» By Bharat Bhushan Posted In Web Development PDF Learn how to create a virtual machine on windows 10 using HyperV and install windows server 2012 on your new virtual machine. Moving ahead, you will need a .iso file for the windows server 2012. If needed, grab an evaluation copy of windows server 2012 from the TechNet Evaluation Center (Trail Pack). Let’s proceed further… Table Of Contents 1. Create a Virtual Machine using HyperV. 2. Install Windows Server 2012 R2 on a virtual machine. 3. Create a Virtual Machine using Windows Power Shell.
4. Install Windows Server 2012 R2 using Windows Power Shell. Create A Virtual Machine With Hyper-V Manager Open Hyper-V Manager on Windows 10 by pressing the Window’s key and typing “Hyper-V Manager” or by finding Hyper-V Manager in your applications. If Hyper-V is not enabled on your Windows 10 PC follow the below steps. How To Enable Hyper-V On Windows 10 Machine? Click the search icon in start menu on windows 10 on the taskbar Type “turn windows features on or off ” and select that item to browse. Turn on Windows Feature Select Hyper-V to enable on the Windows 10 machine. Note: If Hyper-V was not previously enabled on the machine, must reboot the machine to apply installed changes. Now let’s start creating a virtual machine… Follow the instruction step by step and you are done: Now take a quick look at our Hyper-V Manager. Click Action > New > Virtual Machine to bring up the New Virtual Machine Wizard.
Review the ‘Before You Begin’ content and click on Next. Give the virtual machine a name. Note: This is the name Hyper-V uses for the virtual machine, not the computer name given to the guest operating system that will be deployed inside the virtual machine.
Choose a location where you want to store the virtual machine’ files. such as I want to install windows server so create c:\WindowsServerVM location. You can also accept the default location. Click Next when done. Select a generation for the machine and click on Next. Now let’s get some idea about Generation 2 virtual machines…
Generation 2 Virtual Machines These machines were introduced with Windows Server 2012 R2 and provide a streamlined virtual hardware model. It also introduces some other functionality. Here you can only install a 64-bit operating system on Generation 2 virtual machine. Following are the features of Generation 2 Virtual Machine: PXE boot using a standard network adapter. Boot from an SCSI virtual hard disk. Boot from an SCSI virtual DVD. Secure Boot(enabled by default). UEFI firmware Support. If the new virtual machine is configured as Generation 2 and will be running a Linux distribution, secure boot will need to be disabled in settings. Select 2048 MB for the Startup Memory value and leave. Use Dynamic Memory selected so you can increase Memory value later. Now Click the Next button. This memory is allocated between a Hyper-V host and the virtual machine running on the host. The number of virtual machines that can keep running on a solitary host is to some degree reliant on accessible memory. A virtual machine can likewise be designed to utilize Dynamic Memory. Once enabled, dynamic memory reclaims unused memory from the running virtual machine. It permits a lot of the virtual machines to run on the host. Creating A Virtual Switch Provide a name to virtual hard drive, keep the default location or select the desired location, and finally specify a size. Click Next when ready.
A virtual hard drive provides storage for a virtual machine, similar to a physical hard drive. On the virtual machine, We required virtual hard drive so that we can install an operating system. On the Installation Options wizard, select Install an operating system from a bootable image file and then select an operating system .iso file. Click Next once completed.
ON configuration of virtual machine, some operating system installation options. The three options available are: Install an operating system later – this option makes no more changes to the virtual machine. Install an operating system from a bootable image file. This is like inserting a CD into the physical CD-ROM drive of a physical computer. To configure this option you need to Select a .iso image on your virtual machine which will be mounted to the virtual CD-ROM drive of the virtual machine. Change the virtual machine boot order to boot first from the CD-ROM drive. From a network-based server install an operating system. On a network switch when you have connected to virtual machine this option is not available at that time. Using this configuration, the virtual machine attempts to boot from the network.Review the virtual machine details and click Finish to complete the virtual machine creation. Virtual Machine With Windows Power Shell Now let’s create a Virtual Machine with Windows Power Shell… 1. Open up the Power Shell ISE as Administrator. 2. Run the following script. PowerShell Copy # Set VM Name, Switch Name, and Installation Media Path $VMName = ‘TESTVM’ $Switch = ‘External VM Switch’ $InstallMedia = ‘C:\Users\Administrator\Desktop\en_windows_Server2012R2_x64_dvd_6851151.iso’ # Create New Virtual Machine New-VM -Name $VMName -MemoryStartupBytes 2147483648 -Generation 2 -NewVHDPath “D:\Virtual Machines\$VMName\$VMName.vhdx” - NewVHDSizeBytes 53687091200 -Path “D:\Virtual Machines\$VMName” -SwitchName $Switch # Add DVD Drive to Virtual Machine Add-VMScsiController -VMName $VMName Add-VMDvdDrive -VMName $VMName -ControllerNumber 1 -ControllerLocation 0 -Path $InstallMedia # Mount Installation Media
$DVDDrive = Get-VMDvdDrive -VMName $VMName # Configure Virtual Machine to Boot from DVD Set-VMFirmware -VMName $VMName -FirstBootDevice $DVDDrive Complete the Operating System Deployment To complete creation of virtual machine, you need to start the virtual machine and walk through the operating system installation. In Hyper-V Manager, double-click on the virtual machine. This launches the VMConnect tool. In VMConnect, click on the green Start button. This is like pressing the power button on a physical computer. Maybe this can promote to ‘Press any key to boot from CD or DVD’. Go ahead and do so. Note: To make sure that your keystrokes are sent to the virtual machine, you may need to click on the VMConnect window. The virtual machine then boots into the setup and you are free to walk through the installation process easily like you would on a physical computer. Note: Unless you’re running a volume-licensed version of Windows. You require a different permit for Windows running inside a virtual machine. Operating framework of the virtual machine is free on the host working framework. Sounds simple…Isn’t it? In case of any further queries, you can place them all in the comments section below!