Download
1 / 7
70 likes | 97 Vues
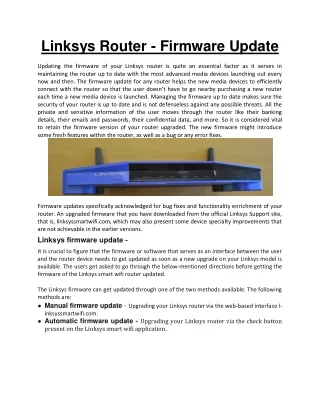
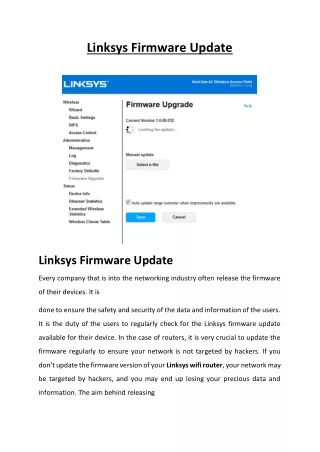
In order to rectify the issue cannot login to my Asus router login issue, you will have to update the firmware of the router to its latest version. First of all, open a web browser and go to the official Asus router website. Then, search the model number of the device and find the firmware on the website.

E N D
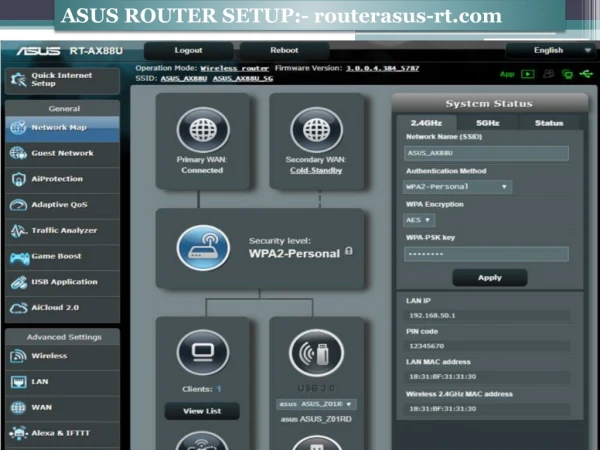
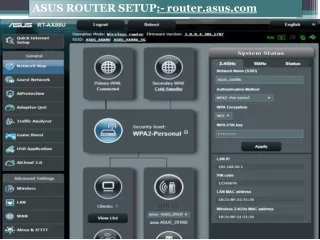
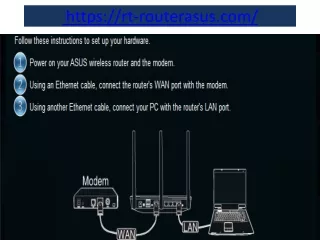
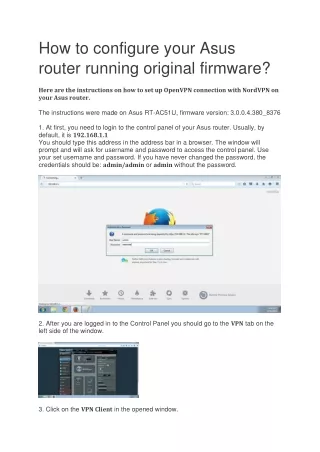
How to configure your Asus router running original firmware? Here are the instructions on how to set up OpenVPN connection with NordVPN on your Asus router. The instructions were made on Asus RT-AC51U, firmware version: 3.0.0.4.380_8376 1. At first, you need to login to the control panel of your Asus router. Usually, by default, it is 192.168.1.1 You should type this address in the address bar in a browser. The window will prompt and will ask for username and password to access the control panel. Use your set username and password. If you have never changed the password, the credentials should be: admin/admin or admin without the password. 2. After you are logged in to the Control Panel you should go to the VPN tab on the left side of the window. 3. Click on the VPN Client in the opened window.
4. Click on Add profile button at the bottom of the window. 5. Select OpenVPN tab and fill in the fields: Description: you can name the connection you will create however you like; User name: your NordVPN username; Password: your NordVPN account password; Auto reconnection: yes;
6. Now you need to download OpenVPN client configuration files. For this, we recommend going into our recommended server utility here. After you download the files, get back to the control panel of your router and click on the Choose File button.
7. Select a preferred configuration file from the destination you have downloaded the files and click on Open. 8. The selected file now needs to be uploaded. Please click on Upload button. You should see the message Complete! if successful.
9. Now click on OKbutton. The “Import the CA file or edit the .ovpnfile manually” should be left not ticked.
10. In the VPN Client tab, you will see the created connection. Click on the Activate button to connect your router to NordVPN. Please note that only one OpenVPN connection can be created. 11. The blue check mark should appear in the Connection Status column. That means that you are connected to NordVPN.
12. You can check your IP address and protection status at NordVPN.com in the top bar. Please make sure the webpage is refreshed and not loaded from cache. To disconnect from NordVPN simply click on Deactivate button which appeared instead of the Activate button when you have connected.