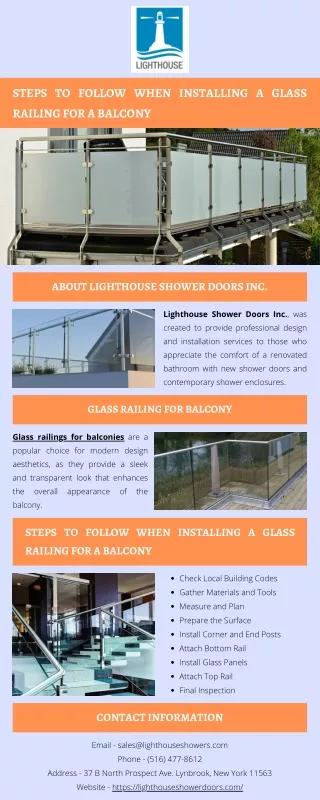
Steps to Follow for Installing Door Hinge Protector
10 likes | 24 Vues
Safety Assured Limited manufactures the unique and unrivalled Door Hinge Finger Protectoru00ae, a simple solution that prevents injury caused by doors closing on fingers. We offer expert advice and quotations for Door Safety which is guaranteed fit for purpose.

Steps to Follow for Installing Door Hinge Protector
E N D
Presentation Transcript
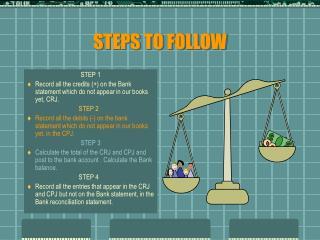
STEPS TO FOLLOW FOR INSTALLING DOOR HINGE PROTECTOR MARK THE DOOR START PUNCHING HOLES INDICATE THE DEPTH AND START DRILLING SEAL AND DRILL ALL LOOSE ENDS TEST AND ENJOY YOUR NEW DOOR OUR PRODUCTS ·Hinge Pin ·Hinge Cavity ·Slam Stop ·Slide Safe ·Gate Cap OUR COMPANY Safety Assured Limited manufactures the unique and unrivalled Door Hinge Finger Protector®, a simple solution that prevents injury caused by doors closing on fingers. We offer expert advice and quotations for Door Safety which is guaranteed fit for purpose. All technicians are DBS* checked and able to carry out site surveys and hassle-free installation, without disrupting your daily routine. Book Our Products Online at https://www.safetyassured.co.uk/