Download
1 / 2
20 likes | 64 Vues
How to set up HP Officejet 4500 wireless printer - Best solutions

E N D
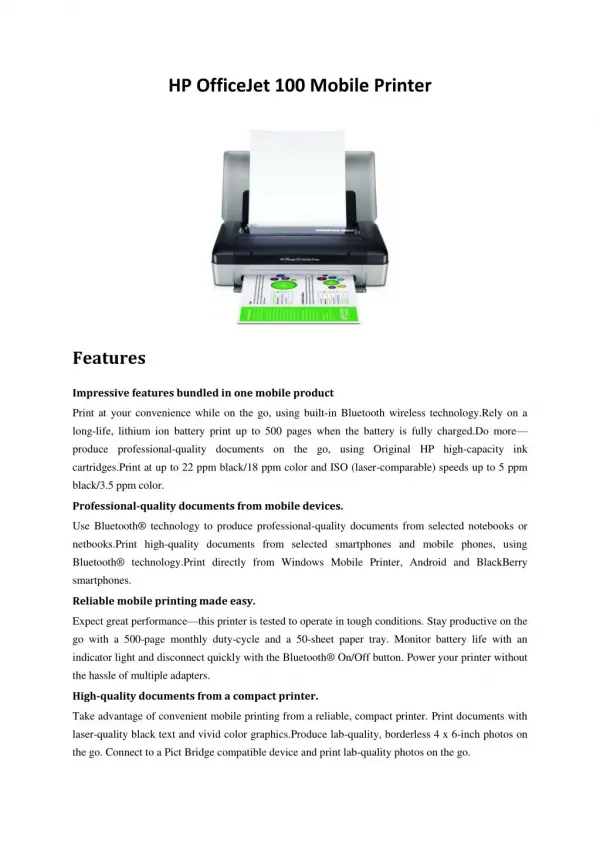
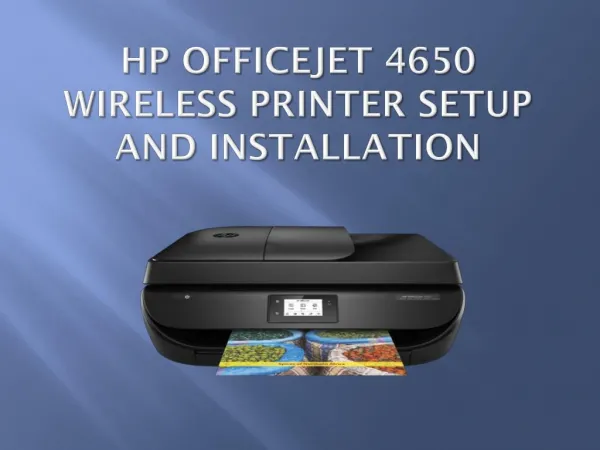
HP Officejet 4500 wireless printer Officejet 4500 wireless printer H How to set up ow to set up HP Configuring the HP Officejet 4500 printer parts is an easy task. The printer is available in the packaged box. The packaging is done to avoid the damage to the material during transportation. Read through the steps below to set up the printer to a wireless network. Quick steps to set up the HP Officejet 4500 wireless printer Quick steps to set up the HP Officejet 4500 wireless printer 1.Lift the 123.hp.com 123.hp.com printer from the printer’s shipment box. 2.Discard all the packing materials around the printer. 3.Power on the printer by establishing the power connection. 4.Fill plain sheets of paper into the main tray. 5.Install genuine ink cartridges into their slots. 6.Utilize the software installation CD to install the driver. 7.Connect the printer to a wireless network. A detailed descri A detailed description of setting up the HP Officejet 4500 to a wireless network ption of setting up the HP Officejet 4500 to a wireless network The fundamental step for unboxing the printer is to rip the tape on the printer’s shipment box. Lay the box on a level surface and pull the printer using the package surrounding it. Remove all the tapes and packing materials surrounding the box. Place the printer on a flat surface. The elements in the box are a USB cable, power cable, software installation CD, ink cartridges, warranty card, and user manual. Inspect the cable for any damage. If the cable is faulty, replace it with a new one. Insert one end of the printer’s power cable to the rear end and the other end to the wall socket.
Long-press the Power button to turn on the printer. Open the input tray. Drift the paper width guides to its maximum. Fill white papers into the tray and adjust the guides. Unlock the ink cartridge access door. The carriage moves to its replacement position. Seat the ink cartridges into their slots until they click into place. Close the door. The printer delivers an alignment page. The system prompts to install the driver. Find the software installation CD in the box. Press the Eject button on the system to open the disc drive. Load the CD into the driver. Check if the list of available files on the screen. Select the setup file from the list. Read through the instructions to complete the process. Choose the mode of connection as Wireless. After completing the process, get the network name and password for establishing the connection. Go to the Settings-> Wireless Settings-> Wireless Setup Wizard. Choose the network name from the list of available devices. The printer starts to establish the connection. During the process, the wireless light flickers. After the connection is established, view a stable wireless light.