Download
1 / 3
60 likes | 102 Vues
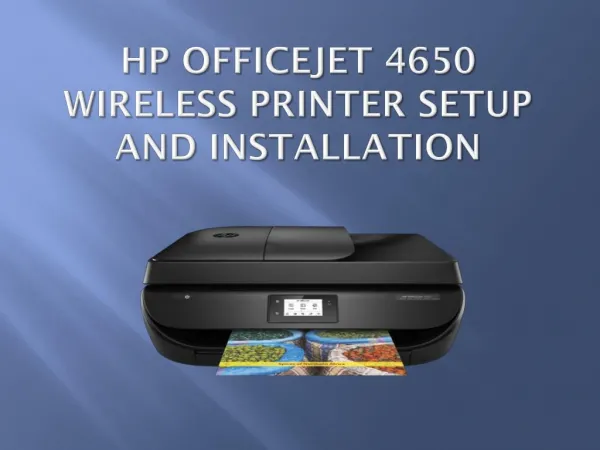
Simple 8 steps to guide with hp officejet 4620 wireless printer setup.

E N D
How to set up wireless printer hp Officejet 4620 Do you want to establish a network connection for your Officejet 4620 printer? It is a simple task. The various methods available to establish the connection are Wireless Setup Wizard, Auto wireless connect, Wi-Fi Protected Setup and Wi-Fi Direct printing. You can also change the USB to a wireless connection. How to change the USB to wireless 1.Use the HP Printer Setup and Software Utility software for the connection process. 2.In Windows, type HP in the search bar. 3.Choose the printer name from the list of available devices. 4.Select the Utilities icon in the top menu bar. 5.Choose the Printer Setup or Software or Device Setup and Software option. 6.Select the Convert a USB connected printer to wireless to open the utility. 7.You can also make use of the HP Smart App to convert the USB to wireless connection. Brief steps to set up the HP Officejet 4620 printer to a network
Configure the HP Officejet 4620 printer to a wireless network using the network name and password. Long-press the Power button to turn on your printer. Find the network name and password before the connection is established. Locate the password on the original paperwork or ISP. It is also referred to as Wireless key, security password or similar. For Windows system, right-click on the network tray icon. Choose the Open Network and Sharing Center option from the list. Click Change Adapter Settings-> Status. Select the Wireless Properties. Choose the Security tab and click the Show Characters option to view the wireless security key. For the Mac system, select Go-> Utilities. Choose the Keychain Access icon. Select the Local items in the Keychains list. Select Passwords in the Category list. Connect the printer to a network with stable internet access. Set the printer and router near to a router for better signal strength. You need to detach the printer's USB cable from the printer’s back side. Tap the Wireless icon on the printer’s control panel. Wait for the wireless menu to display. Press the Setup button. Move to the Tools option by pressing the down arrow. Press OK.
Select the Restore Defaults icon and press OK. Check if the blue light adjacent to the Wireless button is blinking. Tap the Cancel icon to revert to the home screen. You can complete the process by installing the updated driver on your system. Download the updated driver and click on the link to start the download process. After the download completes, select the setup icon from the list. Install it with the help of the prompts mentioned on the screen. Choose the mode of connection as Wireless. Select Finish to complete the process.