Download
1 / 2
20 likes | 34 Vues
HP Envy Photo 7120 First Time Printer Setup, unboxing setup, and installation guidelines.

E N D
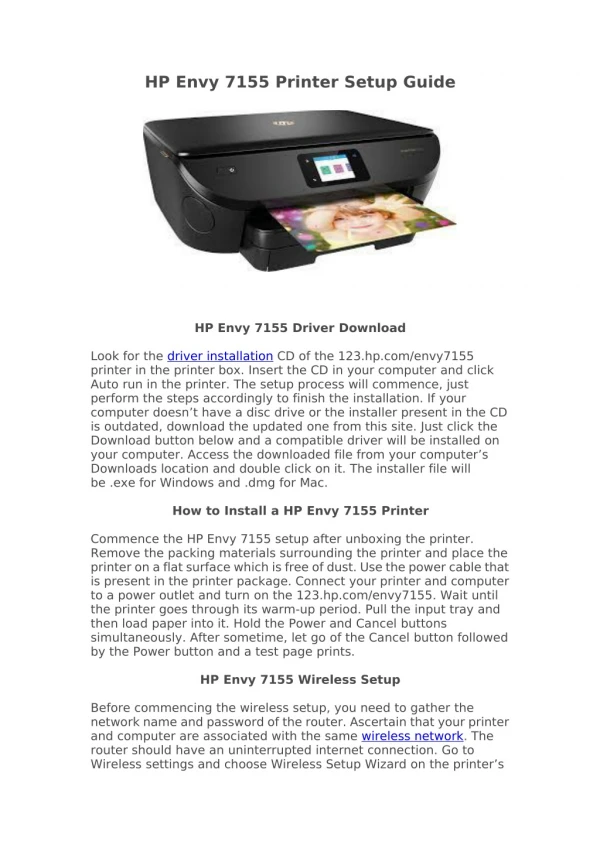
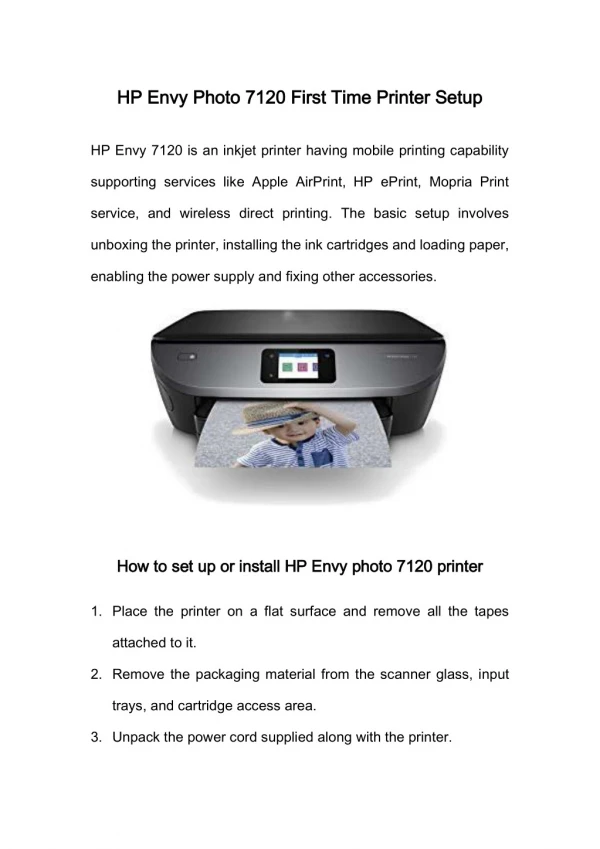
HP Envy Photo 7120 First Time Printer Setup HP Envy Photo 7120 First Time Printer Setup HP Envy 7120 is an inkjet printer having mobile printing capability supporting services like Apple AirPrint, HP ePrint, Mopria Print service, and wireless direct printing. The basic setup involves unboxing the printer, installing the ink cartridges and loading paper, enabling the power supply and fixing other accessories. How to set up or install HP Envy photo 7120 printer How to set up or install HP Envy photo 7120 printer 1.Place the printer on a flat surface and remove all the tapes attached to it. 2.Remove the packaging material from the scanner glass, input trays, and cartridge access area. 3.Unpack the power cord supplied along with the printer.
4.Insert the cord’s one end into the printer’s rear port and the other end into the wall outlet. 5.Find the Power button on the left of the control panel and press it. The printer will power up. 6.Wait until the warm-up period finishes and becomes silent. 7.Lift-open the cartridge access door and wait until the carriage moves to the center and stops. 8.Unwrap the new ink cartridges and insert them into the empty slots. Push the cartridges up until it snaps into place. 9.Close the access door. Now draw the input tray out and place enough paper in it. 10.Adjust the paper width guides and then push the tray back into the printer. 11.Wait until the printer prints a calibration page. 12.The hardware setup for the printer is complete now. The next step is the installation of the printer driver.