How to make a Hail Pad
330 likes | 773 Vues
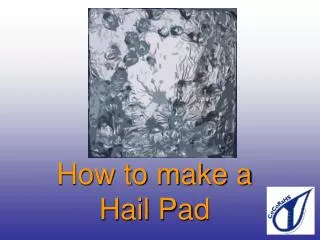
How to make a Hail Pad. You will need to start with four main materials. Styrofoam Aluminum Foil Tape Volunteers. Styrofoam. You will want 12” x 12” blocks of Styrofoam one inch thick. Aluminum Foil. Use “Extra Heavy Duty” Aluminum Foil that is 18 inches wide. Tape.

How to make a Hail Pad
E N D
Presentation Transcript
You will need to start with four main materials Styrofoam Aluminum Foil Tape Volunteers
Styrofoam You will want 12” x 12” blocks of Styrofoam one inch thick
Aluminum Foil Use “Extra Heavy Duty” Aluminum Foil that is 18 inches wide
Tape Packaging tape will work just fine
. . . and volunteers ! Hail pad “parties” are great community service events for scouts, schools, clubs and other groups.
Additional Materials The following materials will aid you in your hail pad production and the storing of your finished product . . .
Brown paper inserts These inserts are ideal to protect your finished pads from dents and scratches
Storage boxes 30”x13”x13” boxes are ideal to store your hail pads in. They hold 28 pads.
Hail report cards You will want to make sure that you include one card for each hail pad.
and don’t forget to feed your volunteers! Studies now show that a pizza or sub sandwich can increase production as much as 20-30%. Well fed volunteers are happy volunteers!
Producing a hail pad • Cutting • Folding • Taping
Cutting the foil 18 inches 18 inches Cut your foil into 18” x 18” squares. This can be done with a sharp edged ruler.
Cutting the brown paper inserts 12 inches 12 inches You will want to cut your box inserts into 12” x 12” squares
A smooth soft surface Place your sheet of foil on a smooth soft surface such as a t-shirt or cloth. Make sure that the shiny side is face up! (you will want the dull side on the outside face of the pad)
Placement of the foam Place the foam square at the center of the aluminum foil
It’s almost like wrapping a present Fold both sides up making sharp creases. Carefully begin folding the corners.
Almost there! Carefully crease the corners. Now fold over the end of the package.
Fold both edges Make a sharp crease on the edge and then do the same for the other end of the pad.
The final touch Tape the two outside edges of your pad. You may wish to tape all four.
Into the box Place your finished hail pads in a box with paper inserted between each pad.
And that’s all that’s to it! Be sure to include a hail report card with each pad
Pick up/Drop off points Once you have made your hail pads, you may wish to organize local pick up/drop points in your community.