Download
1 / 11
120 likes | 255 Vues
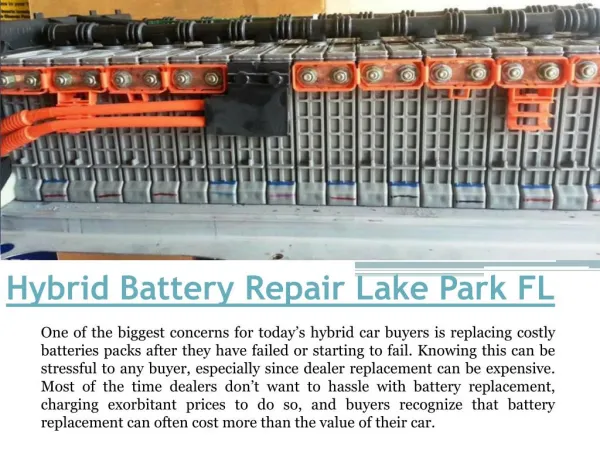
SONATA HYBRID Battery Dismantling Manual. Precautions for handling the hybrid battery. Wear rubber-insulated gloves. Use insulated tools. Do not have any metal objects in your possession while working. Do not cause any impact on the battery.

E N D
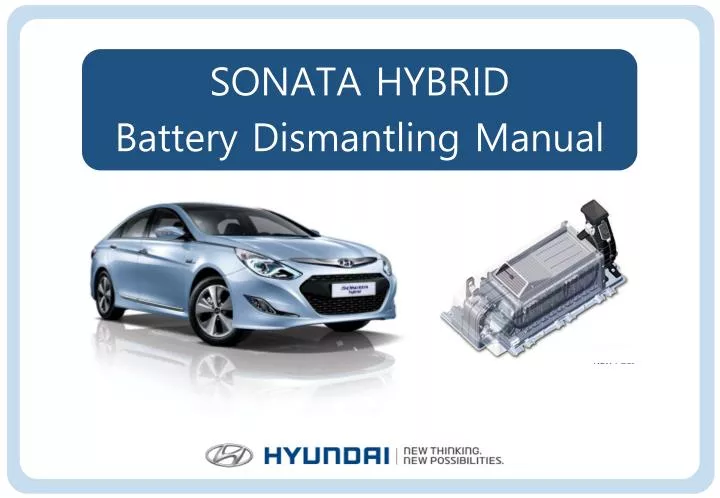
SONATA HYBRID Battery Dismantling Manual
Precautions for handling the hybrid battery • Wear rubber-insulated gloves. • Use insulated tools. • Do not have any metal objects in your possession while working. • Do not cause any impact on the battery. • Do not disassemble the battery without specific equipment. • Be sure to discharge the battery to store and transport it safely. Battery dismantling procedure Dismantling the hybrid battery Turning off the engine Disconnecting the 12V battery terminal Disconnecting the safety plug and connectors Discharging the hybrid battery
Disconnection of the 12V battery terminal Caution Disconnect the negative terminal of the battery first. If the positive terminal is disconnected first, there is a possibility of electric shock. 1 2 3 4 5 Open the trunk. Remove the 12V battery cover. Negative terminal of the 12V battery Unfasten a nut. Disconnect the negative terminal.
Disconnection of the safety plug 1 2 4 5 6 3 Safety plug cover Uncover the safety plug cover. Release the lock of the plug. After disconnection, wait 5 minutes for the electric discharge . Pull the lever. Disconnect the safety plug.
Removal of the rear seat 1 2 3 4 Bolts for fastening the rear seat back Remove the rear seatcushion. Remove the rear seat back. Unfasten 5 bolts.
Removal of the luggage partition trim 1 3 4 5 6 2 Unfasten 3 fasteners and 5 screws. Luggage partition trim Remove the luggage partition trim. Fasteners and a nut for fastening trunk trims Unfasten a nut. Unfasten 2 fasteners.
Removal of trunk trims 1 2 3 4 5 Unfasten a bolt. Unfasten 11 fasteners. Remove the luggage cover mat. Remove the battery case trim. Remove the luggage side trim(LH). Remove the luggage side trim(RH).
Removal of cooling ducts 1 2 3 4 Outlet cooling duct/ Inlet cooling duct Unfasten 5 nuts. Detach the inlet cooling duct. Detach the outlet cooling duct.
Uncovering the high voltage safety cover 1 2 3 Unfasten 3 torx bolts. High voltage safety cover Uncover the high voltage safety cover.
Disconnection of battery connectors 1 2 4 5 3 Disconnect the BMS extension connector. Disconnect the cooling fan connector. Disconnect the inverter power cable terminals. Unfasten 3 nuts. Caution • Orange colored cables carry high current. • Be cautious when working with electric terminals. Battery connectors
Dismantling the battery 1 2 4 5 3 Battery case Battery case Unfasten 6 bolts. • Caution • Be cautious about transportation because a battery weighs about 42kg. • Do not cause any impact on the battery. Dismantle the battery. Finish dismantling the battery.