Download
1 / 24
240 likes | 389 Vues
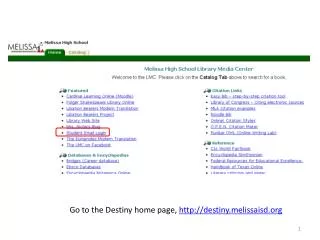
Go to the Destiny home page, http://destiny.melissaisd.org. Click the link “Sign In”.

E N D
Enter the username and password you use to login to a computer. Click the sign in button. Your student email address is your ID number @melissaisd.info. Note: Dot INFO! For example, 110034@melissaisd.info
Your iGoogle will look something like this. You need to add gadgets for Google Docs and Gmail. Click the “Add Stuff” link.
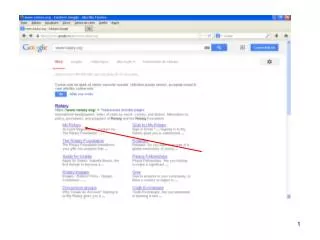
Type Google in the search box and click the “Search Homepage Content” button
Click the “Add it now” button . Google Calendar and Google Reader are also useful. Click “Back to Homepage” (top left) when you are done.
You can drag your new gadgets around the page to re-arrange them however you like. Click on the blue bar and hold to grab it, drag it where you want it, then let go.
Here, I’ve changed my theme to “Beach”. Also, notice that on the bar for each gadget, clicking the down arrow give you a settings menu. You can delete the gadget or minimize it so it takes up less space on your iGoogle home page.
Above, I’ve minimized the Google Docs Gadget. Use the dropdown menu to expand the Gadget back to normal size. Double-click on the words Google Docs to open the Gadget up.
Here’s where you upload files Here’s where you click to create documents Google Docs allows you to do two main things: create documents (similar to MS Office) and upload/store documents online, in the cloud.
These are all the documents that I’ve created and/or saved to Google Docs. You can save photos, videos, and sound files, too.
Click here, then find your file Uploading files is as easy as doing an email attachment. Click the upload button, then click on Files….
Double-click the file you want to upload. Easy! There’s just one thing to think about before your document goes up to the cloud…
You will see this screen asking you if you want to convert your document to the Google Docs format. If you want to convert, leave the box checked then hit the Start Upload button. If you do not wish to convert, uncheck the box, then hit the Start Upload button. Don’t know if you want to convert? Well……
Convert if: • You are going to need to work on this document later on a computer that doesn’t have the same version of MS Office (Word, PowerPoint, etc.) • You are going to need to work on this document on a computer that doesn’t have MS Office on it at all. • You are going to share this document with a partner who might not have MS Office on his/her computer. • No need to convert if: • You will only work on this document on a computer with the exact same version of MS Office (like, only here at school and not at home).
Now my document is saved in the cloud. Google Docs will show you that your upload is complete and you will see the document in your file list.
Share When you click the box next to your file, you will see a menu of all the things you can do with that file: share it, organize it in a file, delete it, preview it, and more.
Use the down arrow to change permissions. Edit means they can make changes. Comment and view mean they can look but not change. Share with people here by typing their email addresses. Here’s what you get when you click Share. If you are working in a group, you can add your group members so everybody can work on the document, even at the same time! Click Done.
You can organize your docs in folders. Click the Create button and then click Collection in the drop down menu. Name the folder (for example, “Science”. Then, you can drag and drop your science documents into this folder….
…like this. Use the down arrow next to the folder to see a menu that lets you change its color, rename it, share it, or trash it.
To work on a document that you’ve uploaded, double-click it. If it is in Google Docs format, you can edit it right in Google Docs. If it isn’t (for example, it’s a Word document and you didn’t convert it), you can download it to your computer for editing.
Here, I’ve opened a Google Document from my list. Notice that the menu bar is very similar to MS Word’s. One cool thing you can do is Insert Comment. This is handy when you are working on a shared document. Click where you want the comment to appear. Go Insert to Comment. The comment pops out to the right.
Ifyou open a file you didn’t convert, like the Word document above, you will have the choice to edit it online (it will convert) or download it to edit it in MS Word.
You will notice that Google Docs saves your work automatically. There is no Save under the file menu! You can email it, print it, or download it from file. You can even save it back into Word if needed.