Download
1 / 2
20 likes | 26 Vues
The most common model of neck joint would be the Antler Neck Joint. It allows for the head to appear thinner and more refined. What is the best approach for creating a neck joint? The best way to create a neck joint is to start with the head of your character and cut off the feet and the arms from the legs.

E N D
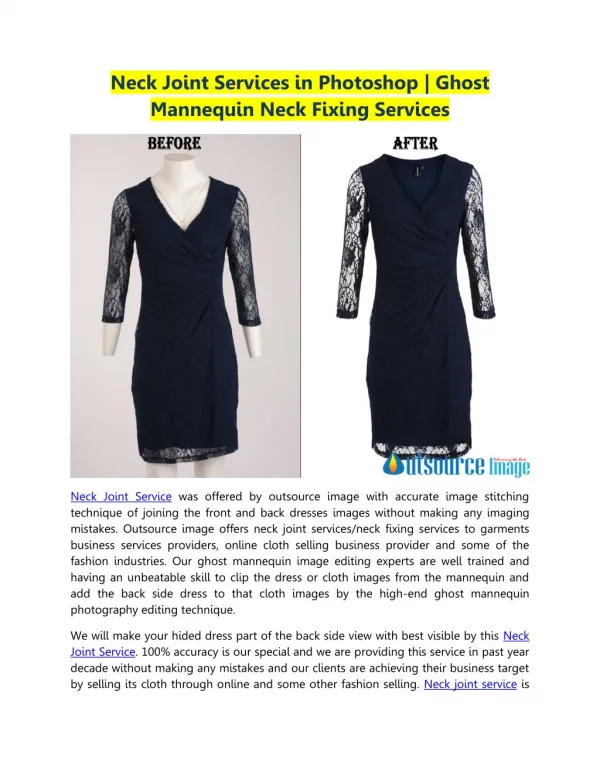
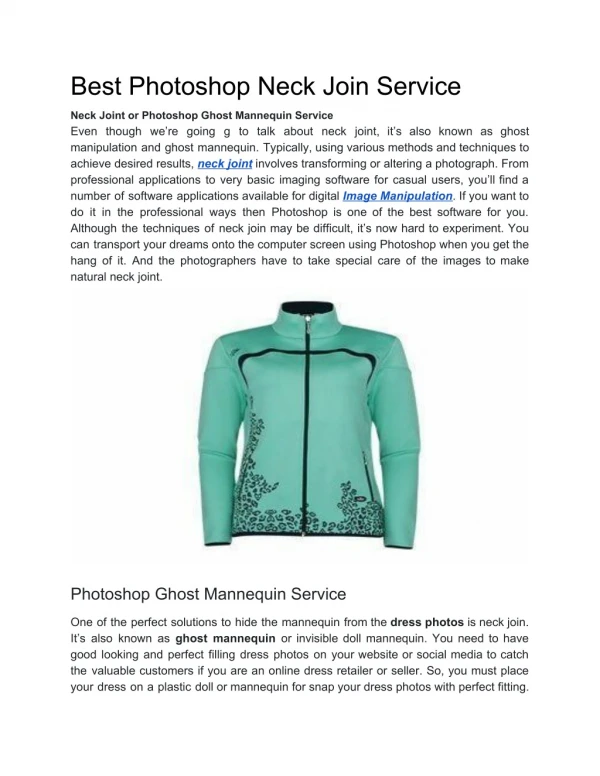
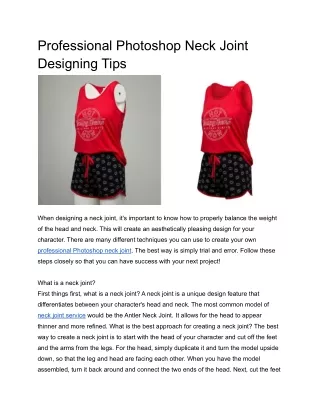
Professional Photoshop Neck Joint Designing Tips When designing a neck joint, it's important to know how to properly balance the weight of the head and neck. This will create an aesthetically pleasing design for your character. There are many different techniques you can use to create your own professional Photoshop neck joint. The best way is simply trial and error. Follow these steps closely so that you can have success with your next project! What is a neck joint? First things first, what is a neck joint? A neck joint is a unique design feature that differentiates between your character's head and neck. The most common model of neck joint service would be the Antler Neck Joint. It allows for the head to appear thinner and more refined. What is the best approach for creating a neck joint? The best way to create a neck joint is to start with the head of your character and cut off the feet and the arms from the legs. For the head, simply duplicate it and turn the model upside down, so that the leg and head are facing each other. When you have the model assembled, turn it back around and connect the two ends of the head. Next, cut the feet
off the model and put them on the bottom of the neck. This makes the model look more solid. Types of Photoshop neck joints Before looking at Photoshop neck joint tutorials, it's important to understand the types of neck joints that are available. There are three major types to consider when designing a new neck joint: beveled, normal, and curved. It's important to know which one of these techniques is best for your next character model to ensure that it will work for your project. Beveled neck joints You might be surprised to learn that beveled neck joints are very popular for making cartoon characters. Designing your own neck joint Traditionally, a dangles the weight of the head. If you have a less detailed face and neck, this is where you want to start. Most of the image on the face should fit within a 2D rectangle. This will save time when you are creating and/or designing the neck joint itself. The rectangle can be created using either the fill, select, and crop tool in Photoshop or your mouse cursor. Tip: Sometimes you may be able to place an image into a 2D rectangle using the mouse and a few quick strokes. Once you have an image at that size, save the image and then go back to the 2D rectangle tool. Click with the mouse in a specific spot on the 4-way controller to create a height and width rectangle, just like you did for the face. Conclusion Hopefully, the above tips and tricks will get you started on creating professional heads and necks in Photoshop. If you would like to take your game to the next level, make sure to check out my 3D models, accessories and base meshes here!