Download
1 / 6
60 likes | 76 Vues
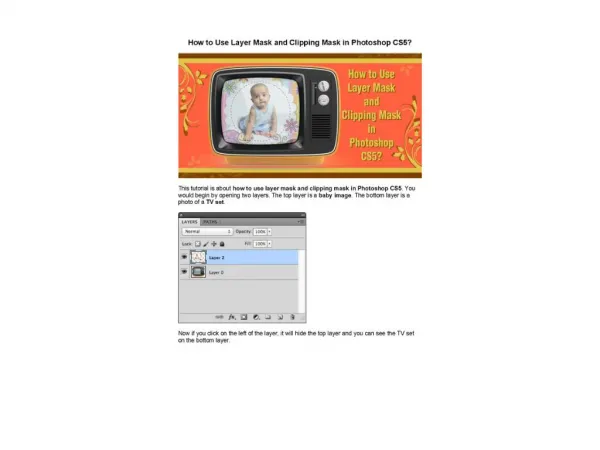
The blog deals with the working of the clipping masks. Moreover, it also draws its focus on the step to follow for applying clipping masks.<br>

E N D
TREATISE TO UNRAVEL TREATISE TO UNRAVEL THE DYNAMICS OF OF CLIPPING MASK WITH INDESIGN CLIPPING MASK WITH INDESIGN THE DYNAMICS www.iipvapi.com
CLIPPING CLIPPING MASKS MASKS A clipping mask is a combination of layers on which the mask is applied. It also enables to separate pixels in an underlying layer from the picture. Choose a reliable photo clipping path service provider to ease out your task. www.iipvapi.com
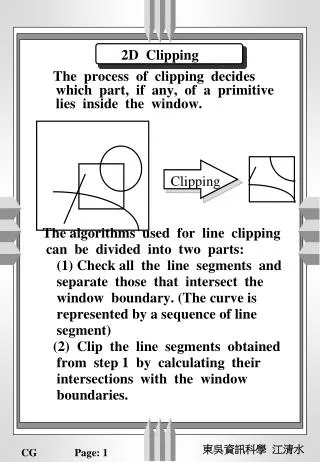
TECHNIQUES TECHNIQUES FOR ADOBE ADOBE INDESIGN INDESIGN CLIPPING FOR CLIPPING MASK MASK Follow Follow these design. design. these steps steps to to construct construct a a clipping clipping mask mask Create Create the Create a shape of your preference. the desired desired shape: shape: Position Position the Either position the image in shape or cut it. the image: image: www.iipvapi.com
CLIPPING CLIPPING MASK USING USING FRAME FRAME SHAPES MASK SHAPES Mask the images by building frame shapes and pasting them. We can use a unique shape to create an appealing clipping mask. Select and hold the circle tool over the top of the image. Revisit your image by clicking on the Selection tool. 0 0 1 1 0 0 4 4 Select the circle frame we created using the steps. 0 0 2 2 0 0 5 5 The clipping mask for any shape, rectangle, circle, etc. 0 0 3 3 0 0 6 6 www.iipvapi.com
CLIPPING CLIPPING MASK PERSONALIZED PERSONALIZED FRAME MASK USING USING FRAME SHAPES SHAPES We can create complicated images by using the Pen tool. Use Edit>Paste Into to place the image in the created frame. 0 0 1 1 0 0 5 5 The created frames will be used as a clipping mask. Use the move tools, similar to rectangular frame image. 0 0 2 2 0 0 6 6 When the shape is created, wind it up by joining the initial point. Select the shape frame, and set the Stroke to 0. 0 0 3 3 0 0 7 7 Now, we want the image in a different shape for the clipping mask. Now, you can reposition it according to your convenience. 0 0 4 4 0 0 8 8 www.iipvapi.com
GET GET IN TOP TOP- -NOTCH NOTCH PHOTO IN TOUCH TOUCH WITH PHOTO EDITING WITH US US TO EDITING SERVICES. SERVICES. TO EXPERIENCE EXPERIENCE visit : www.iipvapi.com