Swapper_wall_usr_guide_part2
160 likes | 165 Vues
Swappers Wall is a social networking platform on Time Swappers platform that<br>promotes and facilitates interaction between friends, family, peers and colleagues for<br>everyone to earn Era Swap token as rewards.

Swapper_wall_usr_guide_part2
E N D
Presentation Transcript
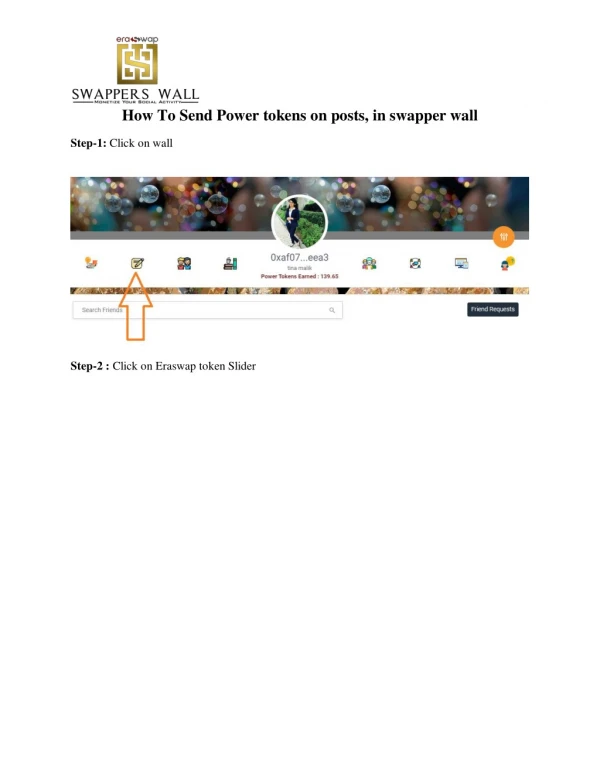
How To Send Power tokens on posts, in swapper wall Step-1: Click on wall Step-2 : Click on Eraswap token Slider
Step-4 : Click on send button, your power tokens will be send sucessfully
How To See your Friends Step-1 : Click on Friends icon Step-2: Your all friends display here
Step 3 : you can accept friend request clicking on Friend request button
Step 4 : You can see your blocked/Rejected friend list clicking on Blocked/Rejected List button How to add media using Library Step 1 : Click on Library icon
Step 3 : Browse picture, select privacy (Public/ Private) , enter about post and click on Upload Step 4 : your post will be uploaded successfully
How to create Group Step 1 : Click in Group icon
Step 2 : Click on create group button Step 3 : Browse image, select privacy (public / private), add friends and click on create group button
How to create Community Step 1 : Click on Community Step 2 : Click on create Community button
Step 3 : Browse image, Enter Community Member, select share (private / public), add friends, enter Member charges and click on create community button
Step 4 : your community created successfully. How to create Pages Step 1 : Click on pages icon Step 2 : click on create pages button
Step 3 : Browse image, enter page name, select type of page (Business / Personal), select privacy (public / private), enter about page and click on create page Step 4 : your page created successfully