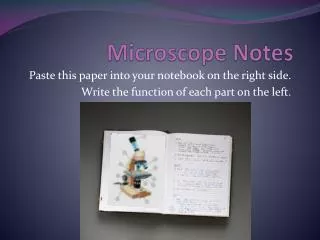
A Comprehensive Guide to Using Different Types of Microscopes
This guide provides an overview of how to use microscopes, focusing on the two primary types: simple and compound. You'll learn about essential microscope parts, such as the eyepiece, stage, light source, and focus adjustments. The guide also explains how to calculate magnification using lens powers, practices for setup and storage, and troubleshooting tips for common issues. Additionally, it delves into electron microscopes, detailing their capabilities and types, including scanning and transmission electron microscopes for high-detail observation.


A Comprehensive Guide to Using Different Types of Microscopes
E N D
Presentation Transcript
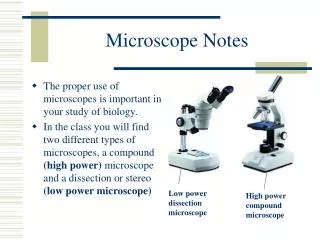
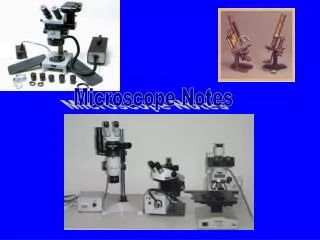
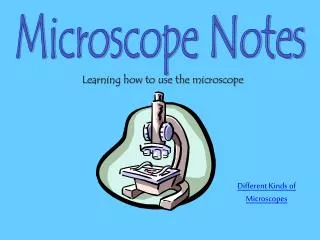
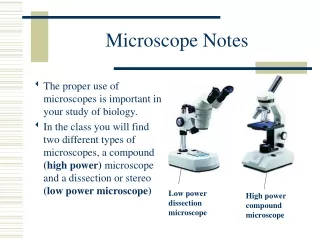
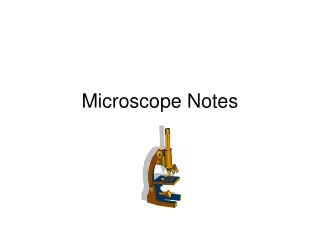
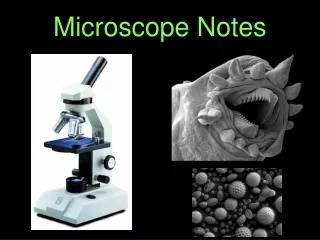
Microscope Notes Learning how to use the microscope Different Kinds of Microscopes
There are 2 kinds of microscopes: Simple: one lens (magnifying glass) Compound: 2 or more lenses
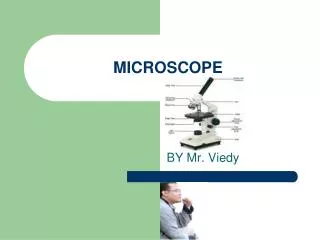
Parts of the Microscope 1. Revolving Nosepiece
Parts of the Microscope 2. Lens/Objective
Parts of the Microscope 3. Stage
Parts of the Microscope 4. Disc Diaphragm (controls amount of light) 1 = lowestsetting/ 5 = highest setting
Parts of the Microscope 5. Light source
Parts of the Microscope 6. Base
Parts of the Microscope 7. Eyepiece
Parts of the Microscope 8. Arm
Parts of the Microscope 9. Stage Clips
Parts of the Microscope 10. Course Focus/ Adjustment
Parts of the Microscope 11. Fine Focus/ Adjustment
Calculating Magnification Multiply lens powers together!
Eyepiece: 10 Xby itself • Low Power: 4X; red color; and a TOTAL magnification of 40 X mainly used for large objects/scanning • Medium Power: 10 X, yellow color; TOTAL magnification of 100 X • High Power: 40 X;blue color; and a TOTAL magnification of 400 X; mainly used for smaller objects/details
When you are ready to start: • Make sure it is on LOW power! • The stage should be all the way down (you focus by slowly moving it up!) • Check the light setting (should be at 1-2 to start)
Other Things to Consider: Carrying the Microscope: Always use 2 hands!
Other Things to Consider: Never use the COURSE FOCUS KNOB while on HIGH power.
When putting the microscope away (at the end of the day): • It should be on LOW power. • The cord should be WRAPPED around the base. • The stage should be all the way DOWN (do this with the course focus knob!) • The light switch should be OFF
TROUBLESHOOTINGWhat if you can’t get your object into focus? • Check that you have one of the lenses clicked into place • Check that your disc diaphragm is in place (not IN BETWEEN settings)
TROUBLESHOOTINGWhat if you can’t get your object into focus? • Clean off your lenses using LENS PAPER. (Also, dirty slides are hard to focus on; so clean them, too!) • GO BACK TO LOW POWER AND START OVER!
Electron Microscopes • Use a MAGNETIC field to bend beams of light; used to see things at much higher level of detail • Can magnify images up to 1,000,000 times!
Electron Microscopes There are 2 kinds: • SCANNING ELECTRON MICROSCOPES (SEM): Allows you to see the SURFACES of objects
Electron Microscopes There are 2 kinds: • TRANSMISSION ELECTRON MICROSCOPES (TEM): Allow you to see THROUGH an object.