Download

1 / 16
160 likes | 405 Vues
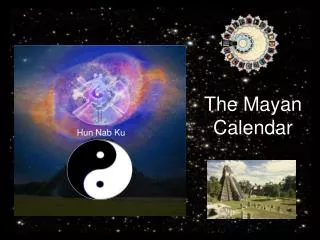
The Month’s and Season’s of the Calendar. Final Project IT/235 Micheal Manning. January. February. March. April. May. June. July. August. September. October. November. December. Summary of Processes.

E N D
The Month’s and Season’s of the Calendar Final Project IT/235 Micheal Manning
Summary of Processes • For the process of January I took two photos and put them together then I added the text effects, posterized the image and added a border. • February: actually 3 pictures; thumbtack image, hugging couple, and image of groundhog. Instances of heart shape images, and text. Also there is a border on the picture. • March: I posterized this image as well. I added text effects and three image effects in warping the hats and painting the bald man’s hair in. Also there is a surrounding border in the image • April: An image of myself placed on a mountain boardwalk, with instances of text effects and a border. I changed the vibrancy of the photo.
Summary of Processes Continued • May: I used three images cropped out the image outline of the male out line and copied it three times within the image, added image effects by changing the hue and the saturation of the photo. • June: This photo was fun with added text effects, a visual border, and light posterization of the image. For this image I created a copy in Black and White. • July: changed the hue and the saturation to give the photo the appearance of being posterized also added text and many instances of shapes or objects. • August: My wife and I placed in the forest, with a change of vibrancy and posterization, text effects, and a border • September: Text effects, black and white image, masks consisting of changing the fuzziness no apparent affect.
Summary of Processes Continued • October: Used the posterization tool to give the photo a unique look added a mask changing the fuzziness to see if I would notice difference this time. Text effects and working on different layers. • November: Text effects, posterization, and border outline. Two layers within photo. • December: Black and white photo with color photo added with mask and slight hue change.