Download
1 / 1
120 likes | 577 Vues
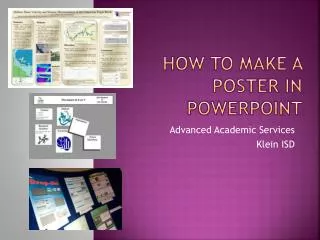
Steps to Making a Poster Using PowerPoint Author: Carolyn Mitkowski, Department of Biological and Agricultural Engineering Graphics 515-6769. Method1 (continued). Start your poster with an > Abstract, Introduction, or Project Background info. Poster Method 2.

E N D
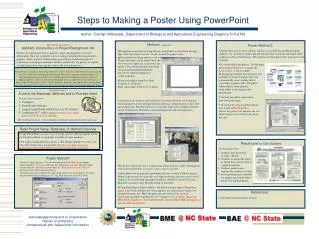
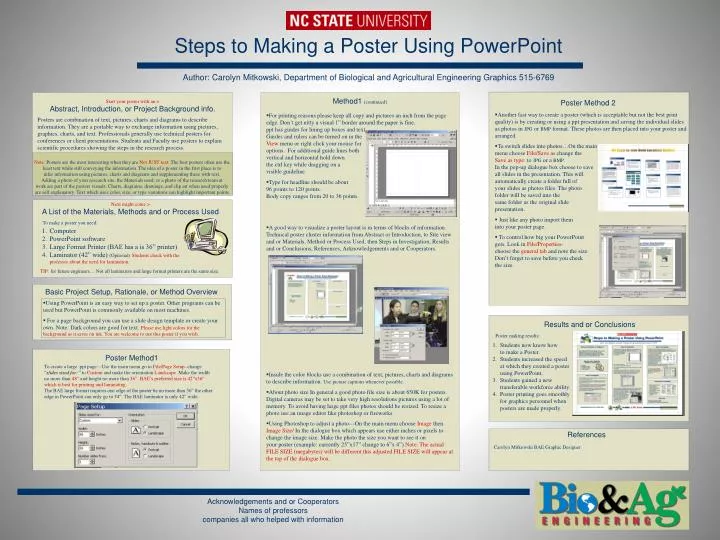
Steps to Making a Poster Using PowerPoint Author: Carolyn Mitkowski, Department of Biological and Agricultural Engineering Graphics 515-6769 Method1 (continued) Start your poster with an > Abstract, Introduction, or Project Background info. Poster Method 2 • Another fast way to create a poster (which is acceptable but not the best print quality) is by creating or using a ppt presentation and saving the individual slides as photos in JPG or BMP format. These photos are then placed into your poster and arranged. • To switch slides into photos…On the mainmenu choose File/Save as change the Save as type: to JPG or a BMP. In the pop-up dialogue box choose to save all slides in the presentation. This will automatically create a folder full of your slides as photos files. The photo folder will be saved into the same folder as the original slide presentation. • Just like any photo import them into your poster page. • To control how big your PowerPoint gets. Look in File/Properties- choose the general tab and note the size. Don’t forget to save before you check the size. • For printing reasons please keep all copy and pictures an inch from the page edge. Don’t get nitty a visual 1” border around the paper is fine. ppt has guides for lining up boxes and text. Guides and rulers can be turned on in the View menu or right click your mouse foroptions. For additional guide lines both vertical and horizontal hold down the ctrl key while dragging on a visible guideline. • Type for headline should be about 96 points to 120 points.Body copy ranges from 20 to 36 points. • A good way to visualize a poster layout is in terms of blocks of information. Technical poster cluster information from Abstract or Introduction, to Site view and or Materials, Method or Process Used, then Steps in Investigation, Results and or Conclusions, References, Acknowledgements and or Cooperators. • Inside the color blocks use a combination of text, pictures, charts and diagrams to describe information. Use picture captions whenever possible. • About photo size In general a good photo file size is about 650K for posters. Digital cameras may be set to take very high resolutions pictures using a lot of memory. To avoid having large ppt files photos should be resized. To resize a photo use an image editor like photoshop or fireworks. • Using Photoshop to adjust a photo---On the main menu choose Image then Image Size/ In the dialogue box which appears use either inches or pixels to change the image size. Make the photo the size you want to see it on your poster (example: currently 25”x17” change to 6”x 4”) Note: The actual FILE SIZE (megabytes) will be different this adjusted FILE SIZEwill appear at the top of the dialogue box. Posters are combination of text, pictures, charts and diagrams to describe information. They are a portable way to exchange information using pictures, graphics, charts, and text. Professionals generally use technical posters for conferences or client presentations. Students and Faculty use posters to explain scientific procedures showing the steps in the research process. Note: Posters are the most interesting when they are Not JUST text. The best posters often use the least text while still conveying the information. The idea of a poster in the first place is to infer information using pictures, charts and diagrams and supplementing these with text.Adding a photo of your research site, the Materials used, or a photo of the research team at work are part of the posters visuals. Charts, diagrams, drawings, and clip art when used properly are self explanatory. Text which uses color, size, or type variations can highlight important points. Next might come > A List of the Materials, Methods and or Process Used To make a poster you need: • Computer • PowerPoint software • Large Format Printer (BAE has a is 36” printer) • Laminator (42” wide) (Optional)Students check with the professor about the need for lamination. TIP: for future engineers… Not all laminators and large format printers are the same size. Basic Project Setup, Rationale, or Method Overview • Using PowerPoint is an easy way to set up a poster. Other programs can be used but PowerPoint is commonly available on most machines. • For a page background you can use a slide design template or create your own. Note: Dark colors are good for text. Please use light colors for the background as it saves on ink. You are welcome to use this poster if you wish. Results and or Conclusions Poster making results: • Students now know how to make a Poster. • Students increased the speed at which they created a poster using PowerPoint. • Students gained a new transferable workforce ability. • Poster printing goes smoothly for graphics personnel when posters are made properly. Poster Method1 To create a large .ppt page—Use the main menu go to File/Page Setup- change “slides sized for:” to Custom and make the orientation Landscape. Make the width no more than 48” and height no more than 36”. BAE’s preferred size is 42”x36” which is best for printing and laminating. The BAE large format requires one edge of the poster be no more than 36” the other edge in PowerPoint can only go to 54”. The BAE laminator is only 42” wide. References Carolyn Mitkowski BAE Graphic Designer Acknowledgements and or CooperatorsNames of professorscompanies all who helped with information