Download
1 / 10
100 likes | 222 Vues
Learn how to create drag and drop exercises in Word by inserting a table, adjusting cell heights, adding headings, removing borders, and using text boxes. Save the document as "read-only" to prevent alterations. Follow user-friendly instructions for a seamless experience.

E N D
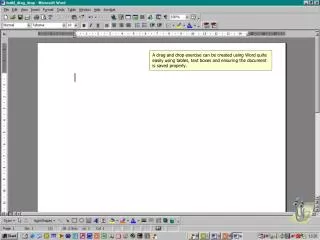
A drag and drop exercise can be created using Word quite easily using tables, text boxes and ensuring the document is saved properly.
Using Word, type in a simple instruction for the user to follow
Insert a table with 3 columns and several rows. Use the enter key to make the table cells taller and add headings to the two outside columns.
Remove the borders from the middle column – new RHS & LHS borders will have to be added to the two outside columns.
Draw a text box using the text box tool on the drawing toolbar.
Here the text and border colour have been formatted to add colour.
Save the document as a “read only” file. Click file save as / click tools / general options
Users will now be able to move the text boxes about the page without altering the original document as they will always be prompted to save the document with a new file name.