Download
1 / 20
200 likes | 459 Vues
Retaining Wall Construction Building A Block Retaining Wall. Developed by: Dr. Teri Hamlin Georgia Department of Education. Purpose. To level a steep slope Enclose an area for a decorative garden Elevate Beds. A block retaining wall can dress up the landscape. Equipment Needed. Tools

E N D
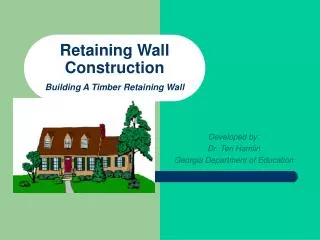
Retaining Wall ConstructionBuilding A Block Retaining Wall Developed by: Dr. Teri Hamlin Georgia Department of Education
Purpose • To level a steep slope • Enclose an area for a decorative garden • Elevate Beds A block retaining wall can dress up the landscape.
Equipment Needed • Tools • Chisel • 3 lb. sledgehammer • Torpedo level • Line blocks • Mason's line • Line level • Flat-pointed shovel • Hand tamper • Materials • Retaining wall blocks • Porous plastic landscape fabric • Gravel (optional)
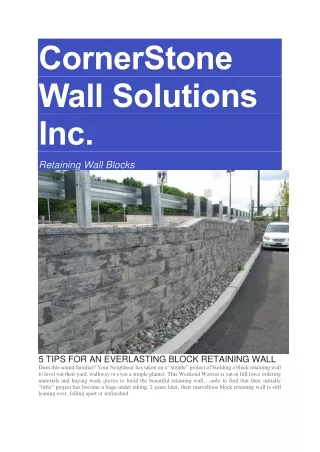
AdvantagesConcrete Interlocking Blocks • Most concrete blocks interlock and require no mortar. • If you make mistakes or change your mind about the location or shape of your wall, just dismantle it and start over. Each block has a lip that locks it to the previous row.
Uses • Terraces with low walls • Using a system of terraces, you can create a pleasant, stepped slope that is safer than a single, tall wall.
How These Block Systems Work • Mortarless systems have a lip on the bottom rear side to lock the blocks together and create a step effect • When the cavity behind the wall is filled with soil, the blocks are pushed forward, strengthening the joints between the lips and the underlying blocks
How many do I need? • Determine the height and width of the wall. • Calculate the square footage of the wall by multiplying the estimated length by the estimated height (which should include the base course) of the wall. • Example: 25' L x 2' H = 50 sq/ft. • number of blocks you need depends on the pattern you choose and the square footage of the wall above grade.
How many do I need? • Number of blocks needed depends on the pattern you choose and the square footage of the wall above grade • Example : • Each block covers approximately 1/3 of a sq/ft (.33), therefore, for 50 sq/ft you will need approximately 152 blocks. (50 divided by .33 sq/ft per block)
Getting Started • When figuring how many blocks you'll need for your wall, remember that curves require more blocks than straight runs.
How many blocks do I need for a curve? • The number of blocks needed will depend on the style of block used and the size of the curve. • The formula to calculate the number of blocks needed for a specific curve is: • (2 x 3.14 x radius of curve) divided by the width of block. • The radius needs to be measured in inches (number of feet x 12"). • Example: One course of a 10' diameter tree ring. Radius is 5' x 12" = 60".
Getting Started • To accurately cut a block, score a line around it with a 3 1/2" brick chisel and a 3 lb. sledgehammer. • Place the cutting edge of the chisel in the center of the score line and strike the chisel sharply with the sledgehammer. Use a brick chisel to score and cut your block.
Dig the Trench • Measure out your prospective wall, using stakes and string to mark off the key points, or use a garden hose to mark off its perimeter. • Starting at the lowest point, use a flat-pointed shovel to dig a trench for the foundation course. The dimensions of the trench will vary depending on the size of your block, but the foundation course should be below ground level. • Tamp the trench with a hand tamper to compact the underlying soil.
Sloping Property • If your property slopes, you may have to dig your foundation trench in a series of steps equal to the height of the blocks. • As you continue with construction, build up the lower sections with block until the stepped areas accept successive courses of blocks in a level and seamless wall.
Lay the Courses • Set the first block in place. • Check for level. If the block isn't level, tap it with the butt end of your sledgehammer to adjust it. Check the level of the foundation course before you start the second course.
Lay the Courses • If your property is relatively flat, continue laying the foundation course, making sure that all blocks are level with each other and below ground. • If not, use the stepped approach mentioned in previous slide.
Lay the Courses • After the entire foundation course is installed, set one block in position at each end of the foundation course. • The lip of each block should fit against the back of the foundation course block. • Use a pair of line blocks and a line level to make sure that the first and last blocks are level with each other. • If they are not, adjust the retaining wall blocks until the foundation course is completely level.
Lay the Courses • Cut one block in half for the start of the second course. • This will ensure that the first and second courses are staggered. • Set the rest of the second course blocks in place and then fill the trench around the foundation course with soil. • Continue placing the blocks, making sure each course is staggered over the previous one.
Fill the Cavity • To prevent the soil from seeping through the spaces between the blocks, line the cavity behind the wall with porous, plastic landscape fabric.
Fill the Cavity • Start at the base of the cavity and unroll the fabric until it overlaps the top course of block. • Cut the fabric and continue along the length of the wall until the entire cavity is lined.
Completing the Job • Fill the cavity. • If the wall is 2 1/2' or higher, fill the area closest to the block with gravel. You should have gravel to a width of about 6" from the block. The rest of the cavity can be filled with soil. This will facilitate drainage. • Trim the excess landscape fabric. You can top off the terraces with decorative stone or mulch.