Download
1 / 17
180 likes | 205 Vues
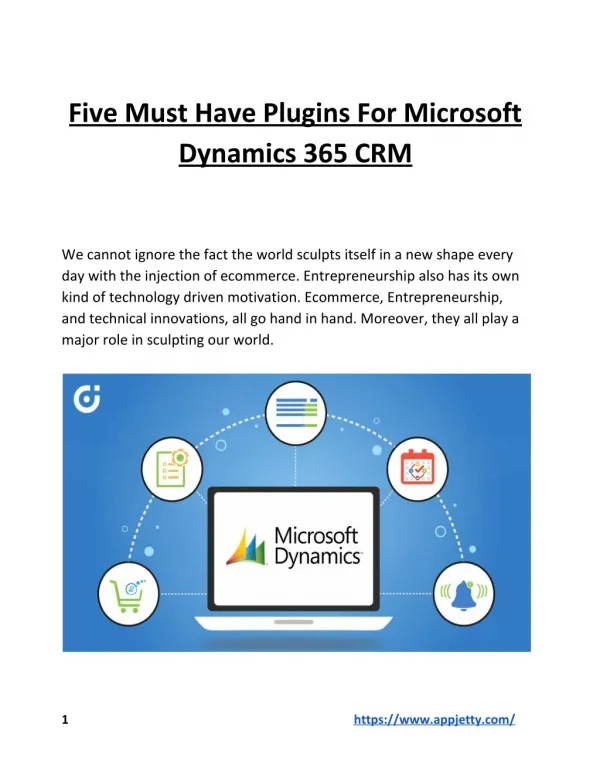
Explore portal types and authentication methods in Dynamics 365 Customer Service, covering anonymous, authenticated, and hybrid portals. Learn user access control rules, configuration tips, and onboarding techniques.

E N D
Microsoft Dynamics 365 for Customer Service: Dynamics 365 Portal Authentication Demystified Dileep Singh Senior Program Manager Dynamics 365 THR3028
Portal Types w.r.t Authentication Completely Anonymous Completely Authenticated Hybrid All pages are authenticated. User needs to login to view any page. All pages are anonymous. Content of each page is anonymous as well Some pages/content are anonymous.Rest are authenticated.
Completely Authenticated Portals • Setup Access Control Rule with “Restrict Read” requirement on all pages. • Pro Tip • Access Control rules of parent pages are inherited by child pages automatically. So setting up Access control rule on Home Page is enough to make whole portal authenticated. • While setting up access control rule on home page, make sure scope is set to “Exclude direct child web files” else no css will render on login page. • Important • Make sure “Access denied” sitemarker is present and properly set to access denied webpage. • “Access denied” page template is of rewrite type and Rewrite URL is set to “~/Pages/AccessDenied.aspx”
Completely Anonymous Portals • All portals have an anonymous webrole which is assigned to all the users which are not logged in. • There can only be 1 anonymous webrole • All Pages are anonymous i.e no “restrict read” access control rule • In this case it must be ensured on each page. • “Grant Change to administrators” can be left as it is, this is to ensure front side editing is only enabled for authenticated users • If entity permissions are enabled, then make sure anonymous webrole has those permissions. • Important • Do not disable login page, just remove login link from sitemap. This will be needed in case you have to use front side editing capabilties • Make sure that anonymous webroles don’t have front side editing capabilities.
Hybrid • Add a “Restrict read” access control rule as needed on individual pages/webfiles. • Making a hybrid webpage which shows different content based on logged in v/s anonymous user. • This is achieved through liquid by looking for “user” object in template • Sample – (Customer Service – Support web template) {% if user %} • {% include 'entity_list' key:page.adx_entitylist.id %} • {% else %} • <div class='alert alert-block alert-info'><p><span class='fa fa-info-circle'></span>{% editable snippets 'CustomerService/Support/SignIn' type: 'text', default: resx['CustomerService_Support_PleaseSignIn'], escape: true, tag: 'span' %}</p></div> • {% endif %}
How to onboard users • Portals is open for all users and anyone can register. • Portal is open for selected users.
Portal is Open for all users • This means that any user can login on Portal using any of the External Identity provider setup on Portal. • For local login this means that user can register using registration page. • Following site settings enables this flow • Authentication/Registration/Enabled – Set this as true to enable any kind of registration on Portal. Default is true if this site setting is not present. • Authentication/Registration/OpenRegistrationEnabled – Set this as true.
Portal is Open for selected users • Lets take a scenario here • I have a portal which has 2 Authentication providers enabled. • Facebook – for my customers • Azure AD – for my employee • I don’t have a fixed list of customers, so I want to open Portal for any Facebook user • I have a fixed list of employees who can access portal, so I want to close Portal for all other employees • Default Portal setup • Authentication/Registration/Enabled – Set this as true to enable any kind of registration on Portal. Default is true if this site setting is not present. • Authentication/Registration/OpenRegistrationEnabled – Set this as true. • Facebook Setup • None
Portal is Open for selected users • Azure AD Setup • Preload all employees as contacts in your Dynamics 365 organization. • There are two options now: - • If the email address of all the employees is known in Azure AD and is part of claims, then while preloading contacts set the primary email address of employees as the email address used in Azure AD. • Set Site setting Authentication/OpenIdConnect/[Provider]/AllowContactMappingWithEmail as true • If email address is not known or is not in claims, then pre-create External Identity record for each contact. • Values for external identity records would be • Username – Azure AD Object ID (or equivalent userid in your IDP) • Identity provider – This is Issuer in case of Open ID connect providers. For Azure AD, this is in format https://sts.windows.net/{tenant id} • Pro Tip – To figure out right values, allow registration for your Auth provider, login using some account. Once contact is created, check what values are set for external identity record and use equivalent values. • Authentication/OpenIdConnect/[Federation-Name]/RegistrationEnabled – Set as false, to block any user without a preloaded contact from login.
Advanced Authentication Scenarios • Single Sign On with an existing website • Single Sign out • Session timeout
Single Sign On with your existing website • Scenario: - • User is logged into existing website or Identity Provider • User clicks on a link which takes them to Dynamics Portal • User should not be asked to login again and same login should continue. • If the user is not logged into Identity provider (or main website) and directly goes on page, he should be asked to login. • How to achieve this • Step 1:: Page which user lands on is a completely authenticated page i.e it has a website access control rule with “Restrict read” setup. • Step 2:: IDP used here is setup as default login provider on your Portal. • To do this set Authentication/Registration/LoginButtonAuthenticationType to the corresponding IDP (details of this site setting are here https://docs.microsoft.com/en-us/dynamics365/customer-engagement/portals/set-authentication-identity#enable-aspnet-identity-authentication) • Pro Tip- Ideally in these cases, there should be only 1 IDP on Portal.
Single Sign Out • Scenario: - • User is logged in using Azure AD on Portal • When a user clicks on sign out from Portal, he is logged out from Portal as well as Azure AD. • How to achieve this • Set Authentication/OpenIdConnect/{Provider Name}/ExternalLogoutEnabled as true
Session timeout • Scenario: - • User is logged in to the Portal • User should automatically signout after 10 sec if there is no activity. • How to achieve this • Set Authentication/ApplicationCookie/ExpireTimeSpan site setting. Value would be 00:00:10 (details here https://docs.microsoft.com/en-us/dynamics365/customer-engagement/portals/set-authentication-identity#cookie-authentication-site-settings) • Pro Tip • Default value for this site setting(if not set) is 14 days • If you are logged in using external IDP, then you will see an experience where you will get automatically logged back into IDP rather than being asked for username/password again. • For signing out from external IDP as well, you have to ensure that external IDP token lifetimes are also set to same or lower value (for azure ad, details are here https://docs.microsoft.com/en-us/azure/active-directory/active-directory-configurable-token-lifetimes)
Please evaluate this sessionYour feedback is important to us! Please evaluate this session through MyEvaluations on the mobile appor website. Download the app:https://aka.ms/ignite.mobileApp Go to the website: https://myignite.techcommunity.microsoft.com/evaluations