1 / 5
50 likes | 87 Vues
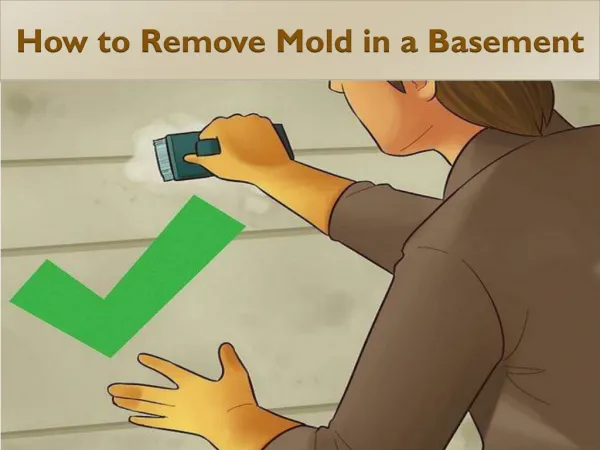
Is your basement always damp? Do April showers bring a wet basement along with those May flowers? Then it might be time to consider waterproofing basement wall your basement and installing a drain system with a sump pump. A wet basement not only prevents you from enjoying additional space in your house but also can turn your basement into a giant petri dish perfect for growing unhealthy molds and fungi.<br>

E N D
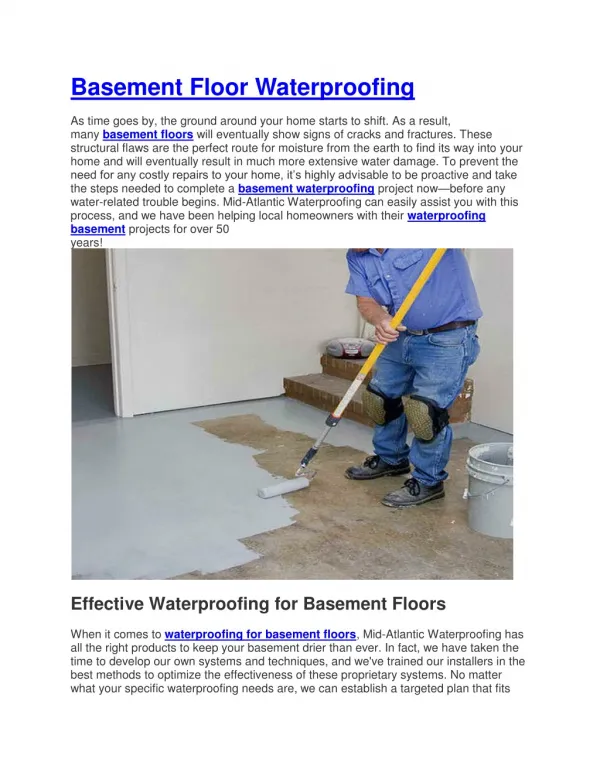
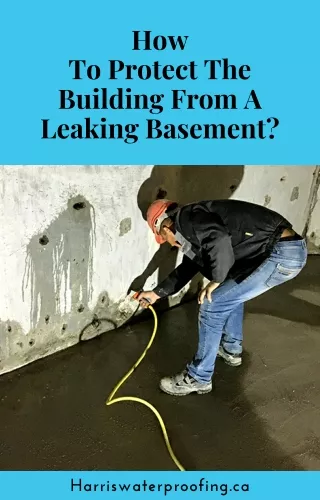
Is your basement always damp? Do April showers bring a wet basement along with those May flowers? Then it might be time to consider waterproofing basement wall your basement and installing a drain system with a sump pump. A wet basement not only prevents you from enjoying additional space in your house but also can turn your basement into a giant petri dish perfect for growing unhealthy molds and fungi. A dry basement is a useable basement Installing a drain system is filthy, backbreaking work, but it’s not complicated. With a little instruction from our drain tile experts, you can do a first-class job. And DIY pays off big: Pros charge $5,000 to $8,000 for a typical job (120 linear feet of drain tile). You can install yours for less than $1,500 in materials and tool rentals. Before you get started It’s always best to stop water from entering your basement water proof in the first place, so before you run to the rental center for your jackhammer, be sure to address the exterior issues. The grade next to the house should slope down away from the building by least 6 in. for the first 10 ft. Consider installing gutters, or make sure the existing gutters are working properly. And check that your irrigation system isn’t adding to the problem by spraying water right up against the side of the house. If your basement is finished, with stud walls and insulation covering the foundation walls, you can still install a drain system. When you break out the concrete, leave small sections of floor intact so the wall doesn’t drop down. A 4 x 4-in. section every 6 ft. is enough to support the wall. If there are obstacles along the wall (like a furnace), plan to tunnel under them. You’ll find most of the materials you’ll need at a home center. Order the rock from a landscape supplier. You’ll also need a pickup to haul the dirt to the landfill.
Always check with your local building official. Explain your project, and see if any permits or inspections are required in your area. Sometimes, a building official who has been around for a while may have information on how your house was built or what issues you may run into in your area. Control the dust There’s no getting around it: Busting up concrete is a dirty job. Shut down your furnace or central air conditioning while you’re working, and cover all return air vents until you’re finished cleaning up. Instead of covering your furnishings with plastic, move everything out of the area and drape plastic from the ceiling to create an isolated work space. If you have an unfinished ceiling, be sure you run the plastic up into every joist space. Set a fan in the window to exhaust the heavy dust while you run the jackhammer. And wear a dust mask and hearing protection. Bust up the floor The pros use electric jackhammers, because the air that runs pneumatic jackhammers kicks up a lot more dust. You can get one from a rental center for under $100 a day. Start by hammering a line about 16 in. to 18 in. away from the basements water proof. Once the perimeter is done, come back and break the row of concrete into manageable chunks. Each section will break free easier if it has room to pull away, so remove the sections as you go. If you’re working alone, make the most of your rental time; just set the chunks aside until you’re done with the hammer. Don’t forget to bust up a larger area for your sump basin.
Dig the trench Once the concrete is removed, dig down to the bottom of the footing but not below. If you compromise the soil under the footing, you could end up with cracks in your wall, or worse. Five-gallon buckets are OK for hauling out debris, but the guys at Rite-Way use rubber feed buckets (typically used for farm animals) because they fit through small basement windows and are less likely to bang up trim (Photo 3). You can get them at farm supply retailers for under $20. And when it’s time to haul the debris away, you may find that the landfill considers it to be “clean fill.” You may be able to dump it for free! Drill holes in block If your basement wall is made by concrete block, drill 1-in. holes in each block core and into each mortar joint (see Figure A). This will allow the water that collects in the cores and between the blocks to flow into the drain. Drill the holes as close to the footings as you can. You may find that the bottom blocks are filled with concrete. In that case, you’ll have to remove any existing walls and install foundation wrap. Cut down on dust by laying a shop vacuum hose next to the hole as you drill. Install the pipe Before you lay the pipe in the trench, shovel in a bottom layer of 1-1/2-in. to 2-in. washed river rock (a layer of smaller rock can become clogged with minerals and sediments). The pipe should slope toward the basin at least 1/4 in. for every 10 ft. Rake the rock around to achieve this pitch. Lay your irrigation pipe on top of the rock. Don’t use ordinary flexible drainpipe because it clogs easily. The pros prefer to lay down a 4-in.-diameter Schedule 10 perforated pipe. Buy the kind of pipe with rows of 1/2-in. perforation holes only on one side, not all around the pipe. Lay the pipe with the holes facing down (Photo 4), so the minerals and sediment in the water can flow down around the pipe and settle into the ground. This way, the water that does rise up into
the pipes from underneath will be relatively clean. Clean water will add years to the life of the whole system. Start at the basin, and push the male end of the pipe into the basin about 4 in. Use PVC or ABS elbows at the corners. It’s not necessary to cement the sections together Divert the water into the drain Once your pipe is installed, it’s time to install the 1-in. irrigation hose that will carry the water from the blocks to the trench (Photo 5). Softer hose, like garden hose, can get crushed flat by the new concrete, so stick with irrigation hose. Cut the hose with a hacksaw or reciprocating saw. Make sure each section of hose runs several inches past the footing. Cover it back up Once the hoses are in or the water proof basementwrap is in place, it’s time to cover it up. Fill in the trench with river rock up to the bottom of the existing slab, and then cover the rock with at least a 6-mil thickness of plastic for a vapor barrier (Photo 6). To cut down on dust, mix your concrete outside. Bagged concrete mix for slabs and sidewalks works just fine. Slide a 3-ft. section of 2×4 along the floor to “screed” the new concrete flush with the floor, and then smooth it out with a hand float. Wait 20 minutes, then smooth it with a finishing trowel. Use the float to completely fill the gap under any existing walls. Hook up the pump Pros prefer submersible pumps that have a vertical float switch on them because they’re more reliable than pedestal or float switch pumps. Install a 6- to 8-in. section of pipe on the pump, then a check valve. Make sure the check valve doesn’t interfere with the pump switch. Above the check valve, attach another section of pipe long enough to reach above the top of the basin. Drill a 1/4-in. to 3/8-in. vapor lock release hole in the section of pipe that’s just below the check valve (see Figure B). This allows the pump to get up to speed before trying to force open the check valve, which may have many gallons of water pressing down on it. Angle the hole so water sprays down while the pump is working. It’s best if you have a dedicated outlet for your pump. Extension cords get unplugged, and other appliances hooked up to the same circuit could trip a breaker. The pipe that exits the basement needs to be located in an area that slopes away from the house. If that means running a pipe back across the basement, consider burying the waste pipe in the trench and having it come back up where you want it. If your pipe is going to discharge above grade and you live in a cold climate, run the pipe no more than 8 in. past the siding. This will keep it from freezing up in the winter. With few exceptions, basement drain water cannot be dumped into city sewer systems. Most systems can be drained into storm sewers as long as they’re above grade when they do. Ask your building official what the rules are in your area.