The Pinhole Camera
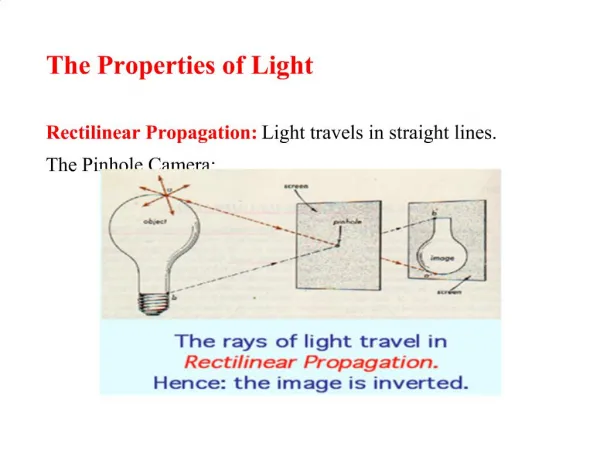
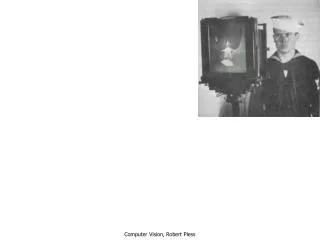
The Pinhole Camera. The Pinhole Camera. A brief history 1. The Greeks knew about the image-making properties of the pinhole. 2. Alhazan (Al-Haytham) 1,000 years ago, explained the theories behind the pinhole, the image inversion, and the theory of the lens.


The Pinhole Camera
E N D
Presentation Transcript
The Pinhole Camera A brief history 1. The Greeks knew about the image-making properties of the pinhole.2. Alhazan (Al-Haytham) 1,000 years ago, explained the theories behind the pinhole, the image inversion, and the theory of the lens.
The Pinhole Camera 3. Leonardo DaVinci may have used the pinhole as a tool to study perspective in the 1500s. 4. Della Porta reinvented the pinhole camera and probably coined the term "Camera obscura."
The Pinhole Camera The nature of pinhole images Advantages that pinholes have over lenses: 1. Great depth of field - relative clarity from a few centimeters to infinity. • Free of any linear distortion - lenses distort, pinholes don't. 3. Wide angular field - the closer to the film plane the wider the field of view.
The Pinhole Camera Other properties: 4. Dilation of time - time exposures in broad daylight: most moving objects are motion blurred, smeared or disappear entirely. 5. Concentric drop - off of brightness-lending more emphasis to the center of the image. 6. Overall softness - in both focus and tonal contrast.
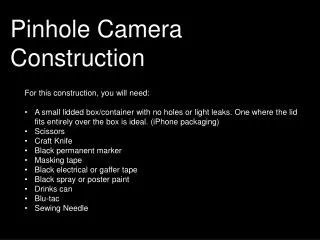
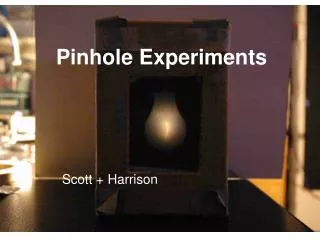
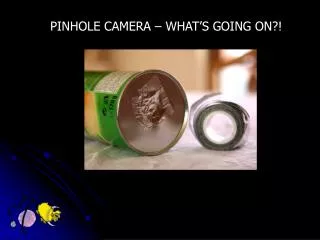
The Pinhole Camera Constructing a Pinhole Camera
The Pinhole Camera Constructing a Pinhole Camera 1. Secure a cardboard box between about 12"x12"x10" and 24"x24"x20" (30x30x25 to 60x60x50 cm). 2. Leaving a top flap able to open, seal the cracks with tape to cover any light leaks. 3. Take something about the width of a pencil lead or pen tip, make a hole in middle of a box side as shown.
The Pinhole Camera Constructing a Pinhole Camera 4. Enlarge the hole until the inverted image is bright, but not blurred. 5. If the hole is too big, tape over it with duck tape and try again. 6. View bright objects as depicted in the above slide.
The Pinhole Camera The focal length 1. Focal length is the distance from the pinhole to the film plane. 2. Focal length and pinhole diameter determine exposure factors for the camera. 3. A given focal length has a corresponding, optimum hole size that will produce the best image qualities. 4. A longer focal length increases the exposure time required and, conversely, pinholes closer to the film plane require less exposure time. 5. Holes closer to the film plane produce greater wide- angle effects and holes further away produce telephoto effects.
The Pinhole Camera The pinhole 1. The smaller the hole the longer the exposure time required. 2. The smaller and rounder the pinhole the sharper the image.