Download
1 / 24
240 likes | 393 Vues
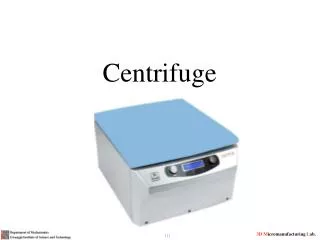
Using the Avanti Tabletop Centrifuge. As demonstrated by Joe Toney. Turn on the power switch. Select the proper rotor for your tubes. Remove from cover. Make sure spacers are inserted *. Little Red Spacers. * F2402 Rotor only. Seat rotor on drive shaft. Shaft.

E N D
Using the Avanti Tabletop Centrifuge As demonstrated by Joe Toney
Make sure spacers are inserted* Little Red Spacers *F2402 Rotor only
Place your tubes in the rotor Tubes of equal mass opposite one another Hinges up
Don’t forget the lid! Hand tighten
Make sure the door is seated properly* • The door open light will be lit (green) when door is properly closed. • The machine won’t run if it is not. • The sound you hear is the refrigeration turning on.
The control panel Temperature Time Rotor and speed read out and controls Start Button Open Door Light
Select rotor • Press rotor button, current rotor will be displayed • Use up and down arrow keys to scroll through choices • Small rotor is F2402 (holds 24 Two ml tubes) • Press enter key to select
Change settings by selecting the parameter, scrolling, and then press enter Up and Down Scroll Keys Set Value with Enter Button
Speed can be set according to RPM Machine displays Speed in RPM Speed Light is lit
Or by relative centrifugal force (RCF, x g) • Joe selects RCF button • Value flashes • Value can be adjusted by scrolling up or down • Value is set by pressing enter button
Other adjustments • Time – set desired time in minutes • Temperature – this should be set at 4 oC • Accel(eration) / Decel(eration) – no need to adjust unless special conditions
Press start when you are ready to go! • The speed read out will display zero, then increase to set level • Any problems will develop before about 2000 rpm • If there is a problem, it will shut down and give an error message • The most common problem is the DOOR OPEN light!
When the run has stopped (0 minutes, 0 rpm) press the open door button
Remove your samples and follow the house rules “Turn the power off”
And Joe is all done, ….or is he? C0650 Rotor for 50 ml conical tubes