Download
1 / 22

E N D
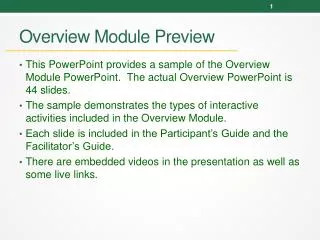
Module One Preview Introduction • In this two-week module, we’ll begin our journey of learning about photography. We'll “pack our bags” with the tools we'll need for this class and take a look at photography’s journey, from its beginning to where it is now. We’ll discuss what photography is and how a camera works. Then we’ll explore a walk-in “sculpture” that’s actually a giant camera, and we’ll shoot our first photo assignment!
What you'll be doing in Module One: • This is a TWO-WEEK module. Some of your assignments are due within the first week of Module One and others are due at the end of the second week. • Complete these assignments by the end of Module One, WEEK ONE: • Lesson One Day One - Warm-up Exercise: Beginning My Journey • Read: • What do I need for this class? • What is photography? • Great Compositions • Intro to the Camera • Photography’s Journey: How it All Started • Gimme Some Credit • Complete “Try this!” experiment: Cite a Photo • Post in “Photography’s Journey” Discussion Forum • Review Module 1 Vocabular
Due by September 12, 2016 • Complete these assignments by the end of Module One, WEEK TWO: • Read “Meet the Artist: Chris Drury” • Watch video: Cloud Chamber for the Trees and Sky • Connect Review Quiz • “Try this!” experiment: My Camera and Me • Write journal reflection • Read “Digital Photo Workflow: Our 5-step Plan” • Complete Photo Assignment: Objects On My Path • Post edited photos • Complete “Critique Practice”
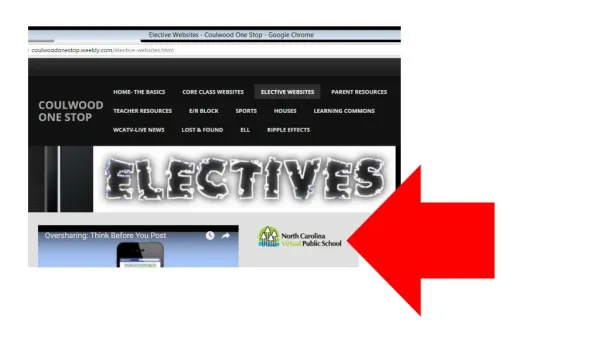
Easy Points…DON’T ignore or dismiss… • Complete Module 1 Review Checklist • Ecard • Text instructor • Reply to posts • Watch this video to understand the differences between DSLR and point and shoot digital cameras And remember you have a link for…. • Instructor Q&A: Ask questions about areas of concern
What do I need for this class? • A camera. In this course, we’ll be using digital cameras only (no film-based cameras). You will need either a point and shoot digital camera or a DSLR camera. Review the owner’s manual that came with your camera or look it up online. Read the instructions carefully to learn how to operate (and care for) your camera. • A computer. You may use either a Mac or PC. • Photo-editing software. Any kind of photo-editing software is acceptable. Examples include Adobe Photoshop/Photo Elements/Paint and GIMP. If you don’t own photo-editing software, please note that GIMP is free and can be downloaded at www.gimp.org (Links to an external site.). Adobe also offers free 30-day trials of Photoshop, which can be accessed at http://www.adobe.com/ (Links to an external site.). A list of available photo-editing software and Web apps is located in the course syllabus. • The only other things you’ll need to bring are your creativity, a good attitude, and a willingness to experiment!
FREQUENTLY ASKED QUESTIONS Question: Can I use my cell phone or tablet camera in this class? Answer: Yes! You may use your cell phone camera in this class, but I highly recommend using a digital point and shoot or DSLR camera for most of your photography assignments. That being said, the “best” camera is the one that you are most likely to use. For that reason, cell phone cameras can be very useful. Most of us carry them with them wherever we go, and we’re more likely use a cell phone camera when we’re out in public. However, cell phone cameras have many limitations. In this class, we want to have maximum control over our cameras. This is why we need to shoot our photographs with a point and shoot or digital SLR camera whenever possible: they give us more creative control. No flash photography, please! Question: Can I use a flash in low light conditions? Answer: No! Throughout this course, we will be working with natural, available light. Another word for this kind of light is ambient light, which is the light that surrounds us or creates our environment. It is “found” light. It already exists in a scene (sunlight, street lights, lamp light, etc.). The reason we are only using ambient light is because, in this course, we want to make art and imagery that follows the natural world. We want to observe, understand, and then learn to record natural light. The only way for us to create successful lighting (with flash and/or studio light), is to first understand how it functions in the natural world.
What is photography? • Photography is like a window into our past and a way to record the present. In this class, you’ll discover how photography is the art of “painting” with light. It uses a camera to record light. Your camera is a machine, and you are the person (artist!) in charge of that machine. • In this class, we’ll learn about the art of photography and learn how to turn your camera from a simple machine to a creative tool. The best part of photography is discovering the world YOU see through your camera’s viewfinder and sharing it with other people! Before we get started creating our photographs, let’s make sure we have everything we need for our journey into the art of photography. • Did you know that you can learn about the history of our state by examining the photographs in the State Archives of North Carolina? Click here to view the digital archives: http://digital.ncdcr.gov/ (Links to an external site.) • The collection includes thousands of images that visually tell the story of North Carolina’s past!
Great Compositions • As photographers, we must learn how to use the elements of art and principles of design in order to create well-composed images, just like a sculptor uses them to create a sculpture or an artist uses them to compose a painting. Instead of using clay or paint to show that a form has balance and unity, for example, we frame our composition inside our camera’s viewfinder, using line (either real or imaginary) to direct the viewer’s attention. • All forms of art (including photography!) use the elements of art and the principles of design to create a strong and interesting composition. Throughout this course, we’ll learn to use the elements of art and the principles of design in our own photographs.
Click on this handout (http://www.projectarticulate.org/principles.php (Links to an external site.)) to see an example of each element and principle. We’ll review and discuss these art and design concepts throughout the course as they relate to our lessons and photography assignments.
Intro to the Camera • Although we know what a camera is, what it looks like, and what it can do, we may not understand exactly how and why it works. A camera is basically a darkened box with a small opening in it that allows a small amount of light to shine in. The light reveals an inverted (upside down) image of whatever is surrounding the box. Using this box, we can record the images we see in the form of photographs. • Watch the video to hear North Carolina photographer David Simonton explain the three types of cameras he uses to create his work
Module One Explore Vocabulary • Ambient light: the light that surrounds us or creates our environment. It is “found” light. It already exists in a scene, such as sunlight, street lights, and lamp light. • Aperture: the opening in the camera lens that controls how much light gets in. • Camera: a darkened box with a small opening in it that allows a small amount of light to shine in. The light reveals an inverted (upside down) image of whatever is surrounding the box. Using this box, we can record the images we see in the form of photographs. • Camera obscura: means “dark room” in Latin. It was the first kind of camera to be invented. In this darkened enclosure, images of outside objects are projected through a small aperture onto a facing surface. • Point and shoot digital camera: Easy-to-use camera that does not have a detachable lens. A point and shoot digital camera does not use film, but a basic point and shoot camera does use film. • Single lens reflex (SLR) camera: film camera with a mirror inside it that allows the photographer to view through the lens and see exactly what will be captured. (The term DSLR refers to a digital single lens reflex camera.) Make sure you understand the meaning of each word in the list. Later in this module, you’ll be asked to use words from this vocabulary list in your written responses. Make sure to use these words correctly, in a way that lets me know that YOU know what they mean.
Assignments…type and submit…any questions? A printed copy was given out to complete as well…assignments can be scanned and emailed if you are unable to submit from module at this time.
The easy parts… We watched in class
Pay attention to discussion forums…these are assignments too.