CNC Control Lines and Arcs Guidance
90 likes | 174 Vues
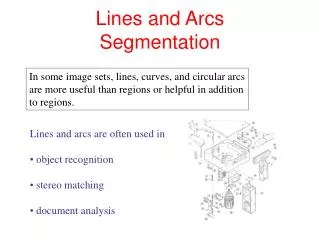
Learn how to access rapid, line, and arc functions using hot keys or soft keys. Understand programming options for lines and arcs, including coordinates input and radius adjustments. Enhance your milling skills with step-by-step instructions for programming arcs and threads.

CNC Control Lines and Arcs Guidance
E N D
Presentation Transcript
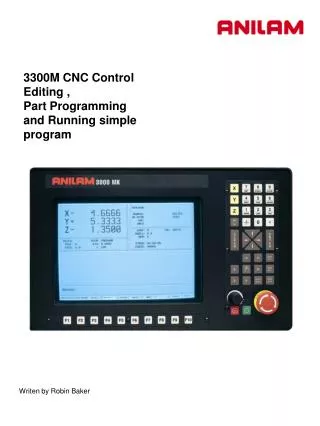
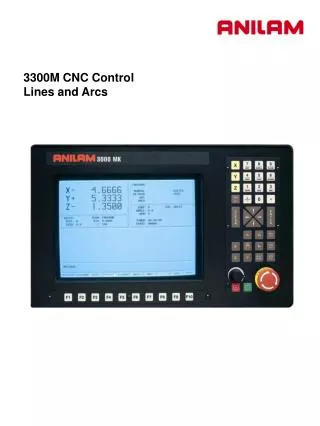
3300M CNC Control Lines and Arcs
1 Rapid 2 Line 3 Arc Mill Rapid More... F5 F2 F4 Lines and Arcs Lines and arcs can be access in two ways . 1. Using hot keys. 2.Using soft keys Press Press Press Accesses Rapid menus. Accesses Line menus. Accesses Arc menus. 1.
Screen will now show 6 icons , these apply to both rapid and line moves. Line and Rapid are the same with one exception CornerRad and feed are not in rapid. 1. Enter coordinates in any or all axis. 2.
2. Using Radius and Angle from current position. 3. X axis move is an Absolute dimension, the Angle relative to Zero (three O’clock). Below it is Y axis and Angle. 3.
4.Axis and Angle If programming absolute X or Y dimension is from Part 0 and radius is from current position. If programming incremental X or Y dimension and radius are from current position. 4.
Mill Arc More... F5 F4 F4 The icon below are for arcs. 1 2 3 Tool must be at start point of arc before it is programmed. Arc may be cut in any plane but must selected, default is XY. 5.
1.This is the default arc , End points for 2 axis and radius. Direction is changed by pressing +/- key. If programming an arc over 180 deg the radius is entered as a minus (-) value. 2. With this arc it is possible to mill a thread . Enter X Y and Z end point , X Y center point and Number of Revolutions. The pitch of thread is controlled by the Z movement and the number of revolutions. 6.
3.Center and angle Programming absolute angle is from 3 o’clock position direction is also critical. The above lines of program starts at 45 deg’s the center is X0, Y0 and go to 90 deg’s in a counter clockwise direction, it will go to 12 o’clock, actually only moving 45 deg’s. If direction was clockwise it would move 315 deg’s. With the above program in incremental Counter clockwise will go from 45 deg’s ,were it starting to 125 deg’s, so it moves the actual number of degrees programmed. If clockwise is used it will go to -45 deg’s , so it still only moves 90 deg’s. 6.
More . . . Save Cancel Calc Recall F1 F5 F6 F7 F2 F3 F4 F8 F9 Not used. Used to recall enters from calculator , will cover later. Not used. Used with Rapid , Line and Arc as shown previously . Not used. Not used. Calculator this will be cover later. Not used. Cancels what is being done . Saves information in to Program. 7.