Wavlink Login
<br>Need help with Wavlink login? Wavelink Wifi allows you to reach your Wavlink router or extender settings quickly and easily. Simply access the default ip or login url to the admin panel and be in a position to manage your network settings, upgrade the firmware, and secure your WiFi. Whether it be a setup for the first time or adjustments to your existing setup, the Wavlink login is not complicated and quickly done. Wavelink Wifi is expert-guided, use the help of Wavelink Wifi to give you full accessibility and control of your wireless network.


Wavlink Login
E N D
Presentation Transcript
YOUR HOME NETWORK SEAMLESSLY SUPPORTED
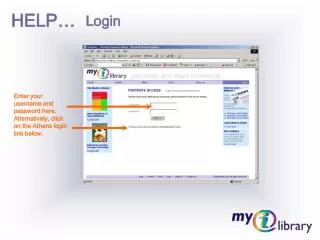
WiFi.WAVLINK.com | Ap.setup Setup and Login Just enter WiFi.WAVLINK.com or ap.setup, and you will get easy access for setup and account login for your Wavlink extender or router. Once your device has been connected, open your browser, and configuring network settings, doing firmware updates, or setting WiFi preferences can all be done for a snap. Embrace seamless connectivity from their all-simple Wavlink login interface.
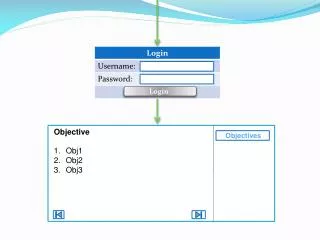
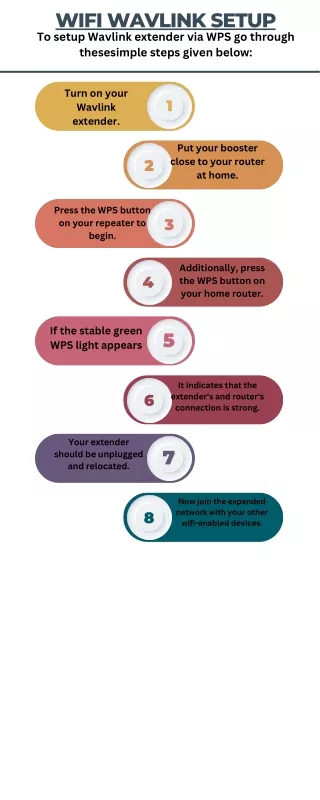
WiFi.Wavlink.com Router Setup & Login 1. Connect Your Wavlink Router Plug in your Wavlink router and power it on. Use an Ethernet cable or connect to the default WiFi network (SSID labeled on the router). 2. Open a Web Browser On your connected device, launch any web browser (Chrome, Firefox, Edge, etc.). In the address bar, type: wifi.wavlink.com or 192.168.10.1 and press Enter.
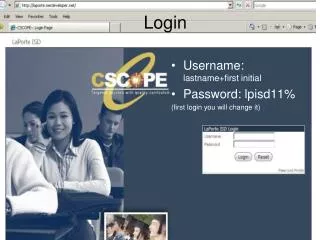
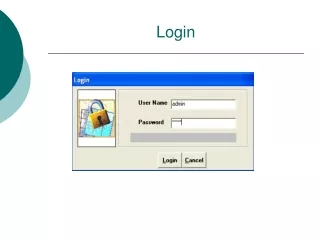
3. Log In to the Router Enter the default login credentials: Username: admin Password: admin (or check the router label if different) Click Login to access the router dashboard. 4. Choose Router Mode On the setup page, select "Router Mode" if you're using the Wavlink as a main router. Follow the on-screen instructions to continue. 5. Configure Internet Settings Choose the connection type (DHCP, Static IP, PPPoE, etc.). Enter the required details provided by your ISP. Save and apply the settings.
6. Set Up WiFi Network Customize your SSID (network name) and set a strong WiFi password. Choose 2.4GHz, 5GHz, or dual-band based on your preference. Click Apply/Save. 7. Finalize Setup Wait for the router to reboot and apply changes. Reconnect your device to the new WiFi network using the updated credentials. Let me know if you want the same for AP mode, Repeater mode, or for the mobile setup process.
Add a little bit of body text In conclusion, setting up your Wavlink router via WiFi.Wavlink.com is quick and simple—just connect, log in, configure your internet and WiFi settings, and enjoy seamless connectivity across your network.
Connect With Us support@wavlink-wifi.net https://wavlink-wifi.net/