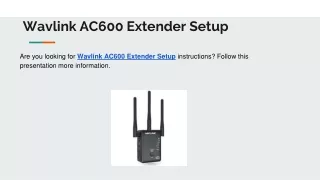
Wavlink AC600 Extender Setup
Easily boost your Wi-Fi range with the Wavlink AC600 Extender Setup by Wavlink WiFi. This compact and powerful device ensures seamless internet coverage in hard-to-reach areas of your home or office.


Wavlink AC600 Extender Setup
E N D
Presentation Transcript
Boost Your Wi-Fi: Wavlink AC600 Setup Guide Unlock stronger, more reliable Wi-Fi throughout your home with the Wavlink AC600 extender. This guide will walk you through the simple setup process, ensuring you get the best performance.
Wavlink Wifi Getting Ready: Pre-Setup Checklist Before we dive into the setup, let's ensure you have everything needed for a smooth and quick installation. Having these essentials ready will prevent unnecessary delays.
Your Wavlink AC600 Extender Strong Router Signal Smartphone or PC Confirm your main Wi-Fi router is emitting a strong, stable signal in the setup area. Have a device (phone, tablet, or computer) connected to Wi-Fi for configuration. Make sure your new extender is unboxed and ready to be plugged in. Available Wall Outlet Existing Wi-Fi Details Use a direct wall outlet, avoiding power strips for initial setup. Know your current Wi-Fi network name (SSID) and password.
Wavlink Wifi Browser-Based Setup: Full Control This method provides comprehensive control over your extender's settings and is the most reliable way to ensure optimal performance.
1 2 3 Power On Connect to Default Network Access Dashboard Plug the extender near your main router. Wait for the power LED to become solid. Open a browser and go to 192.168.10.1 or ap.setup. Login with Username: admin, Password: admin. On your device, find and connect to "Wavlink-N" or "Wavlink_5G" (no password needed).
Configure Repeater Mode 1 Select "Repeater Mode," choose your existing Wi-Fi network, enter its password, and click "Apply." The extender will restart. Test Connection 2 After restart, connect to the new network (e.g., "YourWiFi_EXT"). Browse the web to confirm connection.
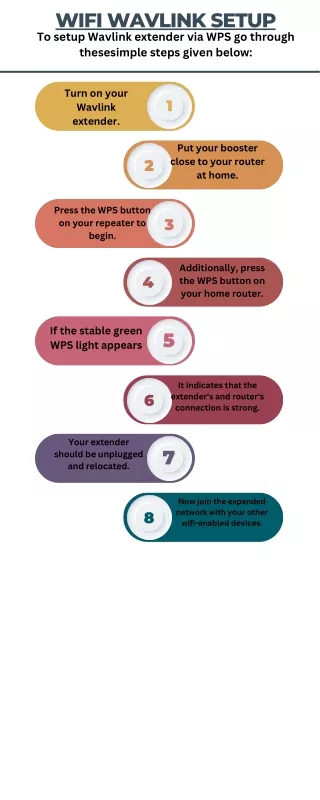
Wavlink Wifi WPS Button Setup: Quick & Easy For a faster setup, the WPS method is ideal if your router supports it. This eliminates manual configuration steps.
Physical Setup 1 Plug the extender into a wall outlet near your router. Wait for the LED to stabilize. Initiate WPS Pairing 2 Press and hold your router's WPS button for 2 seconds. Within 2 minutes, press the WPS button on the extender. Confirm Connection 3 When the extender's LED turns solid, the connection is successful. You can now relocate the extender.
Wavlink Wifi Troubleshooting Common Issues If you encounter connection problems, don't worry! Here are quick fixes for the most common setup challenges. Power Cycle Verify Password Correct SSID Unplug the extender, wait 10 seconds, then plug it back in. Double-check that you entered the correct password for your existing Wi-Fi network. Ensure you're connecting to the correct Wavlink default network (e.g., "Wavlink-N") during setup. Reset Extender Browser Cache Use a paperclip to press the reset pinhole on the extender for 5-10 seconds. Try setting up from a different browser or clear your current browser's cache and cookies.
Optimize Your Extender's Performance Optimal placement is key to maximizing your Wi-Fi extender's effectiveness and eliminating dead zones. Avoid Physical Barriers Mid-Point Placement Thick walls, large furniture, and closets can block Wi-Fi signals. Choose an open spot. Position the extender roughly halfway between your main router and the area with poor signal. Clear Electronic Crowding Elevated Position Keep the extender away from microwaves, cordless phones, and Bluetooth devices to prevent interference. Placing the extender higher up, like on a shelf rather than behind furniture, improves signal spread.
CONTACT US: support@wavlink-wifi.com Wavlink WiFi Setup & Login Support | Access wifi.wavlink.com Easily