Download
1 / 23
230 likes | 364 Vues
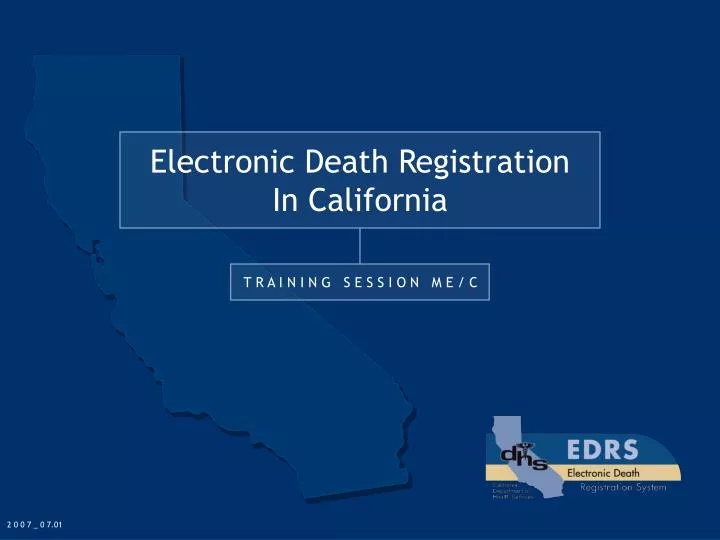
Electronic Death Registration In California. T R A I N I N G S E S S I O N M E / C. 2 0 0 7 _ 0 7.01. DP Disposition Permit. DC Death Certificate. VS-9e. VS-11e. PI Personal Info MI Medical Info CI Coroner Info. VS-11e. Icons. ?. Field Sensitive Help Select Date

E N D
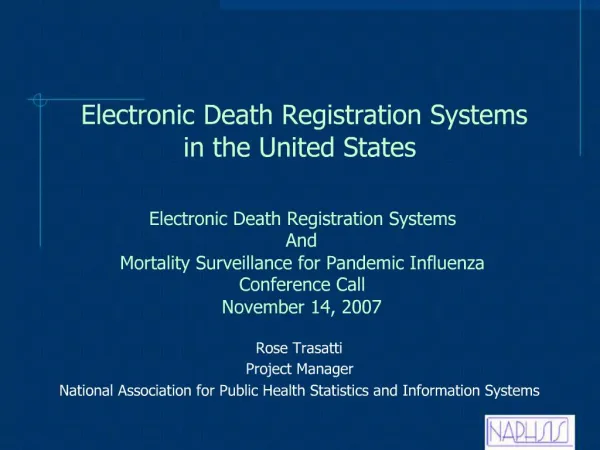
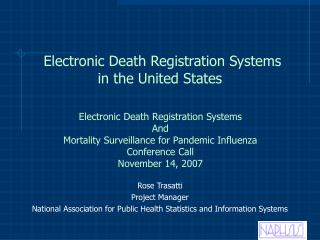
Electronic Death Registration In California T R A I N I N G S E S S I O N M E / C 2 0 0 7 _ 0 7.01
DP Disposition Permit DCDeath Certificate VS-9e VS-11e
Icons ? Field Sensitive Help Select Date Remote Attestation View PAC Fax image Listen to Voice • Search Lists • State/Foreign Country • Hispanic • Race • Occupation • Kind of Industry • Embalmers • Funeral Homes • Medical Facilities • Physicians (MDs & DOs)
TRAINING NOTE: • When using the Training Environment of EDRS, DO NOT create a Death Certificate of any live person • Please use Cartoon, TV, Movie or other fictional characters • Creating a DC of a living person is a violation of privacy
STEP 1 LOG IN TO FIND A RECORD • Enter User Name and Password • Search for record by • EDRS number • Name • Coroner Status = REF • Or other search criteria
ACCEPT RECORD • Review Record • Assign Coroner Status • Record Options > Accept Record • Select option ACCEPT, REVIEW Reportable Case, or DECLINE • Enter or update Referral Number if applicable • REV - ME/C reviews reportable case, assigns coroner referral # • ACC - ME/C accepts case, assigns coroner referral#, ME/C attests • DECL - ME/C declines case, no further action needed, “NONE” will appear • in coroner referral field Note: Once the ME/C selects an option, they cannot change the option at a later time for that record.
STEP 1 LOG IN TO FIND A RECORD • Enter User Name and Password • Search for record by • EDRS number • Name • Coroner Status = ACC • Or other search criteria
ATTEST MEDICAL INFO • Review Record • Attest (i.e. electronically sign) • Record Options > Attest Medical Info
STEP 1 LOG IN & CREATE RECORD • Enter User Name and Password • Record Options > Create New Record • Do not Assign Record Access • Do not alter default values Note: Record Access is to allow other EDRS users to see a given record. Record Access is NOT the Funeral Home, Medical Facility, ME/Coroner, or Local Registrar on the Death Certificate.
MEDICAL INFORMATION • Enter MI & CI • Name, DOD, Time of Death, Sex • Fields 101-125 • Validations • Validations > Validate MI • Validations > SpellCheck MI • Record Options > Print Working Copy
ATTEST MEDICAL INFO • Review Record • Attest (i.e. electronically sign) • Record Options > Attest Medical Info
ACCEPT RECORD • Search for Referred records • Review Record • Assign Coroner Status • Coroner Status = REF • Record Options > Accept Record • Select option ACCEPT, REVIEW Reportable Case, or DECLINE • Enter or update Referral Number if applicable Note: Once the ME/C selects an option, they cannot change the option at a later time for that record.
TRANSFER RECORD • Select Record • Transfer to Funeral Home &/or Medical Facility • Record Options > Transfer • Select Funeral Home “Organization” or Medical Facility. Note: Transfer allows an EDRS Funeral Home or EDRS Medical Facility “Organization” to see a given record. The “Organization” is NOT the Funeral Home or Medical Facility on the Death Certificate.
ME/CORONER ACTING AS FUNERAL HOME • Refer to Funeral Home Training Session I Power Point • Step 1 2 3 5 6 • Plus ME/Coroner Attest Medical Information
CREATE CORONER AMENDMENT Create Coroner Amendment • Amendment Options > Create Coroner Amendment • Enter Information (overwrite incorrect information with correct information) • Save • Amendment Option > Save • Validations • Validate Option >Validate • Validate Option >Spell Check MI • Amendment Options > Print Working Copy • Sign • Amendment Options > Attest • Submit • Amendment Options > Submit
ME/Coroner Amendment VS-24Ae DEMO CORONER DEMO REGISTRAR MD, PHD
CASE EXPORT • Selected Record • Export single Case Medical Information • Record Options > Case Export • Import EDRS data into your local Software Application. • Contact your Office IT person for instructions. Note: Data Specifications documentation is available on-line at http://www.edrs.us
PENDING AGING DC REPORT • Select Reporting Option • Enter date range • Select Report Type • Pending Aging DC Report • Note: This report will display all the records for the date range where Manner of Death (field 119) is PENDING INVESTIGATION and has not yet been amended to another value.
EXPORT • Select Reporting Option • Enter date range • Select Report Type • DC Report • Note: This export will display all fields except LRN or SFN for all records for the date range plus record status. • Note: Data Specifications documentation is available on-line at http://www.edrs.us
SORT BY COLUMN SEARCH BY - Last Name - First Name - Date of Death - Attest Status - MI Review Status - Coroner Status - Record Number - Record Status - # of Disp - Amendment Status - Last Name - First Name - LRN - SFN - Record Number - Date of Death - Date of Creation - Record Status - Amendment Status - Attestation Status - Coroner Status - MI Review Status
PERSONALIZE SEARCH FILTERS • Create a new custom search filter • Update an existing custom search filter • Select Filter Name from dropdown list • Select Manage Search Filters • Enter Filter Name • Check Set as Default, if appropriate • Enter Search Criteria • Save as New • Select Manage Search Filters • Select Filter Name • Change Search Criteria, Default status, name, etc. • Save
THANK YOU This completes Training Session ME/C