How to Setup HP Printer
If you bought your new printer, need to install it properly. In this document explains how to setup, unboxing and installing the hp printer at the first time.<br><br>https://123hp.org/

How to Setup HP Printer
E N D
Presentation Transcript
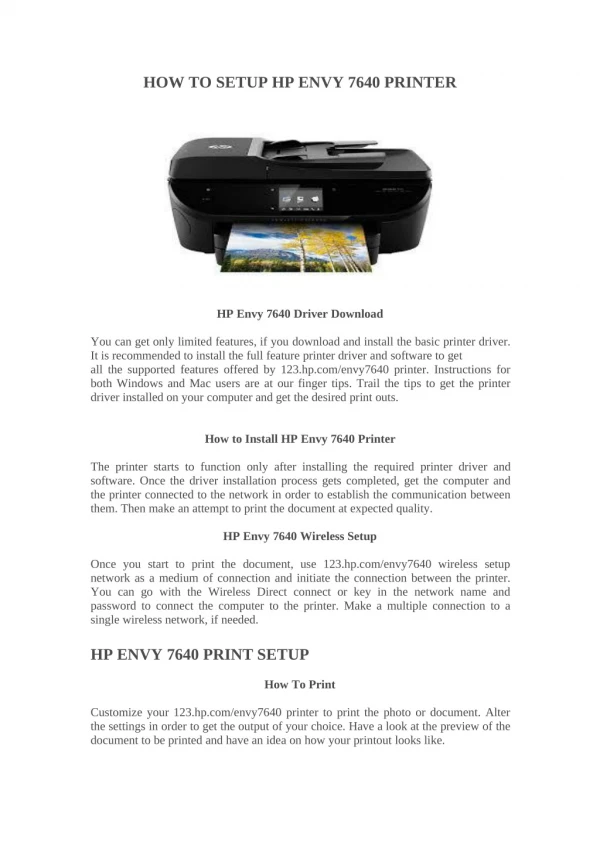
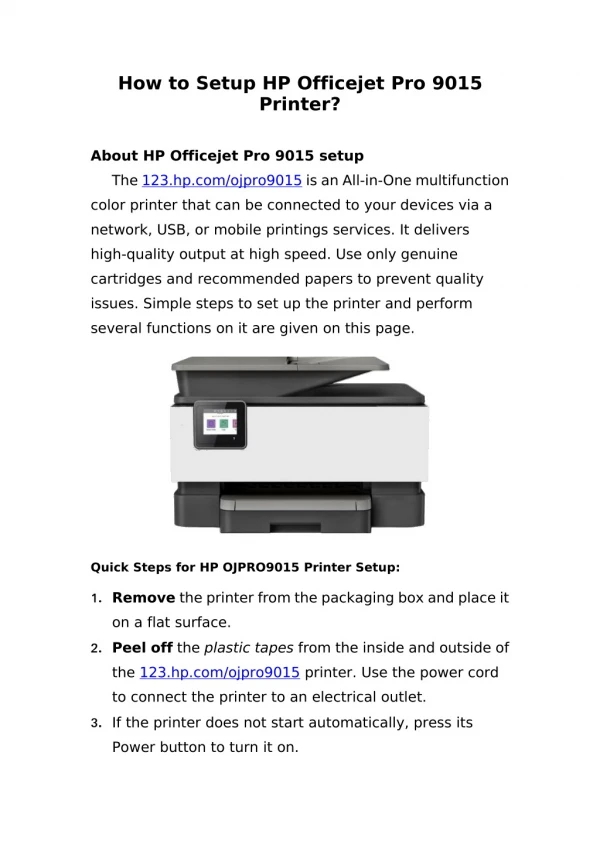
HOW TO SETUP HP PRINTER Take the printer and its accessories out from the package. Connect the printer to a reliable power source, turn it on, and set the preferences. Load papers into the input tray, insert the ink cartridges, and install the printer drivers. QUICK STEPS ON HOW TO SETUP AN HP PRINTER 1.Open the printer package and take the accessories out. 2.Remove all the tapes and other packing materials from the printer. 3.Use the power cable to bridge the printer to a power supply. 4.Turn on the printer and set the preferences accordingly. 5.Load the input tray with papers that are compatible with the printer. 6.Insert the ink cartridges into the designated ink slots. 7.Install the printer drivers using the installation CD. 8.Connect the printer to your wireless network and start printing. HP PRINTER SETUP - UNBOXING, INK CARTRIDGE, AND DRIVER INSTALLATION 1.Unload the package by taking all the accessories out of it. Remove the printer from the Styrofoam packing. Take all the tapes, stickers, and other packing materials off the printer. 2.Place the printer and other accessories on a flat surface. Ensure that the location you chose has enough space to accommodate your computer or laptop that you use to connect. 3.Plug one end of the power cable to the printer’s power port and the socket-end to a power outlet. Force press the Power button of the printer to turn it on. 4.Sort the preferences on the printer’s Start page. Open the Settings menu on the printer. Navigate to the Preferences tab. Check if the chosen preferences are set correctly.
5.Pull the input tray and move the paper width guides outward. Take a stack of appropriate papers and load the tray with the stack. Slide the paper guides inward. 6.Push the tray, raise the scanner lid, and unlock the cartridge access door. Wait for few seconds so that the carriage moves to the center. Take the black ink cartridge out of the package. 7.Remove the orange-colored peel-off tab to detach it from the cartridge. Do not touch the copper contacts. Hold the cartridge by its sides and insert it into the slot of the black ink. 8.Repeat the same procedure for placing the tricolor ink cartridge. Close the ink slot covers, cartridge access door, and lower the scanner lid. The printer prints an alignment page. 9.Use the installation disc to install the driver files. Tap the Wireless button on the printer’s control panel. Power on your router, connected to a Wireless Access Point. 10.Check if the printer connects to your network automatically. If the auto-connection fails, select the desired network on the printer’s screen, manually. Connect your computer to the same wireless network. Get more information regarding the HP printer setup, installation and unboxing from 123.hp.com/seutp