How do I use clipping path
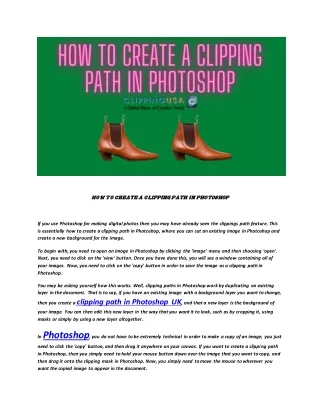
How Do I Use Clipping Path?<br><br>Before you can use clipping path, you must select all the inside paths first. In Illustrator, click on the Text icon and then select the Path selection tool. Draw a box around the subject. In the top menu, check the "exclude overlapping shapes" option. Next, click on the Make Selection button. Set the Radius and click OK. You will have a path around the subject. Once the path is created, you can replace it with your other images or delete it completely.<br>In Adobe Photoshop, you can isolate parts of your image without changing the layer. This will enable you to make


How do I use clipping path
E N D
Presentation Transcript
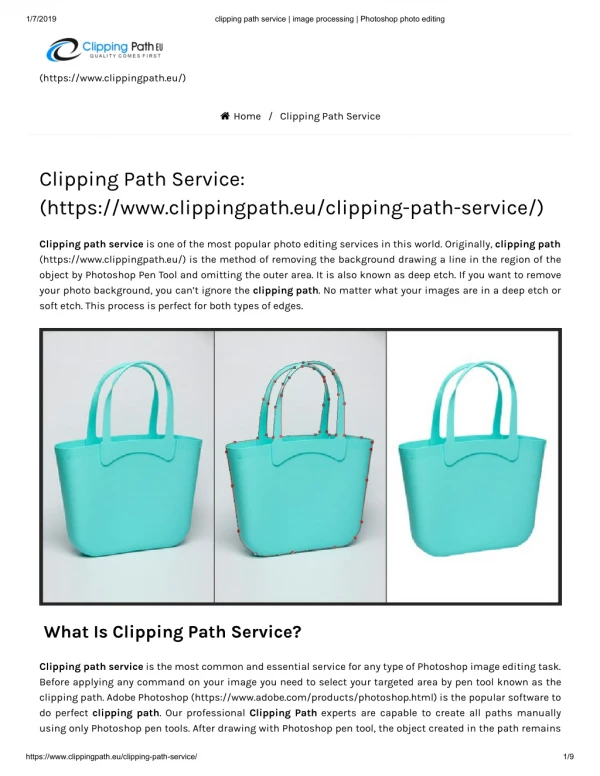
How Do I Use Clipping Path? Before you can use clipping path, you must select all the inside paths first. In Illustrator, click on the Text icon and then select the Path selection tool. Draw a box around the subject. In the top menu, check the "exclude overlapping shapes" option. Next, click on the Make Selection button. Set the Radius and click OK. You will have a path around the subject. Once the path is created, you can replace it with your other images or delete it completely. In Adobe Photoshop, you can isolate parts of your image without changing the layer. This will enable you to make changes at any point during the creative process and undo any previous edits. If you are a graphic designer or an aspiring photographer, learn how to use clipping path. This will help you make quick and efficient edits, especially when you have to meet a deadline or a demanding client. Once you have learned how to use clipping path in Photoshop, you can use it whenever you need to. After you have chosen the image, you can start editing the path. To edit a clipping path, you must zoom into the selected area. If you are unsure of how to edit a clipping line, you can also click on the "A" and click on the second line. Then, drag the other end of the line to reposition the path. If you are unsure of the exact location of the cutout, you can always move the anchor points. Before using clipping path, you must ensure the image has natural edges. If you do not have natural edges, it will not be possible to separate it in a way that makes it look unnatural. To save the path, click on the "Path" icon in the layer panel or in the right toolbar. When the image is loaded in the paths palette, it will save the path in the Paths panel. After you save the path, you must name it as you like. The clipping path is an important part of your image in Photoshop. The right clipping path will ensure the overall look of your image. Moreover, it can be used to conceal the background of an image. You can
use a multi-layer clipping path service to enhance the look of a product. In addition to enhancing the look of your image, clipping paths can also be used for color correction. If you want to enhance the color of an image, it can be a great option. While a clipping path is one of the best ways to isolate an object from the background, it's not the proper tool to use for this purpose. Rather, you should use the Clipping Path Tool. It is a powerful technique to make an image look more attractive and to improve the overall image. By using this method, you can change the color and contrast of an image. Hence, you will be able to remove or change its background with ease. In Photoshop, you can draw a Clipping Path around an image. The image will appear on a background layer in the Layers Panel. Then, you can use the Pen Tool to draw a Clipping Path around the image. By selecting the Pen Tool with the shortcut 'P', you can now select the image and choose the desired settings. Then, you can draw a path that surrounds the selected area. A clipping path is a selection that is created by selecting the areas that you want to clip. A clipping path is a path that is drawn to isolate an area of an image. When you create a path, you must select the region you want to extract the objects from it. After that, select the objects that are not part of the clipping paths. The path will be hidden. After you have done this, use a mask to remove the background. In order to create a clipping path, you must first convert the image into a vector. Once you've created a clipping path, you can use it to add or remove the image background. Then, you can save the EPS file as an EPS file and open it into your Adobe software. You can also edit the text with the text editing mode. It will be inserted in the clipped path.