Download
1 / 19
230 likes | 699 Vues
Wheelchairs and assistive devices. Annual compulsory education. Revised April 2013. Learning Objectives. Increase your understanding of why wheelchairs are used and the simple care of a wheelchair Be able to demonstrate the care of wheel chair cushions

E N D
Wheelchairs and assistive devices Annual compulsory education Revised April 2013
Learning Objectives Increase your understanding of why wheelchairs are used and the simple care of a wheelchair Be able to demonstratethe care of wheel chair cushions Increase your understanding of assistive devices Increase your understanding of walkers, the types available and their safe use, and apply this to your work Increase your understanding of the purpose and procedure for the use of canes Revised April 2013
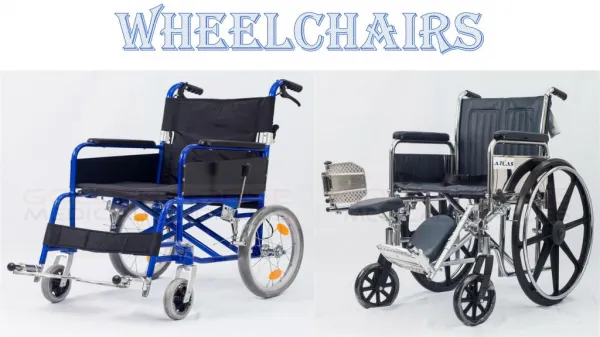
Wheelchairs • Wheelchairs are used for residents who can no longer safely walk a certain distance with assistive devices and/or another’s support or supervision • Wheelchairs provide the resident with a means of getting around either on their own or with help; with support to all parts of their body • Resident owned wheelchairs have been carefully measured and fitted to the resident’s needs and should never be used by other residents Revised April 2013
Wheelchair Cushions • All wheelchairs must have a cushion on them and it must be the specific cushion for the resident • Foam cushions must be placed with the low part at the back and the (pommel) bump at the front between the legs Revised April 2013
ROHO Cushions - ROHO cushions have a special cover - Stretchy on the topside and non-slip on the bottom • ROHO cushions are NOT to be covered with layers of cloth or padding - If a Resident is incontinent, one layer of incontinent pad is acceptable over the cushion Revised April 2013
ROHO Cushions ROHO cushions must be placed with the yellow rope to the left front corner of wheelchair to make sure of proper placement ROHO cushions that have a low part are positioned at the back If unsure if inflation is correct; check with your supervisor so that a physiotherapist can be consulted Do not exchange cushions form one resident to another Revised April 2013
Positioning in a Wheelchair • Position resident in center of seat; resident’s lower back against back of chair with thighs supported to 3-4 fingers width from knee crease to cushion • Feet must be supported on the foot pedals or floor if foot propelling • If the knees are too high, there will be increased pressure on the ‘sit’ bones and tail bone • If the knees are too low, there will be increased pressure behind lower thigh and danger of resident sliding Revised April 2013
Positioning a Wheelchair • Reposition resident at least every hour: • Helping the resident to move the body forward and back or side to side will help change pressure on the buttocks • Encourage them to move their legs, hips, knees and ankles and lean body from one side to the other • Report signs of pressure areas to charge nurse Revised April 2013
Pushing a Wheelchair • Walk around to the back of chair and use handgrips • Tell resident to keep elbows in or place hands on lap so that elbows are protected • Push gently on handles and move resident • Stop wheelchair and apply brakes on front of the wheelchair Revised April 2013
Damage and Identification • If any part of the wheelchair appears worn, torn or damaged report to supervisor who can then report to the Physiotherapy Department • All wheelchairs should have an identification tag with resident’s name and serial number • All ROHO cushions have identification tags • If any of the tags are missing, please report this to the Supervisor so that the Physiotherapy Department can replace them Revised April 2013
Be Sure to Check • Is it the correct one for the resident? • Check the cushion – is it positioned correctly? • Is it the correct ROHO cushion? • Check the resident’s position Revised April 2013
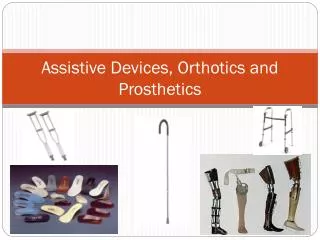
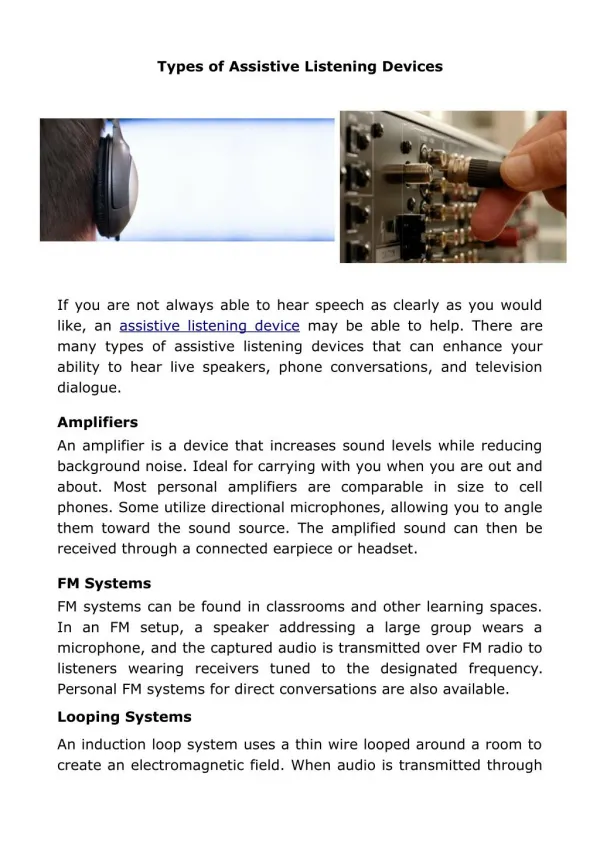
Assistive Devices • Assistive Devices: • Help make up for problems the resident may have walking • Increase a resident’s balance • Walking Assistive Devices: • Walkers, canes, and transfer belts • The needs of the resident and the causes of the problem are important when selecting the type of device required Revised April 2013
Transfer Belts • The belt is placed around the resident’s waist • Make sure the transfer belt is snug but allows 2 fingers to fit between belt and back • This provides a safe, secure way to assist a resident with balance and allows the caregiver to keep control of the resident’s movement • Care staff are required to wear a transfer belt and use it for all 1 person transfers and assisting someone on the walking program Revised April 2013
Preventing Injury During a Fall • If a Resident Begins to Fall: • Hold resident firmly by transfer belt • Direct resident against wall, bed or wheelchair • Make sure you have a wide staggered stance • Ease the resident slowly down to floor/bed/ wheelchair • DO NOT try to stop the fall • Remain with resident and send or call for help • Reassure resident until help arrives Revised April 2013
Walkers • Residents who have poor balance or are weaker often use a walker for safe walking • Walkers provide a greater degree of stability and are generally easy to use Types of Walkers: • Standard No Wheel Walker- pick up and place forward with each step • It provides very firm support; good for a partial weight bearing resident • Usually are aluminum frames and most fold for storage Revised April 2013
Walkers 2 wheeled walker: Slide front wheels forward along floor. Usually has a braking device in back posts. May have mini skis on bottom of back posts for easier glide. Folds for storage. 4 wheeled walker: Has 4 wheels, hand brakes, a seat and often a detachable basket. These vary in weight and speed. Slow down attachments are available. Revised April 2013
Assisting Residents with a Walker • Make sure the resident is wearing good walking shoes • Have resident hold the walker firmly, standing halfway inside the walker standing as tall as possible • Have the resident move the walker slightly forward • Instruct the resident to use the weak leg first, to lean forward and his/her weight on the hand rests • Have the resident move the strong leg • See that the resident stands as straight as possible looking ahead rather than at his/her feet • Support with transfer belt as needed • Encourage the resident Revised April 2013
Canes • Canes provide some support • Often used by residents with one weak side • The cane assists balance by widening the base of support • Canes can be straight pointed or a quad canes • Both provide balance and confidence for a resident • Preferred canes are adjustable for height and fitted for individual needs Revised April 2013
Walking with a Cane Assisting Resident to Walk With a Cane: • Check the bottom of the cane to make sure it isn’t dirty and that the rubber end tip is in place • Make sure the resident is wearing good walking shoes • See that the resident stands as straight as possible and looks straight ahead and not at his or her feet • Canes are held in the strong hand opposite the weak leg • When the resident walks, the cane is moved forward with the weak leg for support • Support with transfer belt as needed Revised April 2013