Download
1 / 13
130 likes | 287 Vues
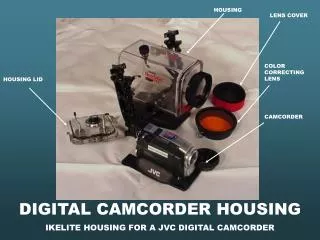
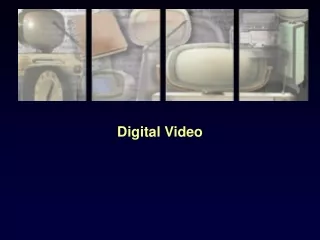
Sony Digital Video Camcorder. Model - TRV22E. What can you do with it?. Video to tape and playback through TV In combination with a computer: Video to tape, capture clips on computer and save to CD-ROM (up to 650 mb = approx 20 minutes) or to DVD (up to 4.2gb approx 120 minutes)

E N D
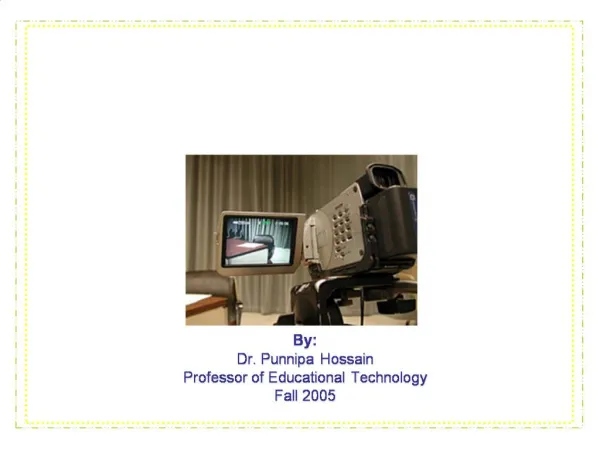
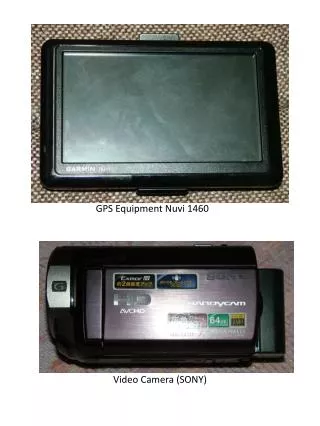
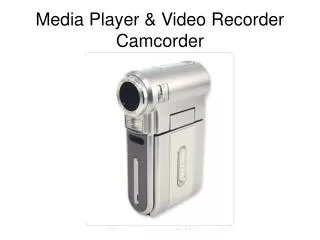
Sony Digital Video Camcorder Model - TRV22E
What can you do with it? • Video to tape and playback through TV • In combination with a computer: • Video to tape, capture clips on computer and save to CD-ROM (up to 650 mb = approx 20 minutes) or to DVD (up to 4.2gb approx 120 minutes) • Create a “movie” by joining together two or more video clips and copy to CD or DVD • Video to memory stick (128mb = 5 minutes), download to computer and copy to CD-ROM • Capture photos to memory stick and download to computer as JPG images
Video Clip Examples Click to start playing the video. To pause a clip, click again Simple Clip: Feed Me Clips with sound overlay in an autoshape Combined Clips: Oil change
Use a set of images all the same size Video = 320 x 240 Memory stick = 640 x480 Insert pictures Click Slide Show, Custom Animation… Click the first image and Add Effect, Entrance, Appear Repeat for all subsequent images but make them appear “after previous” Cheating: making still images move
Video and playback through TV • Ensure tape is in camcorder (see operating instructions booklet Page 12-2) • Check battery power is sufficient for recording (Page 29) - if not, use AC power (Page 12-1) • Record onto tape (Page 13-3) • View recording on LCD screen (Page 13-4) • View recording on TV (Page 61)
Capture video clips onto computer – 1 of 3 • Set camcorder to VCR and locate start of video clip (Page 13-4) • On laptop – click Start… All Programs, Pixela, Image Mixer Version 1.5for Sony • Click the “capture environment” icon
Capture video clips onto computer – 2 of 3 • In Image mixer software, click the USB icon • Connect the USB lead to camcorder and computer (page 218-11) • On the computer - click the USB icon if it is not already highlighted • On the camcorder LCD, use the play control to start the video • If necessary, adjust the Brightness of the video using the slider below the video window • To start capturing video, click the red button on the image mixer software • To stop capturing, press the red button again (it will be black while recording) • To stop the video running, press the stop button on the camcorder LCD
Capture video clips onto computer – 3 of 3 • The captured video will be displayed as a thumbnail on the right of the screen
Edit the captured clip: 1 of 2 • Click the Movie button in Image mixer • Drag the captured clip down to the Storyboard strip (bottom of the screen) • Double-click the clip on the storyboard – it should open in an editing window
Edit the captured clip: 2 of 2 To trim the beginning and end of the clip: • Click the Play button • To define the point at which you want the movie to begin playing, click the In-point button. • To define the point at which you want the movie to stop playing click the Out-point button. • Preview the edited scene by clicking the Trimmed range preview button. • Click the OK button to accept the defined range.
Exporting the edited clip • Click the button near the top right of the screen to generate an MPEG movie • You will be prompted for a file name and location - the time to encode will depend on the length of the clip • If further editing will be required you should save the project before exiting the Image Mixer software.
Inserting video clips into PowerPoint • Load PowerPoint and start a new slide • From the menu, click Insert, Movies and Sounds, Movie from File…. • Select the video clip from wherever it’s stored and click OK • Choose the preferred playing option - “when slide starts” or “on mouse click” and click OK • The first frame of the video will display and can be moved by dragging across the screen with the left mouse button • A border can be drawn using AutoShapes and “Sent to the back” using the Draw, Order menu at the bottom left of the screen.