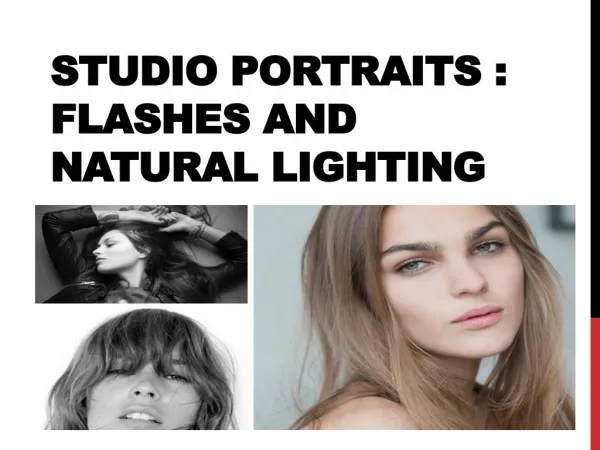
Studio Lighting Basics
Want to get started with some "serious studio lighting" but do not know how to? This slide will briefly walk you through some of the basics, equipment, and lighting styles.

Studio Lighting Basics
E N D
Presentation Transcript
HELLO! I am W.S. Toh Being a self-taught photographer, I give back to the community by giving free tutorials.
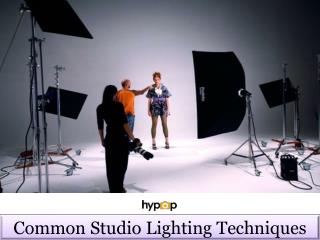
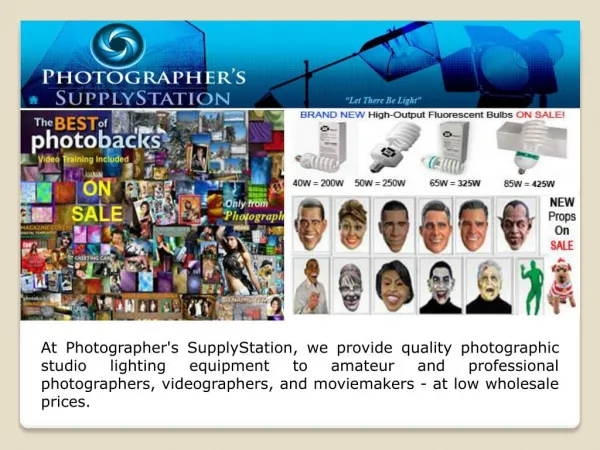
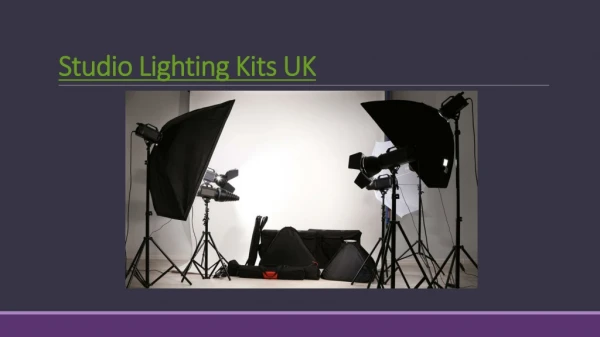
1 STUDIO GEAR Stuff that you need to get started
STUDIO GEAR : LIGHTS Flash Good old portable & reliable. Strobe The big guns. LED Not as bright, but gives nice soft light.
STUDIO GEAR : LIGHTSTANDS Lightstand To place your lights on… of course. Just look for the air-cushioned ones which prevents nasty slams. Boom arm Gives you more creative space, and holds the light high up.
STUDIO GEAR : SOFTBOXES Octagon Think of these as oversized spot lights. Slid Helps you put light into a small area. Rectangular / Square Evenly lights up a certain area.
STUDIO GEAR : LIGHT MODIFIERS Grid Attached to softboxes, prevents “light spills”. Snoot Puts light onto a single spot. Barn Door Allows you to control the direction of the light.
STUDIO GEAR : OTHERS Backdrop Black or white backdrop, or just a green screen. Color Gel Adds funky colors. Reflector Reflects light. Doh.
HOW MANY LIGHTS DO YOU NEED? JUST ONE! There are no rules to the minimum number of lights in a studio setup. If you want, you can even call a one-light setup a studio.
2 4 LIGHT SETUP The classic basic setup
KEY LIGHT The key light, is also your main light. This is the first light to setup, and all the rest will follow along.
FILL LIGHT The fill light as its name implies, is the secondary light to “fill in” places where you want lights to be.
BACK LIGHT The back light illuminates the back of the subject, often separating him/her/it from the background.
BACKGROUND LIGHT This light is specially dedicated to lighting up the background.
DO YOU NEED ALL 4 LIGHTS? NO! Again, there are no rules that you need 4 lights in a studio setup. So just use whichever that works magic for you.
3 HOW TO SETUP? How to deal with multiple lights
STEP 1 : START WITH THE BACKGROUND Start dealing with the natural lights first. Meter the background, and estimate the base settings.
STEP 2 : ADD KEY LIGHT Place your subjects, and add the key (main) light to the setup. Take test photos, and readjust until you are satisfied.
STEP 3 : ADD FILL LIGHT Now add any fill lights as required. Take test photos, and readjust until you are satisfied.
STEP 4 : ADD MORE LIGHTS Should you need more lights add more as you see fit – Back light or background lights.
THE KEY STRATEGY DEAL WITH LIGHTS ONE AT A TIME Yes. Don’t panic. Just deal with a multi-light setup one light at a time, and you will do just fine.
4 COMMON SETUPS & STYLES The classics that you should know
HIGH KEY The bright “glamour” look, usually achieved by well-balanced all-round lighting.
LOW KEY Opposite of high key, and is portraits the dark dramatic look.
CLAM SHELL LIGHTING Named after how the setup looks – One light on top, one below. Also known as butterfly lighting.
SPLIT LIGHTING A dramatic look, lighting half of the subject only.
REMBRANDT LIGHTING Named after the painter Rembrandt. Creates a signature triangle below the subject’s eye.
LOOP LIGHTING Named after how it creates a signature shadow loop under the subject’s nose.
It is during our darkest moments that we must focus to see the light. - Aristotle
THE END! Any questions? Visit X-Light Photography, where you will find more free Studio Lighting Basics tutorials.