Create a Stunning Snow Effect in Photoshop: Step-by-Step Guide
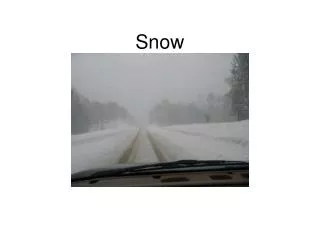
Transform your images into winter wonderlands with this easy, step-by-step guide to creating a realistic snow effect in Photoshop. Start by opening your image, sampling the ground color, and filling a new layer with snow. Then, adjust the color balance, add snowfall effects, and blur to simulate movement. Finalize your masterpiece by adding larger snowflakes and subtle contrasts for depth. Perfect for enhancing seasonal imagery or creating holiday designs, this tutorial is suitable for all skill levels.

Create a Stunning Snow Effect in Photoshop: Step-by-Step Guide
E N D
Presentation Transcript
Step 1 • Begin opening an image on photoshop
Step 2 • Now you need to create a layer of snow to cover the ground • Choose the eyedropper tool from the Toolbar and click on the field to sample a greenish color. • Go to Select> Color Range • Use a fuzziness slider setting of 132 and choose Sampled Color from the Select Box. • Click OK
Step 3 • Add a new layer naming it “snow” • To fill this selection with the snow effect go to Edit>Fill and choose white for Contents. • Deselect this layer • In the layers palette change the blending mode of this layer to “Hard Light”
Step 4 • Make the image appear cold • Add a new layer, call it “Gradient” • Click in the foreground color swatch and choose a vibrant blue/ violet/ • Select the Gradient tool, and click in the Gradient picker choosing Foreground to Transparent • Click and drag the tool from the bottom of the image to the top • Set blending mode to Hue and opacity to 80% in the layer palette
Step 4 • To add snow • Ad a new layer naming it “snowfall” • Fill this layer using edit> fill> 50% Gray • Deselect by hitting “D” • Add noise, Filter> Noise> Add Noise
Step 5 • In the add noise dialog bow • Drag the amount slider to 50% • Choose Gaussian for distribution and check monochromatic • Blur this layer • Filter> Blur> Gaussian Blur • Use Blur radius of 5 pixels
Step 6 • Adjust the contrast of this new layer • Image> Adjustments> Levels • In this box, grab the white point marker and drag it directly below the center of the histogram peak • Now drag the black point marker until it is almost directly behind the white marker
Step 7 • Set the blending mode on the layer palette of the “snowfall” layer to screen • Reduce it’s opacity to 50% • Blur the snow to make it appear like it’s being blown • Filter> Blur> Motion Blur • Use and angle of 65 degrees and a distance of 13 pixels
Step 8 • Add a few larger snowflakes • Duplicate the “Snowfall” layer • Go to Edit> Transform> Flip Horizontal • Go to Edit> Transform> Scale • Lock the chain-link in the “Options” bar to constrain the proportions and drag the corner handle on the bounding box outward • Hit enter to commit to the transformation
Step 8 • On the duplicate “snowfall” layer • Go to Filter> Blur> Motion Blur • Use an angle of -59 and a distance of 31

