How to Create a Transparent Image
100 likes | 203 Vues
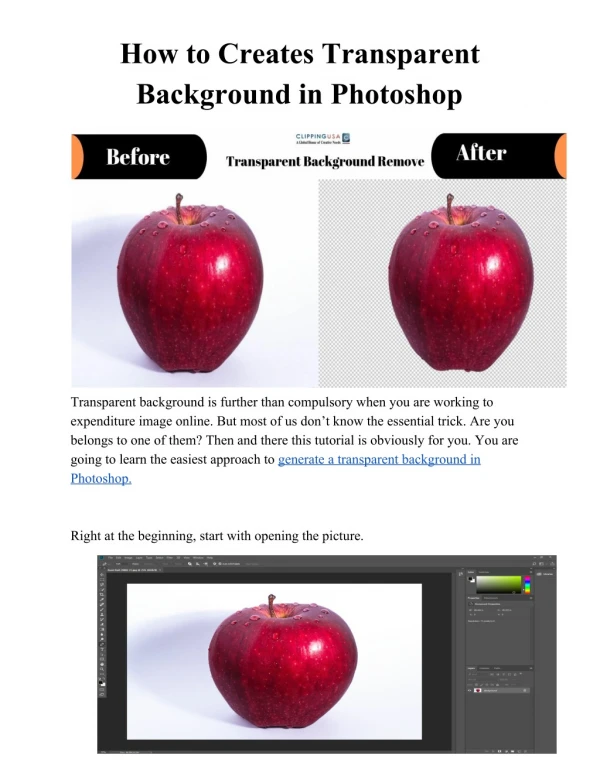
Learn how to make an image transparent using Pixlr Editor. Locate, open, and edit an image to remove the background and save it in PNG format for use in presentations.

How to Create a Transparent Image
E N D
Presentation Transcript
Locate an image Locate an image, right-click on it and select “Save image as...” or “Save picture as…”
Go to Pixlr Go to pixlr.com and select Pixlr Editor
Open the image Select “Open image from computer” and locate the picture file that you saved
Copy and delete the Background layer Locate the “Layers” window and perform these actions: Drag the “Background” layer to the second icon from the right Click on the “Background” layer, then double-click on the locked icon. Drag “Layer O” to the trashcan icon
Select the background color Click on the “Magic Wand” tool. It is the third icon down in the “Tools” bar. Using the Magic Wand, click on the blue color in the background of the image. Every part that is blue will be selected.
Delete the background color Press the “Delete” key on the keyboard and then press “Ctrl-D”. The blue color will be deleted. The checkerboard pattern indicates the part of the picture that is now transparent.
Erase any other unneeded parts Select the “Eraser” tool. It is the fifth icon on the left of the “Tools” bar. Use it to erase any portion of the picture that is not needed.
Erase any other unneeded parts Click on “File” on the menu bar, then click on “Save…”
Erase any other unneeded parts Select “PNG” as the Format. Save the file. It is now ready to import into PowerPoint.