Using EasyBib to Take Research Notes
Using EasyBib to Take Research Notes. EasyBib - Notebook Feature. EasyBib's Notebook feature helps you to take, organize and sort notes. You will also be able to create the outline for your paper in EasyBib. To access Notebook, select the "Notebook" link underneath the title of your project.

Using EasyBib to Take Research Notes
E N D
Presentation Transcript
Using EasyBib to Take Research Notes
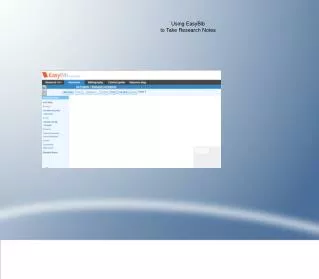
EasyBib - Notebook Feature EasyBib's Notebook feature helps you to take, organize and sort notes. You will also be able to create the outline for your paper in EasyBib To access Notebook, select the "Notebook" link underneath the title of your project.
Starting with Notebook To create a note, click on the "New note" button. This toolbar allows you a variety of ways to look at your notes - as "notecards," in a list, or by groups that you have created for similar notes. It also shows all the ways you can sort notes - by tags, sources, or the date you created them.
You can title your notes, based on the individual topic or question it deals with within your specific research area. Creating a Note You need to keep track of what source your notes come from in order to do your in-paper citations. Notebook offers you a pull-down menu of the sources you've created in your works cited to help keep track of the source of each note. When you write (or cut-and-paste) a note, put it in the Quote box if you are using the exact wording of your source, or in the Paraphrase box if you've put the quote in your own words. This way, you keep track of which wording is "yours" and which is directly quoted from your source.
Commenting on and Organizing Notes Clicking the "Organize" link allows you a variety of options to sort your notes. You can create groups, add tags or add colors to notes (all notes on one topic can be red, etc.) in order to visually sort your notes. If you have ideas on how to use your note, or something you want to remember about it, jot it down in the "Comment" box
To create a group in Visualize View, right click on one note that you want to group, and drag it on top of the note you want to group it with. Creating Groups To see all the notes, double right click in the group to maximize it. To change the name of the group, click on the text that says "Untitled group." You can arrange the order of the notes by clicking on the note box and dragging it around. The notes will stack up when the group is created.
Sorting and Viewing Notes Once your notes are grouped, you will be able to see them together in groups in your visualization view. Play with the navigation bar - you can also see notes in list view, sorted by view, by tag, by date and more.