Download
1 / 6
60 likes | 75 Vues
Step-by-step guide on how to screen record on iPhone 12.You can be able to screen record with or without audio. Letu2019s dive into the process where we all learn how to screen record on iPhone 12

E N D
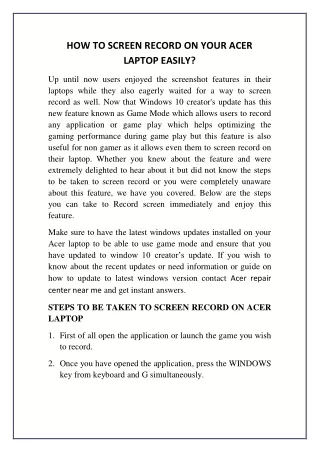
How to screen record on iPhone 12? We all need an option where we are able to record the screen. The screenshot is similar to it but it can not record. Luckily iPhone 11 or later models have an already installed app in them that allows you to record your iPhone’s screen. You can also be able to screen record with or without audio. Let’s dive into the process where we all learn how to screen record on iPhone 12: Adding screen recorder shortcut in the control center menu Before we proceed with the steps involved in the process of how to screen record on iPhone 12, we first need to make sure that we have the shortcut for the screen recorder available to use in the control center. 1. To add the screen recorder shortcut to the control center menu, you first need to go to the settings
2. And look for the control center option. Tap the “control center” option when you see “More controls” as a heading in grey in front of you. 3. Now find the “Screen recorder” written in the list with a “+” sign in front. When you tap the “+” sign, the screen recorder shortcut will be made in the control center menu. 4. Now you can easily access the screen recorder whenever you feel like recording a tutorial or a gameplay video.
How to screen record? Finally, we are going to be screen recording. Here are the main few steps to follow now that you have the shortcut made: 1. Open the control center menu, and tap the screen recorder. 2. It is usually found at the end of the menu when newly added to the menu but you can also custom set its location. So after you tap the screen recorder, it will start recording the iPhone’s screen in almost 3 seconds. You can do it from the lock screen as well. 3. Now it is recording the iPhone’s screen, if it shows red color then it’s an indication that your screen is being recorded, but if it is white then it’s not being recorded.
4. You can always stop the recording by tapping the red button or through the control center menu. When you try to close the recording through the control center menu, it will immediately stop but when you select the red button at the top-left, it will ask for confirmation.
How to screen record with and without audio? Recording audio surely means that you will be able to have your voice recorded with the screen recorder. This will allow you to be more precise and helpful when making a tutorial video. 1. Tap and hold the screen recorder button to start the recording with audio
2. For no audio recording, you need to simply tap. 3. Now the 3-second timer will begin and starts to record your iPhone’s screen. Conclusion In this article, we talked about how to screen record on iPhone 12 and a lot more. iPhone 12 has this screen recording feature already installed so you do not need an app or something. Simply make a shortcut for the screen recorder in the control center and easily record whenever you like. Thanks for Reading! Cat