Download
1 / 12
120 likes | 129 Vues
Join the Hobby Hut challenge and create your dream space! Design and build your own Hobby Hut using boxes, calculate the cost, and explore eco-friendly options. Get creative with a 3D model using an online tool.

E N D
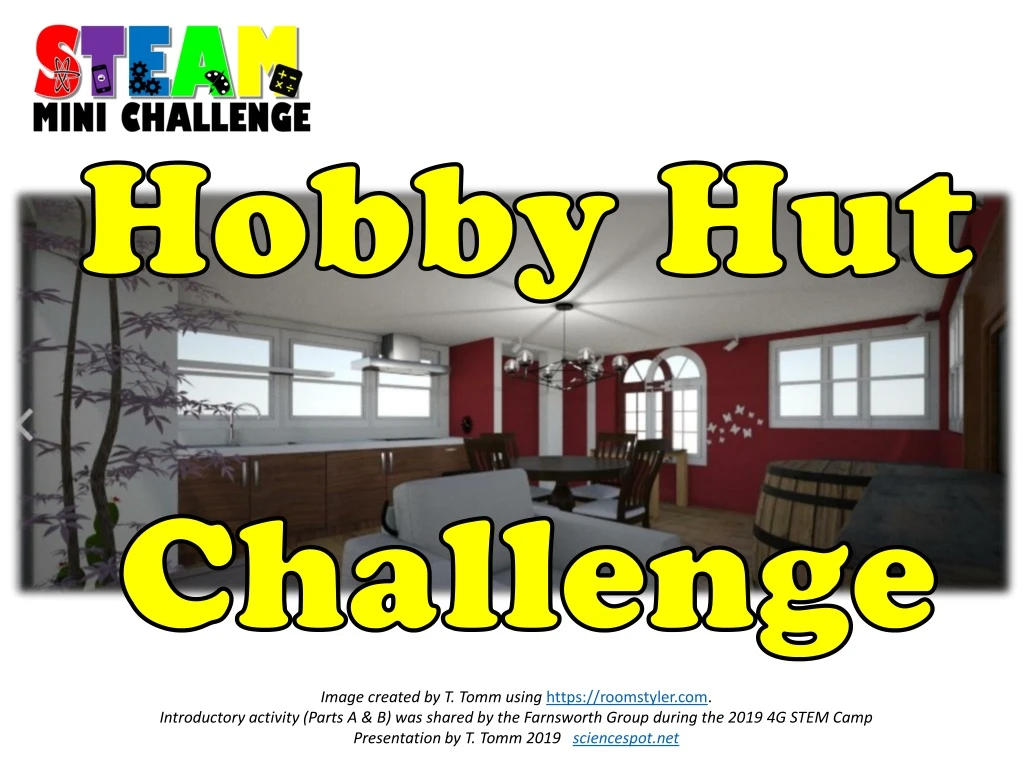
Hobby Hut Challenge Image created by T. Tomm using https://roomstyler.com. Introductory activity (Parts A & B) was shared by the Farnsworth Group during the 2019 4G STEM Camp Presentation by T. Tomm 2019 sciencespot.net
How will you design your space? If you could create a Hobby Hut, what areas and items would you include? What styles, materials, and colors would you incorporate for floors, walls, and other items? What are your “must-haves”? How much will it cost to build and furnish?
Part A: Let’s Roll You will need to create 10 boxes for this activity. The size of the boxes will be determined by rolling a die two times. The first roll will be the length of the box and the second roll will be the width. Make a list of the box sizes in the chart provided. NOTE: All areas must be greater than 4! If the area is less, roll again.
Part B: Put It Together 1st - Draw the 10 boxes on a piece of graph paper. 2nd - Cut out each box and rearrange them on a piece of paper to create your own "hobby hut" space. Notes: Each box is an area of the hobby hut. Each box must touch at least one other box. Boxes cannot overlap each other. 3rd - Glue the boxes on the back of your worksheet to create your new space. 4th - Label each area along with a description of how the space will be used. You may add other details and drawings to personalize your space.
Part C: Challenging Spaces Scale Each box measures ____ ft x ____ ft, which would equal an area of ____ sq. feet per box. Challenge 1: According to homeguide.com, it costs between $100-150 per square foot to build a home. How much will it cost to build your Hobby Hut? Show your calculations. What information do we need to figure this one out? $$$
Challenge 2: You have saved up $2000 from odd jobs and birthday money. Will you have enough to furnish the inside of your hut? If not, how could you reduce your costs and still get the hut you want? Make a list of all the items you’ll need for each area inside the hut. Use online tools to estimate the costs for each. Create a Google Sheets to document the information and calculate your total cost for these items. $$$
Challenge 3: Your hobby hut is infested with ants after you forgot to clean up your snacks. The exterminator recommends placing ant bait stations around the perimeter of your hut. The stations must be placed between 3 feet from each other. Based on this information, how many bait stations will you need? What information do we need to figure this one out?
Eco-Friendly Homes • What benefits of eco-friendly homes were highlighted in the video? • What features did you see on the video could be incorporated into your Hobby Hut to make it more ecofriendly? • Use online resources to find other eco-friendly building ideas. Could you build your hut to be “off the grid”? If so, what changes would you need to make? https://www.youtube.com/watch?v=WaGp37N22Kw
Extension: 3D Challenge Create a 3D model of you Hobby Hut using an online program. Go to https://roomstyler.com/3dplanner and choose “Start from Scratch” You may use other online tools if approved by your teacher. Use the “draw your own walls” tool to create a box for the 10 areas of your hobby hut. You can delete interior walls after you get all the boxes drawn.
Click on interior walls to change their height or delete them Add doors and windows. Place items by clicking the green plus sign. You can also change their sizes after they are placed. Move the 3D camera around to see your space as you add items and make changes
Click the CHAIR to see the options for designing the space. Drag and drop items into your space. Use the red X to delete items. Use the green + to add more of the same item. Click the PAINT BRUSH to change materials and colors for walls and floors. Drag and drop items into your space to change your walls and floors.
Done? Click the SAVE button to save your room. Click the TAKE A 3D PHOTO button. Find the CLICK HERE link in the pop-up window to open the 3D view in a new window. Be patient – it may take a few minutes! Use the screen capture tools on your laptop to get an image. Move the camera to a different location and repeat the process to get more views. Save them in a Google Doc or Slides presentation and share with your teacher.