Download

1 / 8
80 likes | 192 Vues
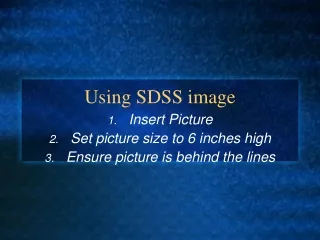
Supplementary slideshow Image capture and processing. A representative optic nerve cross section is presented to illustrate each step of the image capturing and digital processing in ImageJ. Image capture using Lucia G. A. C. B. A. B. C.

E N D
Supplementary slideshowImage capture and processing. A representative optic nerve cross section is presented to illustrate each step of the image capturing and digital processing in ImageJ.
Image capture using Lucia G A C B A B C Left:Step 24. Using the 40X objective, visually identify zones of homogenous damage within the optic nerve and label them, e.g., A, B, C. Outline the border of each damage zone on the image of the optic nerve cross section previously captured using the 10X objective. Measure the area of each damage zone with Lucia G software and calculate the percentage of the cross-sectional nerve area occupied by each zone. Right:Step 25. Change to 63X objective. In the “Grab image” menu select “Open”. Each field is 0.004mm2. Capture a representative image of each damage zone and save. Scale bar= 20µm
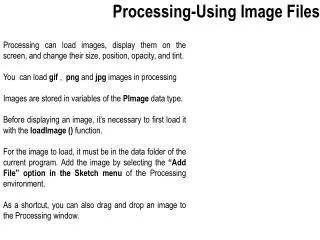
Image processing using Image J Open file
Image processing using Image J Step 27. Remove colour information by converting file to 16bit. In the image menu select type, select 8-bit and then 16 bit. In the Process menu select enhance Contrast (0.5%).
Image processing using Image J Step 28. In the Image menu select “Shadows” and apply a shadow that enhances the border of the axons. Determine which direction provides the best signal/noise ratio).
Image processing using Image J Step 29. ! Critical point Damaged axons and non-neural elements must be eliminated before doing the axonal count. Using the “Freehand selections” function, encircle all areas with shrunk or swollen axons, and non neural elements. Right-click on your mouse and select “Fill”.
Image processing using Image J Convert image to binary elements. In the Image menu select “Adjust Threshold”. Select black & white from the menu drop. Slide the upper bar to the left so the thresholding is adjusted with the lower bar. ! Critical point Make sure the smallest axons are not obliterated when adjusting the thresholding, otherwise they will not be included in the count. In the Apply Lut menu dialog tick all the boxes on and press OK. On the Process menu select Smooth.
Image processing using Image J Step 30. In the Plugins menu select Particle analysis and then Nucleus counter. In Smallest Particle size box type 10 and in Largest Particle size type 500. Select Threshold method: Otsu and in Smooth method select None. Tick on the “Substract background” and “Show summary” boxes and tick off the “watershed filter” and “Add particles to ROI manager” boxes. Select “Result of Analysis” window.