Download
1 / 6
60 likes | 76 Vues
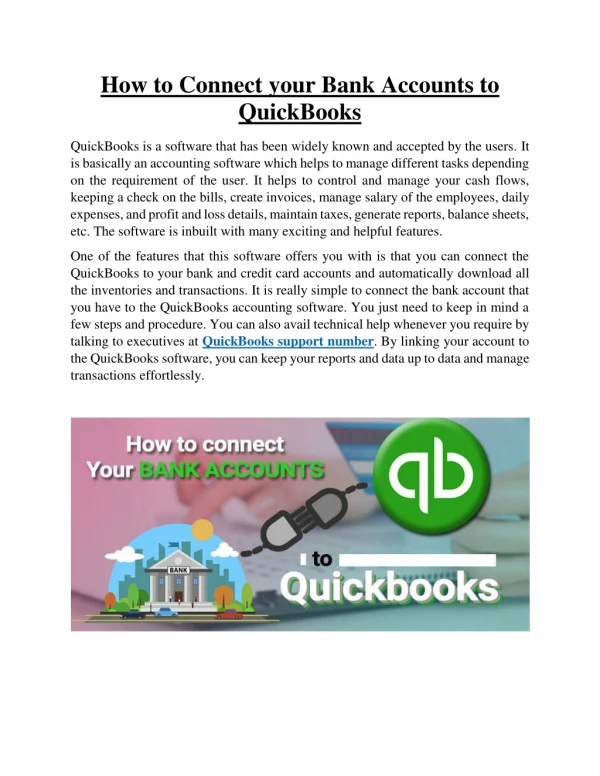
Connect Your Bank & Credit Card Accounts to QuickBooks Connecting your bank and credit card accounts to QuickBooks, eliminates tons of data entry and keeps your business books up to date all the time and if you invest the time. Now you’ll get it back later when QuickBooks learns how to do most of the

E N D
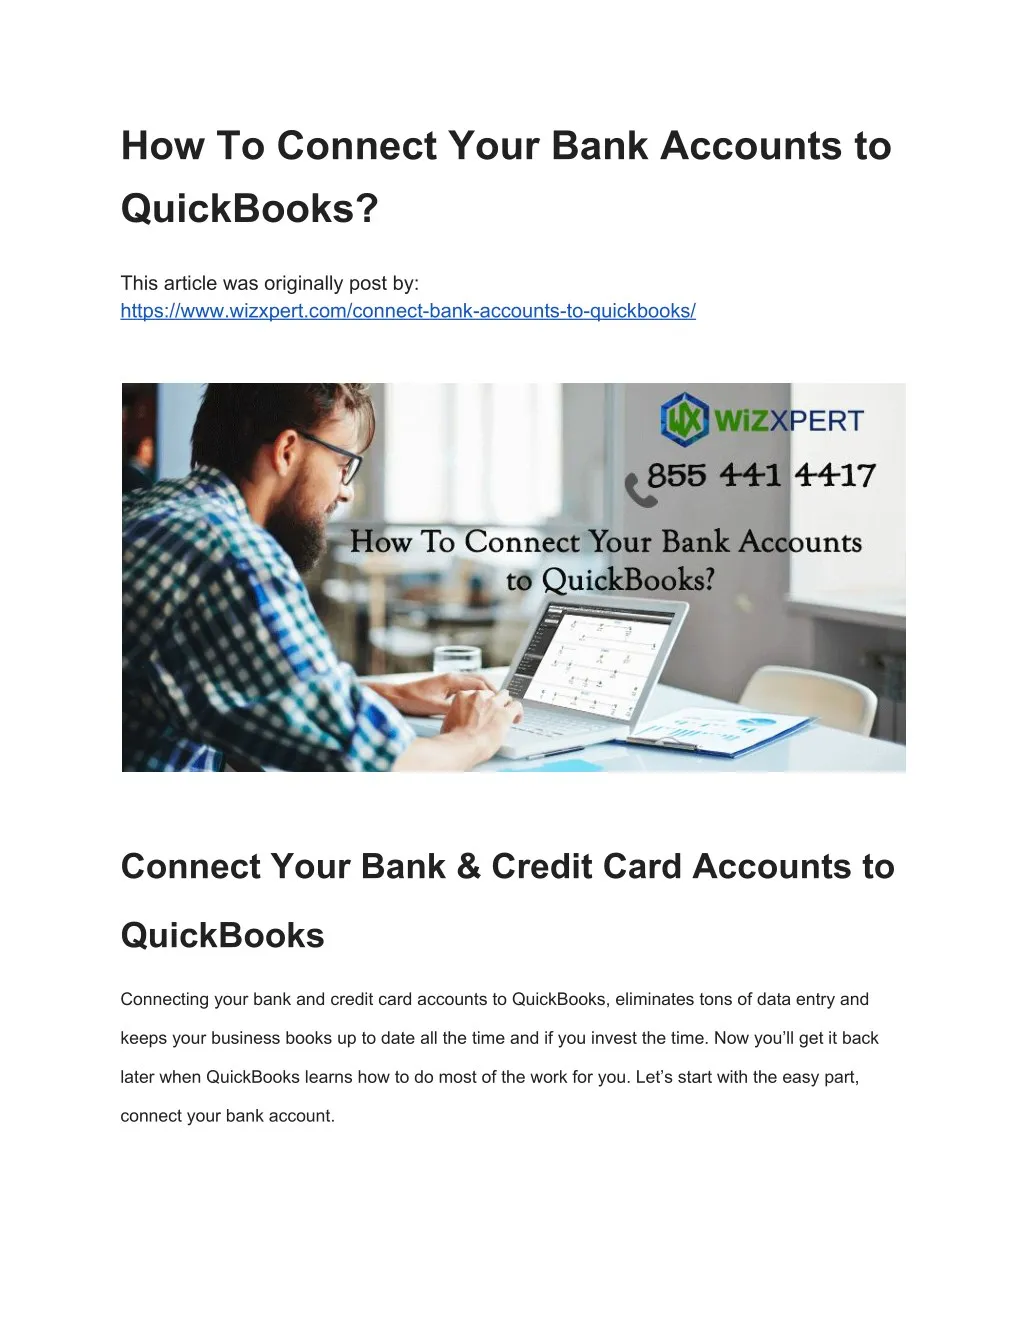
HowToConnectYourBankAccountsto QuickBooks? Thisarticlewasoriginallypostby: https://www.wizxpert.com/connect-bank-accounts-to-quickbooks/ ConnectYourBank&CreditCardAccountsto QuickBooks ConnectingyourbankandcreditcardaccountstoQuickBooks,eliminatestonsofdataentryand keepsyourbusinessbooksuptodateallthetimeandifyouinvestthetime.Nowyou’llgetitback laterwhenQuickBookslearnshowtodomostoftheworkforyou.Let’sstartwiththeeasypart, connectyourbankaccount.
IfyouaregettinganyproblemtofollowthestepsoranyQBrelatedissuesconnectour QuickBooksTechnicalSupportteam,theywillprovideyouquicksolution. Connectingyourbankaccountwith QuickBooks ● ● Gotoyourmainpage.UnderBankAccounts,Click“connectanaccount“ Chooseyourbankandusetheusernameandpasswordyouusetoaccessthataccountfromthe bank’swebsite.Hangtight.Itmaytakeuptoacoupleofminutesforyourbank’scomputersto talktoQuickBooks. Chooseyouraccount
● Nowyouwillseealltheaccountsyouhaveatthisbank.Choosetheaccountyouwanttousefor yourbusiness.QuickBooksconnectstoyouraccountanddownloadsallthetransactionsforthe lastninetydays. EnteringTransactions&changingcategory YoucansortyourtransactionbyclickingonCategoryorMatchcolumn.Youdon’thavetodealwith themallatonce.Here’sthethingthesetransactionsarereal.Let’sgetstartedputtingtransactions intoQuickBooksfirstcategoryortosortthetransaction.You’llseewe’reQuickBookstrytofind categoriesforsometransactionsclickthenameofthefirsttransactiontoopenit.
You’vegotsomechoicestomakeifyouagreewiththecategoryQuickBooksgavethistransaction leadittoputthistransactioninadifferentcategory. ChooseaPayee OpenthemenuandchoosetherightcategoryNextchoosethepayeethepersonyoupaidforthis transactionisthistransactionbooksyou’veneverentereditasanexpenseoracheckoranything elsethenclickadddonewiththistransaction. Transfer Didyoupayabusinesscreditcardbillormakealoanpaymentwiththistransaction?inthatcase, choosetransfertochoosetheaccountyoupaidthismoneytoandclicktransfer.
Split Whatifyouspentmoneybutyouboughtstuffformorethanonecategorylikeapurchaseatanoffice supplystorethatincludedanewlaptopprinterpaperandtoner.Inthiscase.Clicksplitthen.Choose theappropriatecategoriesandhowmuchyouspent. BatchAction Categorizedabunchoftransactionsandyouagreewithitscategorizationclickonecheckboxdown theShiftkeythefinaloneinthelistthatyouwanttochoose.Openbatchactionsandchooseexcept they’realldone.
CorrectingaMistake WhatifyoumadeamistakeandcategorizedatransactionnoprobleminQuickBookstabchoosethe transactionandundoit.Itgoesbacktothenewtransaction.Soyoucanputitwhereitbelongs. Hope,thearticlewouldhavehelpedyou.Youcanreadourotherusefularticletolearnmore:Dial ourQuickBookspayrollsupportphonenumber+1-855-441-4417togetsupportandcustomer service. QuickBooksError3371Statuscode11118–ACompleteGuide HowtoSeeYourBusiness’HealthinQuickBooksOnline? HowtoenterEmployee’sPriorPayrollinQuickBooksOnline? GettingStartedwithQuickBooksDesktopEnterpriseAdvancedReporting